Creating Your First Plugin Mod
In the last tutorial, we used Playground to load a custom node and a custom asset. However, this comes with limitations: you aren't able to reference any Unity assets, so if you are looking to create a node that spawns a custom Unity particle prefab, you are out of luck with Playground.
In this tutorial, we will use the Warudo SDK to build a plugin mod that contains the HelloWorldNode and CookieClickerAsset we just created. A plugin mod not only allows you to store and reference Unity assets, but also allows you to distribute your custom nodes and assets to other users.
Step 1: Create a Warudo SDK Project
If you haven't yet, create a new Warudo SDK project by following the Warudo SDK Installation guide. We also recommend following the Creating Your First Mod tutorial to get familiar with the Warudo SDK first.
Building a plugin mod is extremely similar to building other types of mod! The only difference is that a plugin mod needs to contain a C# script that inherits from Plugin, as we will see below.
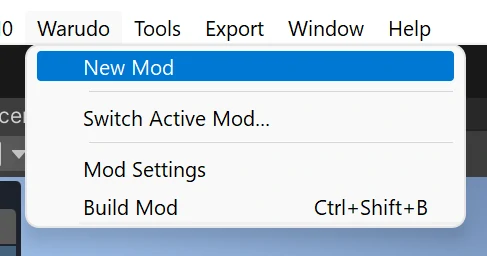
Step 2: Create a New Mod
To create a new mod, go to the menu bar and select Warudo → New Mod:
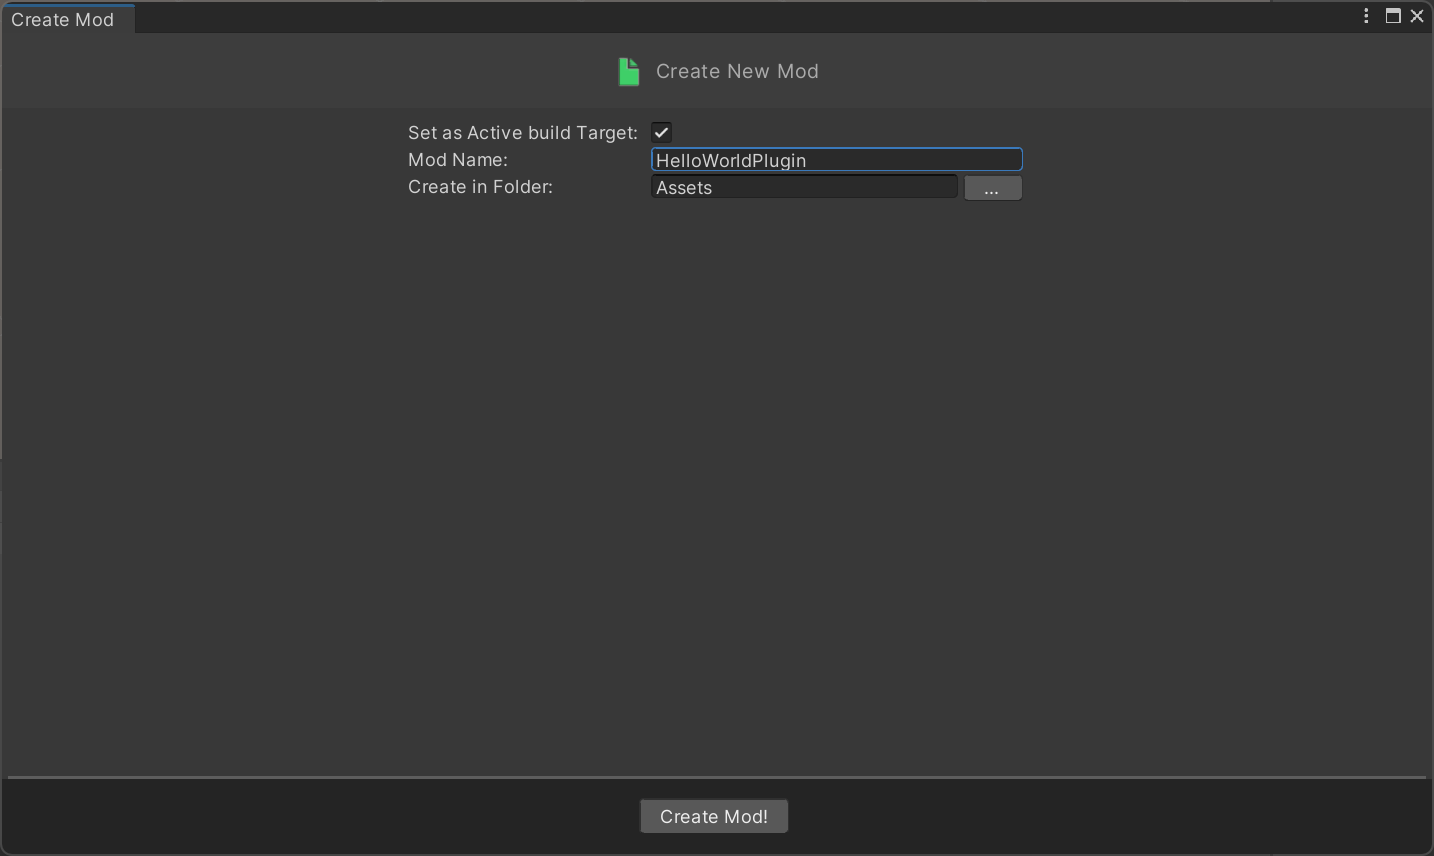
Type "HelloWorldPlugin" in Mod Name, and click "Create Mod!":
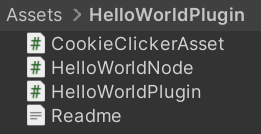
You should see a folder for your mod has just been created under the Assets folder.
Step 3: Create a Plugin Script
In the "HelloWorldPlugin" mod folder, right click and create a new C# script called HelloWorldPlugin.cs. Paste the following code into the script:
using UnityEngine;
using Warudo.Core.Attributes;
using Warudo.Core.Plugins;

[PluginType(
    Id = "hakuyatira.helloworld",
    Name = "Hello World",
    Description = "A simple plugin that says hello to the world.",
    Version = "1.0.0",
    Author = "Hakuya Tira",
    SupportUrl = "https://docs.warudo.app",
    AssetTypes = new [] { typeof(CookieClickerAsset) },
    NodeTypes = new [] { typeof(HelloWorldNode) })]
public class HelloWorldPlugin : Plugin {

    protected override void OnCreate() {
        base.OnCreate();
        Debug.Log("The Hello World plugin is officially enabled! Hooray!");
    }

}
Copy the HelloWorldNode.cs and CookieClickerAsset.cs files from the previous tutorial into the "HelloWorldPlugin" mod folder.
Your mod folder should now look like this:
Step 4: Export the Plugin Mod
We are almost done! Before exporting the mod, you can check the mod settings are correct in Warudo → Mod Settings. You can set the mod's name, version, author, and description, which should be the same as the [PluginType] parameters.
By default, the Mod Export Directory is empty; in this case, the mod will be exported to the project's root folder. You can instead set it to the Plugins directory in Warudo's data folder, for example C:\Program Files (x86)\Steam\steamapps\common\Warudo\Warudo_Data\StreamingAssets\Plugins.
Before exporting, close Warudo and delete HelloWorldNode.cs and CookieClickerAsset.cs from the Playground directory. This is to prevent conflicts between the Playground and the plugin mod.
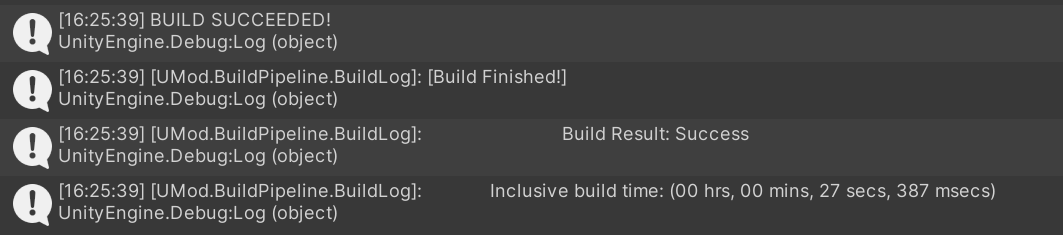
Select Warudo → Export Mod to export the plugin mod. If everything goes well, you should see a BUILD SUCCEEDED! message in the console:
It is good to perform a sanity check to ensure the scripts in the mod folder are indeed compiled into the plugin mod. Scroll up in the console, and you should find the following line:

If you do not see this line, your Unity project may not have been set up for C# scripting correctly. Please follow the steps in this section and try exporting the plugin mod again.
Make sure the exported HelloWorldPlugin.warudo folder is in the Plugins directory in Warudo's data folder. You can now open Warudo and check if the plugin mod is loaded in the About dialog:
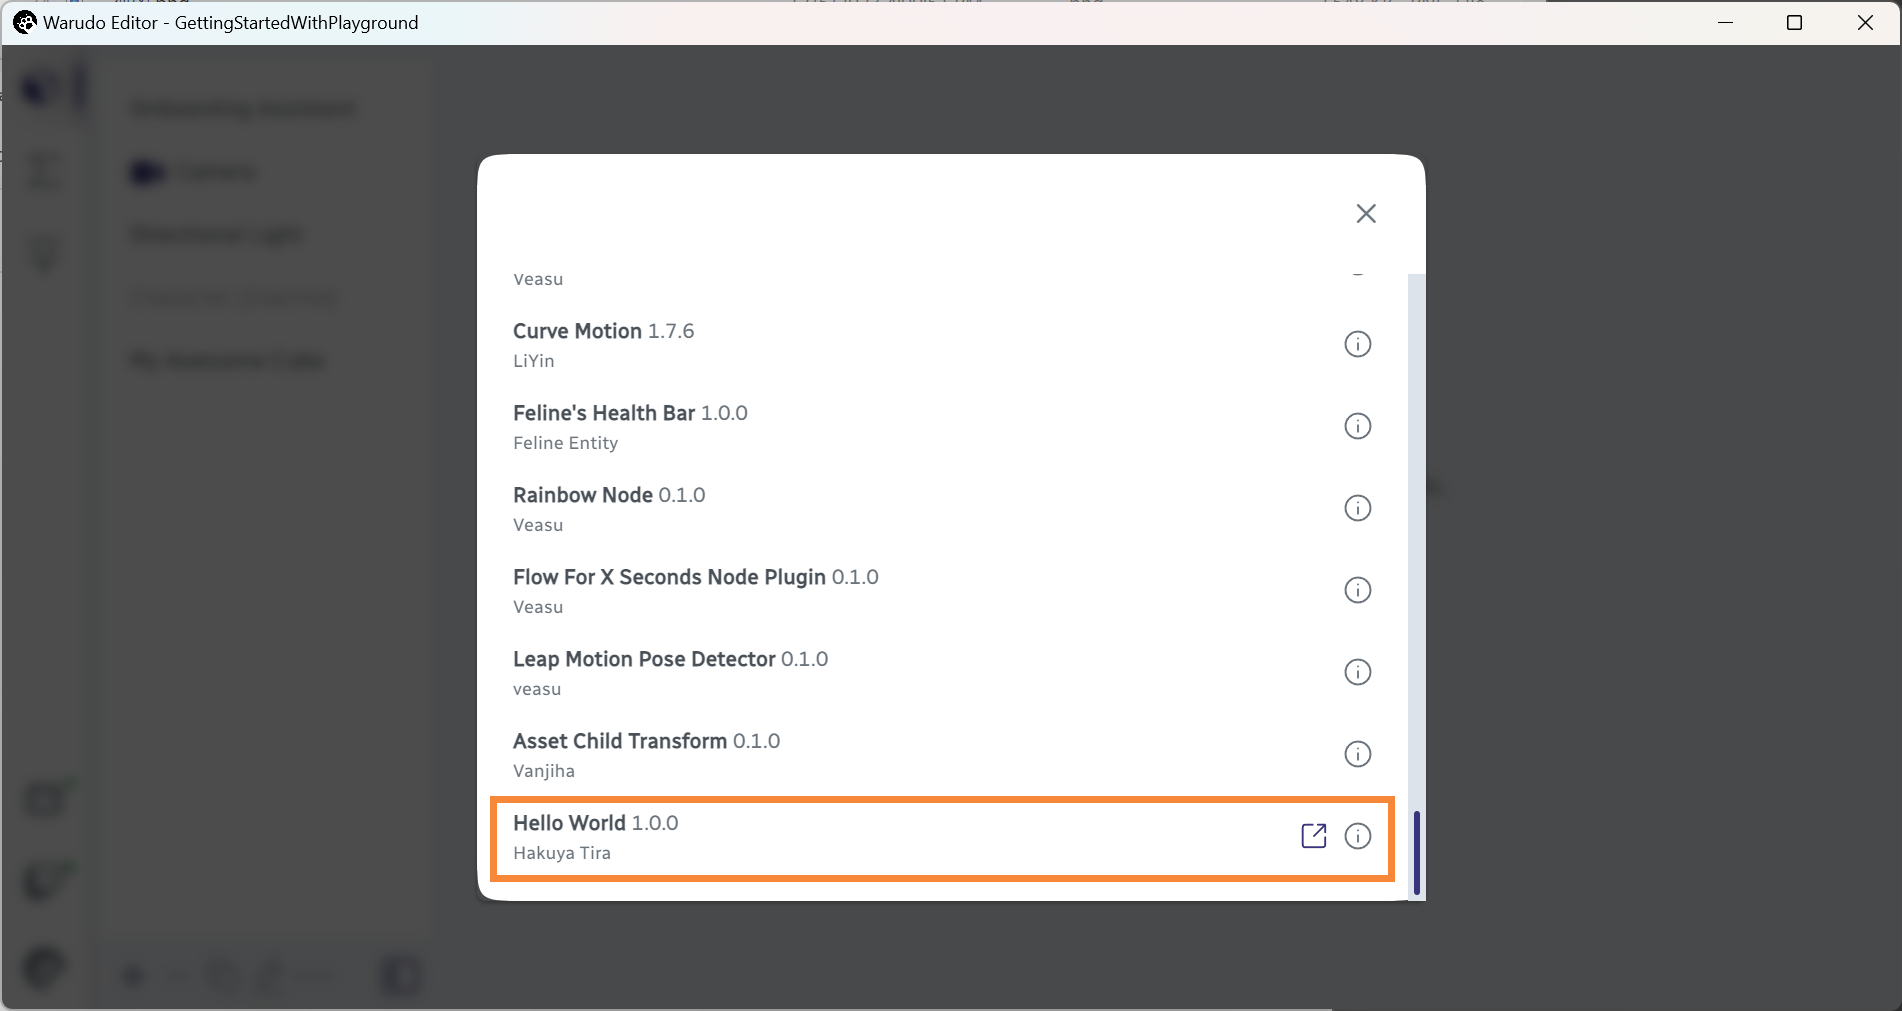
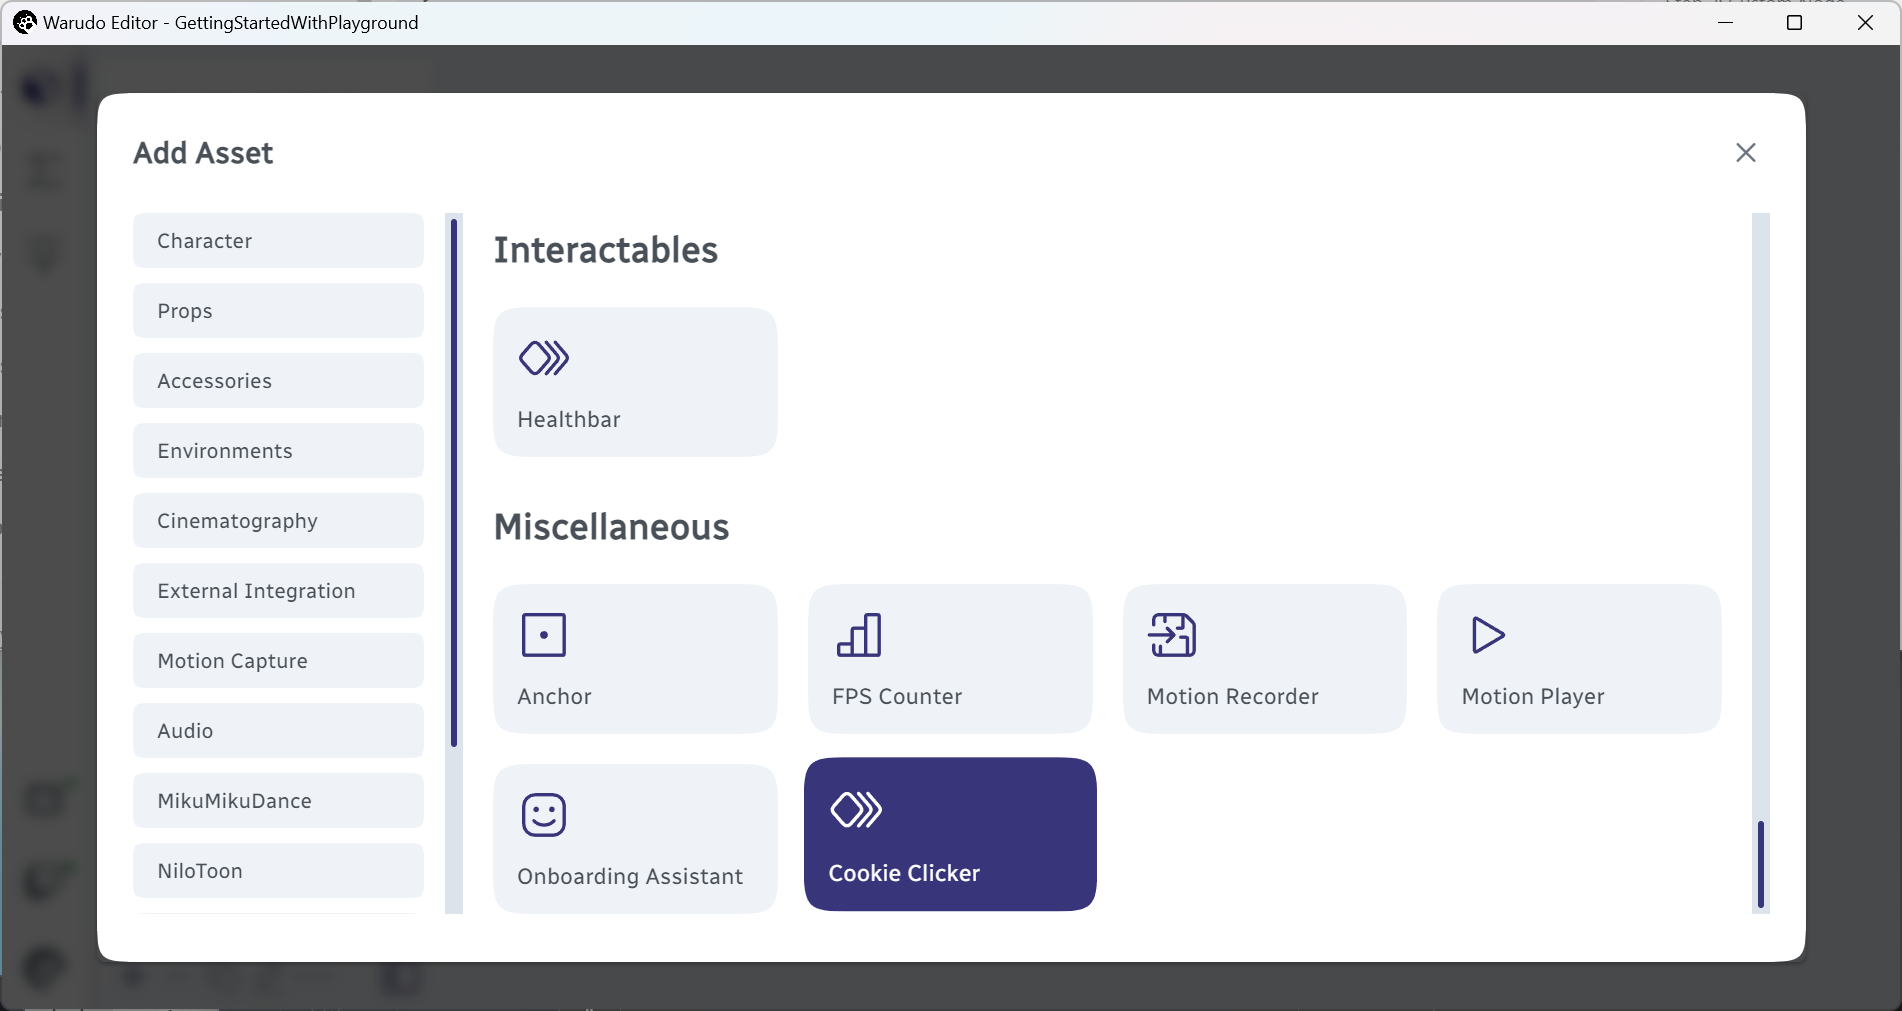
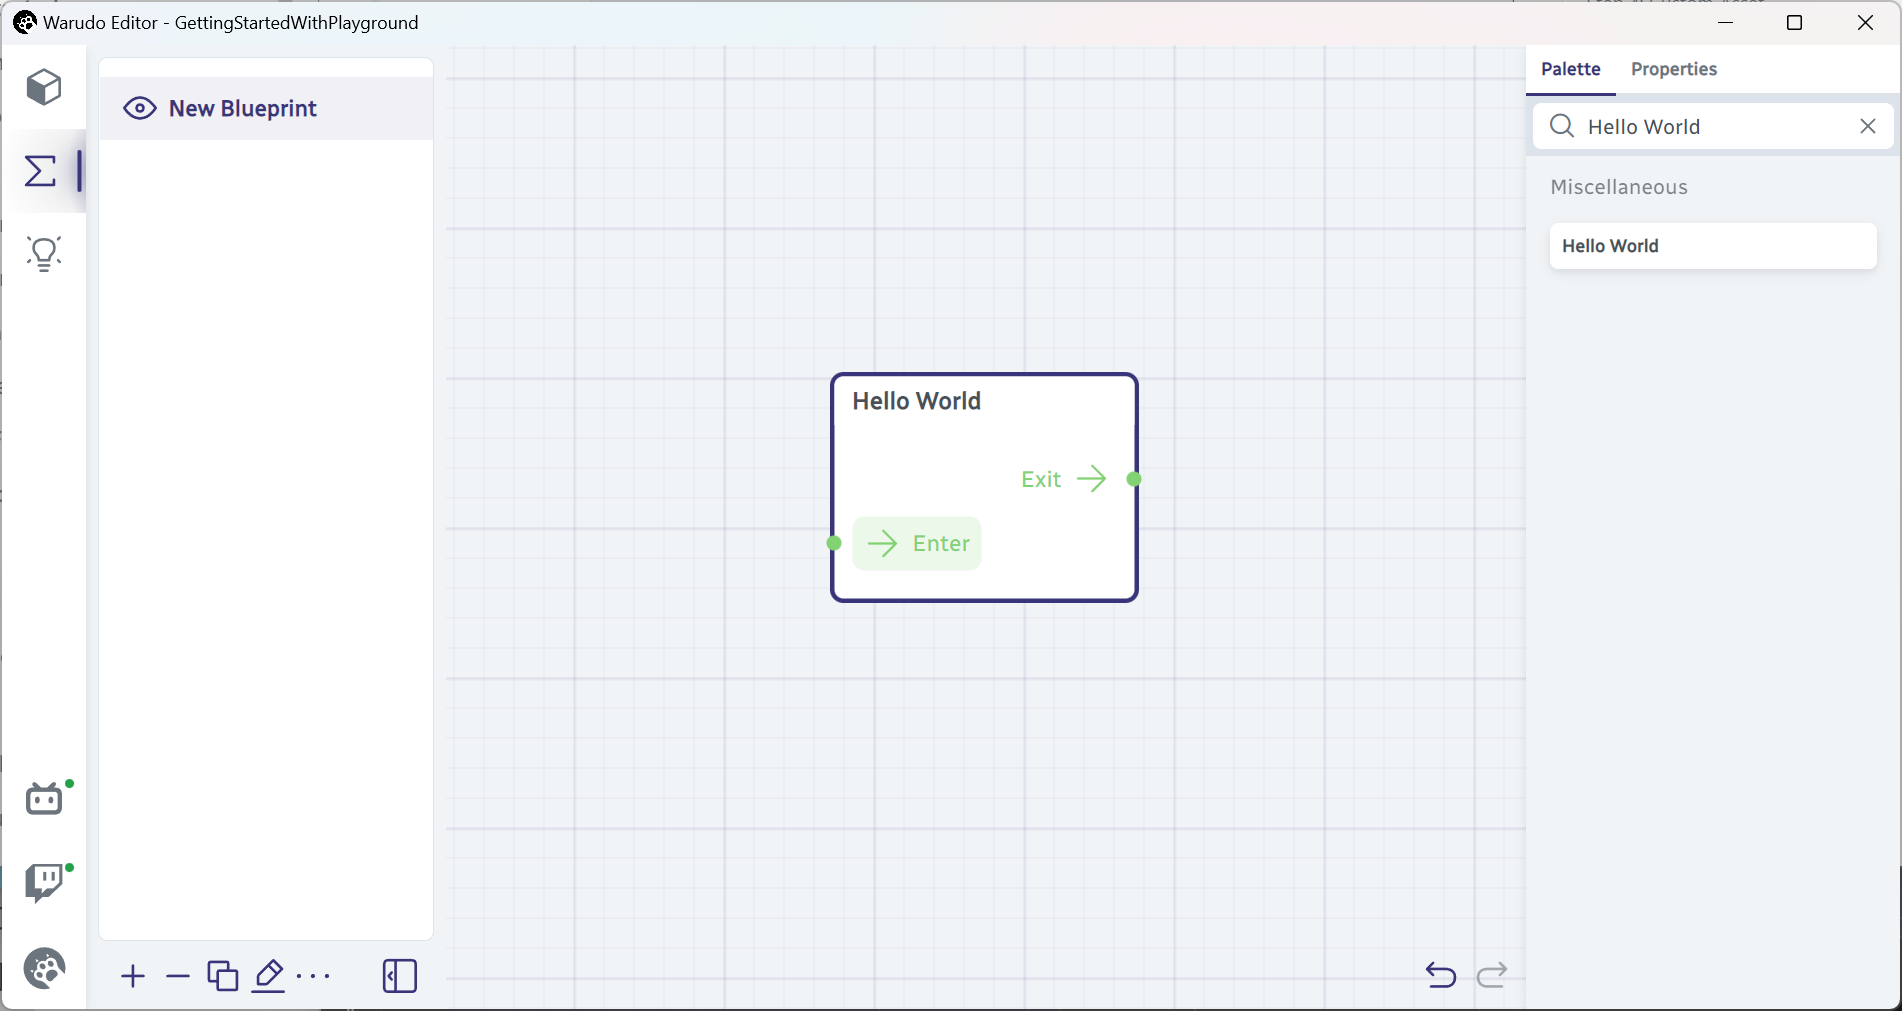
And of course, the Cookie Clicker asset is now in the Add Asset menu, along with the Hello World node in the node palette:
Voilà! Your first plugin mod in Warudo!
Step 5: Load An Unity Asset
Now that you have a plugin mod, you can load custom Unity assets into Warudo! Let's try loading a Unity asset in the CookieClickerAsset script.
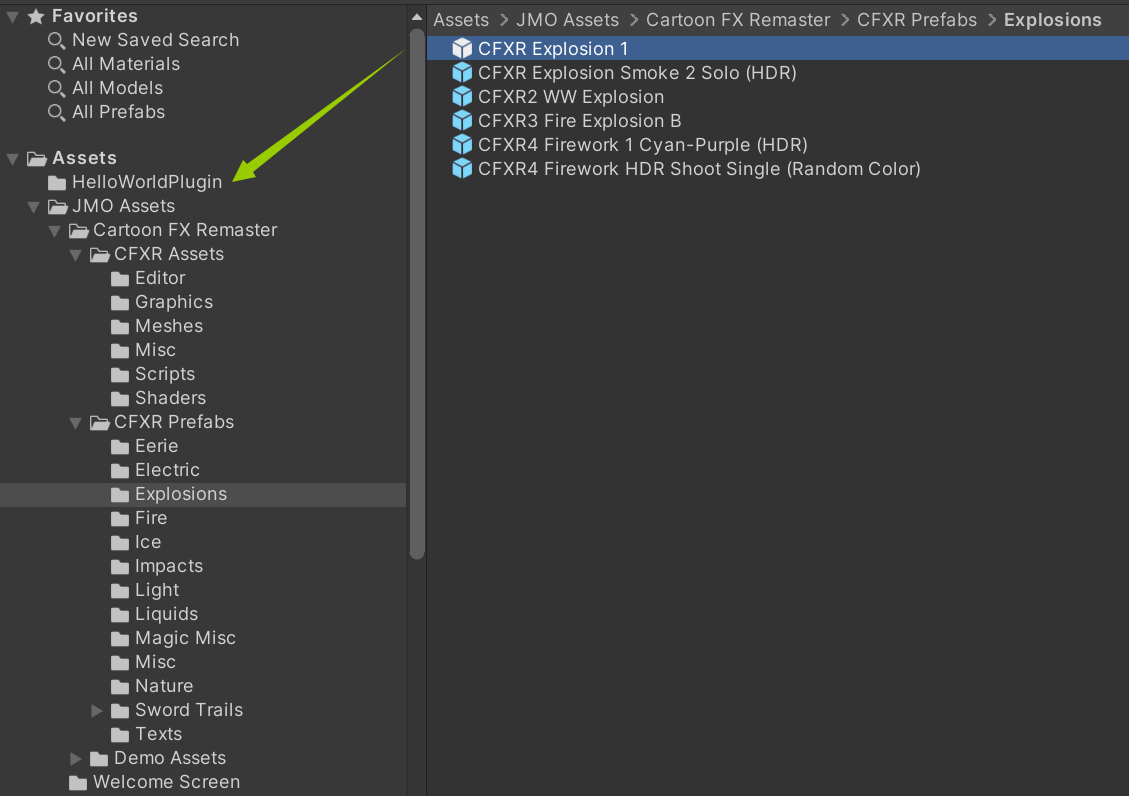
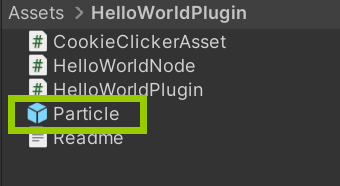
Download Cartoon FX Remaster Free from the Unity Asset Store. Import the package into your Unity project. Then, select a particle prefab from the package, hold Ctrl, and drag it into the "HelloWorldPlugin" folder. We will use the "CFXR Explosion 1" prefab in this example.
Rename the prefab into Particle. Your mod folder should now look like this:
Open the CookieClickerAsset.cs script and replace with below:
using System;
using Cysharp.Threading.Tasks;
using UnityEngine;
using Warudo.Core.Attributes;
using Warudo.Core.Scenes;
using Object = UnityEngine.Object;
using Random = UnityEngine.Random;

[AssetType(Id = "82ae6c21-e202-4e0e-9183-318e2e607672", Title = "Cookie Clicker")]
public class CookieClickerAsset : Asset {

    [Markdown]
    public string Status = "You don't have any cookies.";

    [DataInput]
    [IntegerSlider(1, 10)]
    [Description("Increase me to get more cookies each time!")]
    public int Multiplier = 1;

    private int count;
    private GameObject particlePrefab; // New field to store the particle prefab

    [Trigger]
    public async void GimmeCookie() { // Note the async keyword
        count += Multiplier;
        SetDataInput(nameof(Status), "You have " + count + " cookie(s).", broadcast: true);

        // Spawn the particle prefab Multiplier times
        for (var i = 0; i < Multiplier; i++) {
            var particle = Object.Instantiate(particlePrefab, Random.insideUnitSphere * 2f, Quaternion.identity);
            particle.SetActive(true);
            Object.Destroy(particle, 3f); // Automatically destroy the cloned particle after 3 seconds

            await UniTask.Delay(TimeSpan.FromSeconds(0.2f)); // Delay 0.2 seconds before spawning the next particle
        }
    }

    protected override void OnCreate() {
        base.OnCreate();
        SetActive(true);

        // Load the particle prefab from the mod folder. Change this path if your prefab is in a different folder
        particlePrefab = Plugin.ModHost.Assets.Instantiate<GameObject>("Assets/HelloWorldPlugin/Particle.prefab");
        // Disable it so that it doesn't show up in the scene
        particlePrefab.SetActive(false);
    }

}
Export the mod again. Warudo supports hot-reloading of plugins, so you can simply export the mod to the Plugins folder and see the changes in Warudo immediately!
Press the "Gimme Cookie" button in the Cookie Clicker asset, and you should see the particle prefab spawning in the scene:
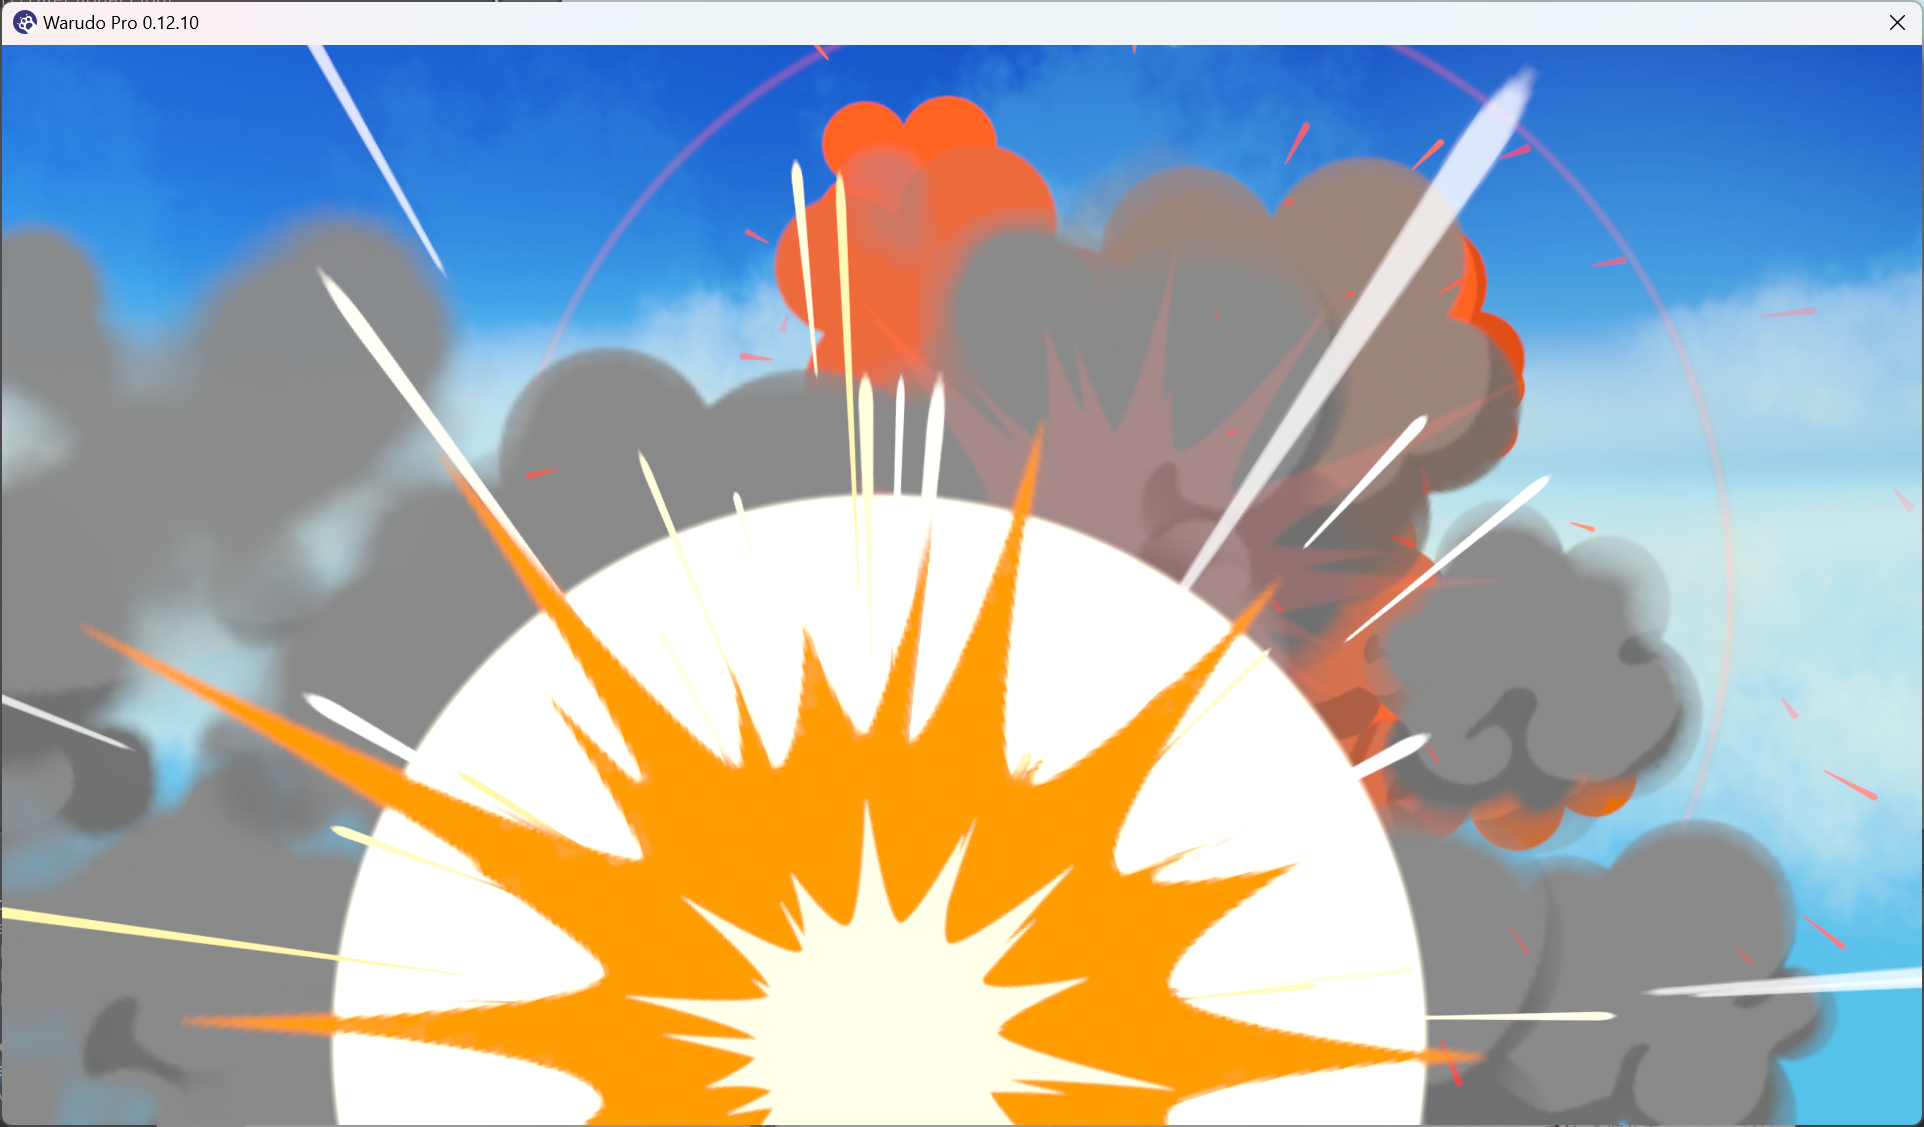
For Warudo Pro users, please switch to the built-in rendering pipeline to view the particle effect. Alternatively, you can use a URP-compatible particle asset instead.
Isn't that cool you can do this in Warudo?
Comparison to Playground
Creating a plugin mod is more powerful than using Playground, but it also has disadvantages:
- Developing a plugin mod can be much slower, as you need to export the mod every time you make a change;
- Playground can currently access more libraries used by Warudo, such as MessagePack, WebSocketSharp, etc. (we are working on improving this for plugin mods);
- Plugin mods have more security limitations. For example, you cannot access the
System.IOnamespace (though we provide a sandboxed file persistence API).
When to use a plugin mod or Playground depends on your use case. If you are prototyping a new feature or testing a new idea, Playground is a great tool to quickly iterate and see the results, especially if you don't need to reference Unity assets. If you work on custom development for VTubers, Playground is brilliant for implementing small, self-contained features for your clients. However, if you need to load custom Unity assets or distribute your custom nodes and assets on our Steam Workshop, a plugin mod is the way to go. (Even still, you can use Playground to prototype your custom nodes and assets before moving them to a plugin mod!)