당신의 첫 스크립트를 만들어보세요
Warudo에서 스크립팅하는 방법은 두 가지가 있어요: Playground를 사용하거나 플러그인 모드를 만드는 것이죠. 이번 튜토리얼에서는 Playground를 사용해 첫 번째 커스텀 노드를 작성하는 방법을 살펴볼 거예요!
playground란? Playground는 일종의 샌드박스로, 커스텀 노드와 에셋을 작성하고 테스트할 수 있는 공간이라고 생각하면 돼요. C# 코드를 컴파일하고 패키징하는 대신, Warudo 데이터 폴더의 Playground 디렉토리에서 바로 코드를 작성할 수 있어요. 이렇게 하면 모드를 빌드하거나 Warudo를 재시작하지 않고도 빠르게 코드를 반복해서 테스트할 수 있죠.
자, 그럼 바로 시작해볼까요?
궁금한 점이 생기면, 언제든지 디스코드 서버의 #plugins-scripting 채널에서 도움을 요청할 수 있으니 참고하세요!
1단계: 환경 설정
먼저, .NET 8 SDK가 설치되어 있는지 확인하세요. 그런 다음, 이 링크에서 .csproj 파일을 다운로드하고 Warudo 데이터 폴더 내의 Playground 디렉토리에 넣으세요(Menu → Open Data Folder). 이 파일은 IDE에서 코드 자동 완성 및 구문 강조 표시를 제공하는 데 도움이 돼요.
이제 선호하는 C# IDE를 열어주세요. 우리는 JetBrains Rider를 사용할 거지만 Visual Studio Code와 같은 다른 IDE도 괜찮아요. (Visual Studio Code를 사용하는 경우 C# 언어 확장을 설치해야 할 수 있어요.)
IDE에서 Playground 디렉토리를 열고, HelloWorldNode.cs라는 파일을 생성한 뒤, 다음 코드를 파일에 붙여 넣으세요:
using Warudo.Core;
using Warudo.Core.Attributes;
using Warudo.Core.Graphs;

[NodeType(Id = "c76b2fef-a7e7-4299-b942-e0b6dec52660", Title = "Hello World")]
public class HelloWorldNode : Node {

    [FlowInput]
    public Continuation Enter() {
        Context.Service.PromptMessage("Hello World!", "This node is working!");
        return Exit;
    }

    [FlowOutput]
    public Continuation Exit;

}
2단계: 커스텀 노드
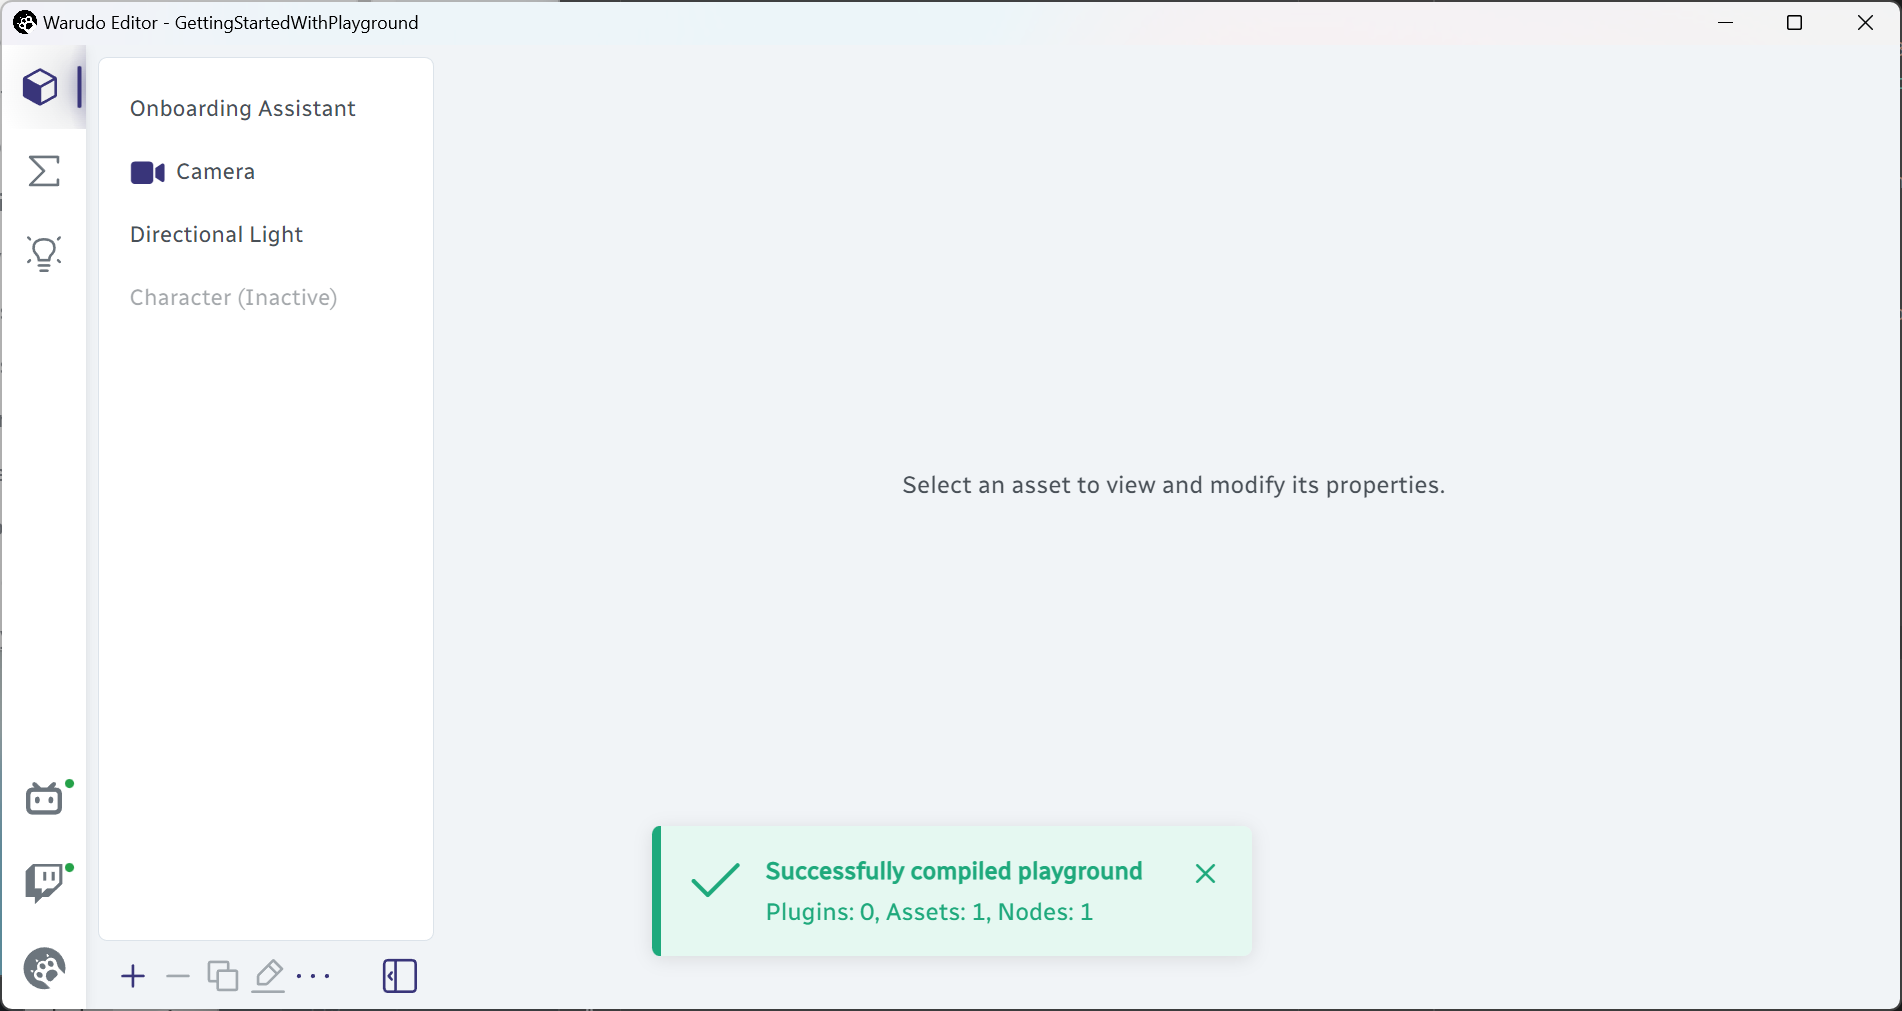
Warudo를 열면, 시작 시 아래와 같은 팝업 메시지(토스트)가 나타날 거예요:
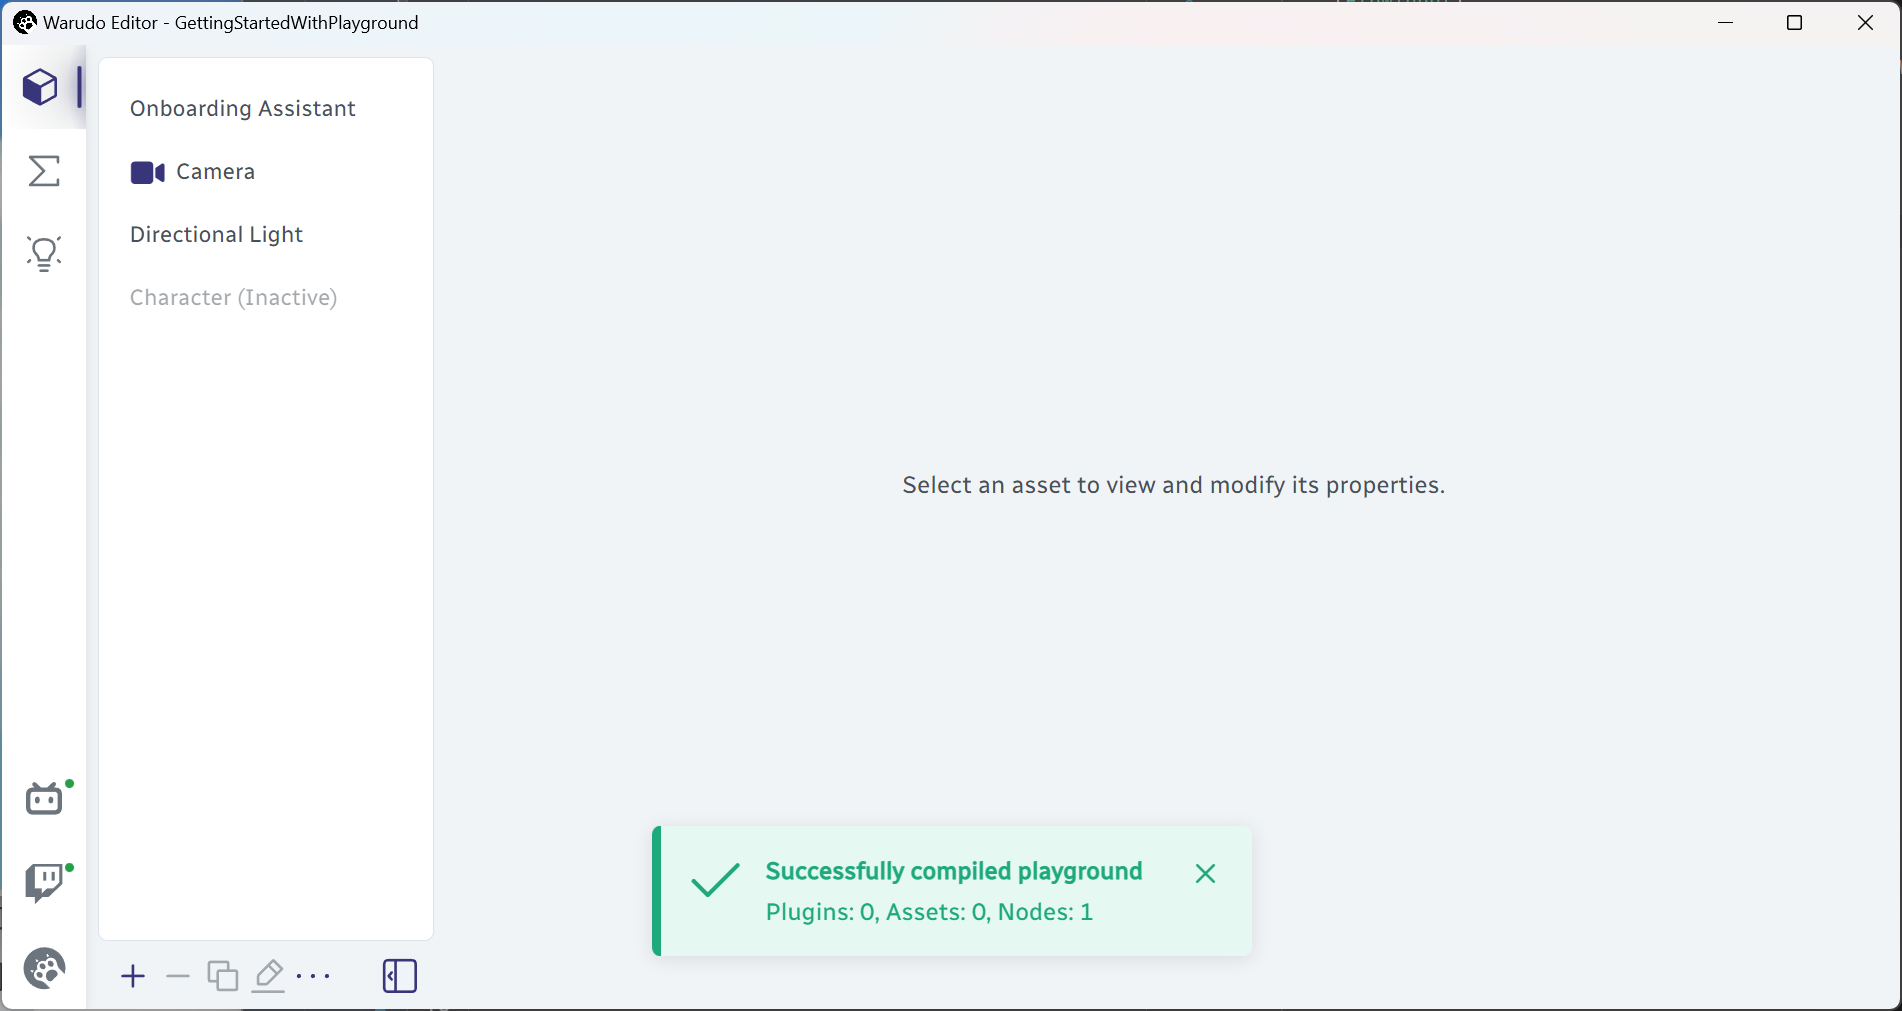
이 메시지는 HelloWorldNode.cs가 성공적으로 컴파일되고 로드되었음을 나타내요. 또한, 코드에서 커스텀 노드를 정의했으므로, 메시지에 Nodes: 1이라고 표시되는 것을 확인할 수 있어요.
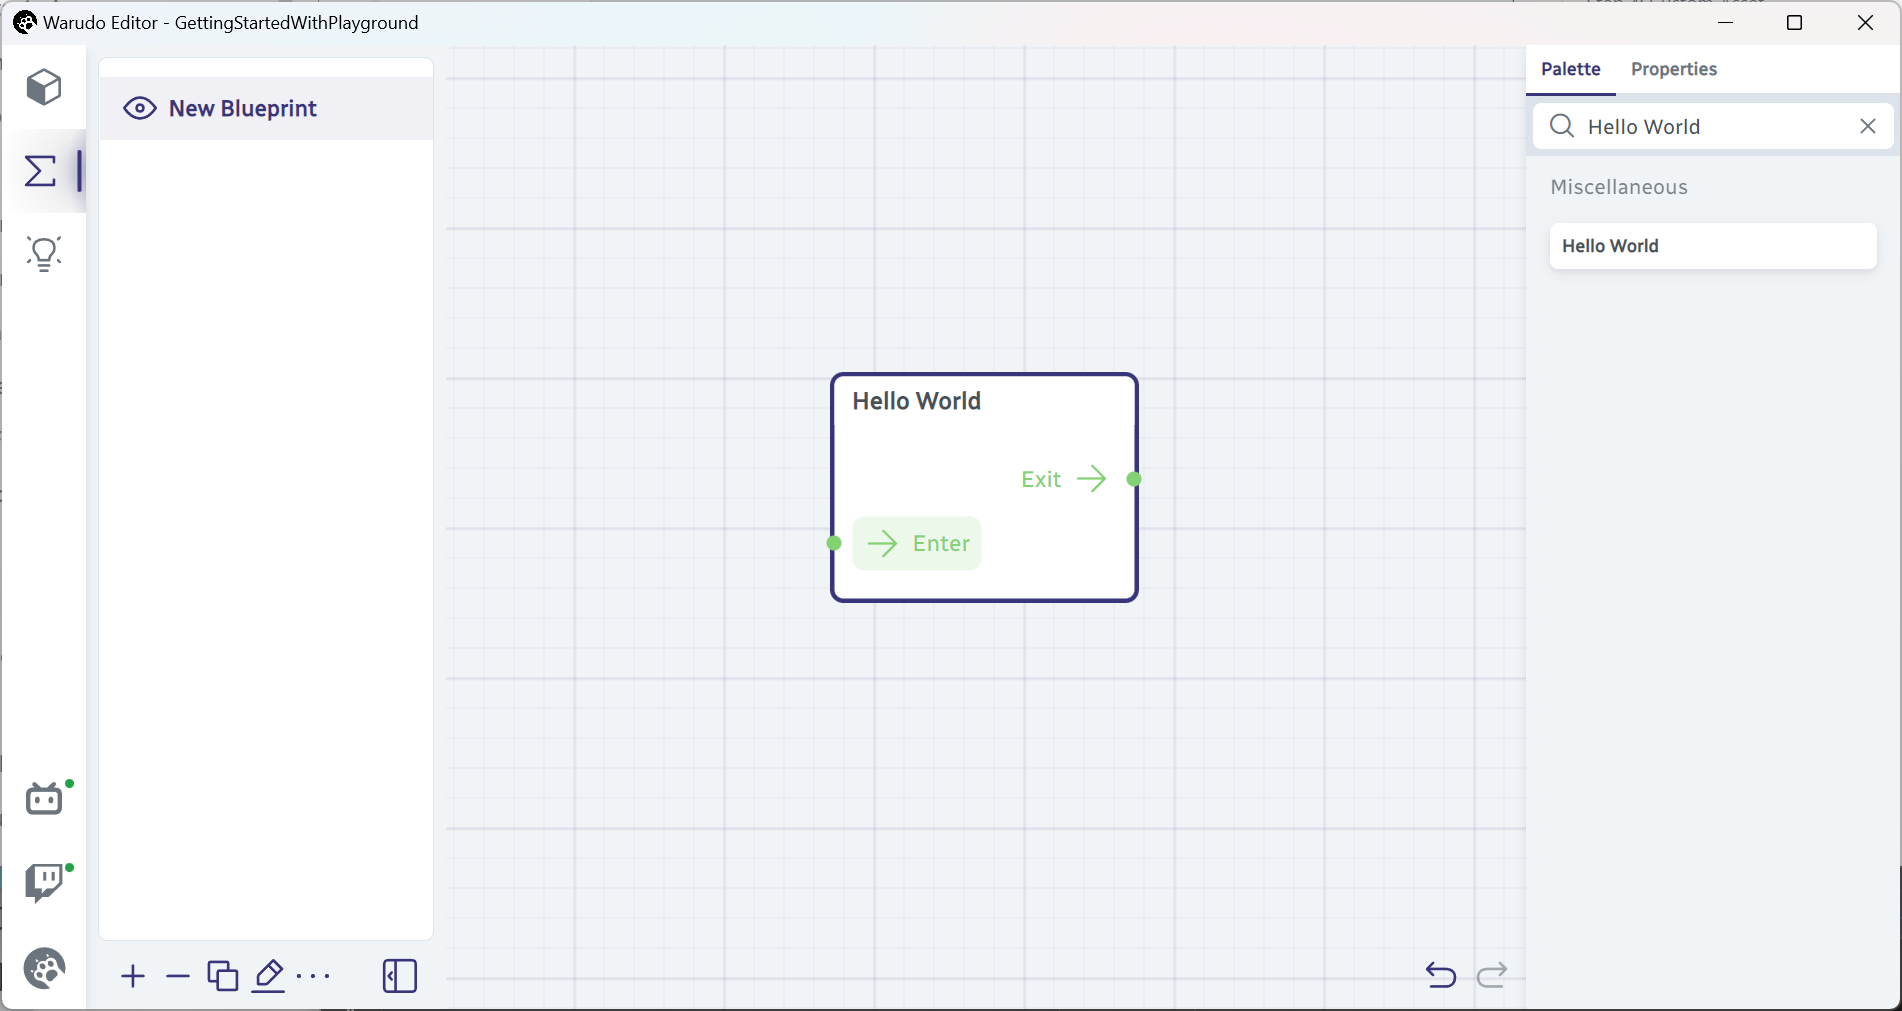
blueprint 탭으로 이동해서 새로운 blueprint를 만들고, 노드 팔레트에서 Hello World 노드를 찾아서 드래그하세요. 아래와 같은 화면이 보일 거예요:
Enter 플로우 인풋을 클릭하면 다음과 같은 메시지가 나타날 거예요:
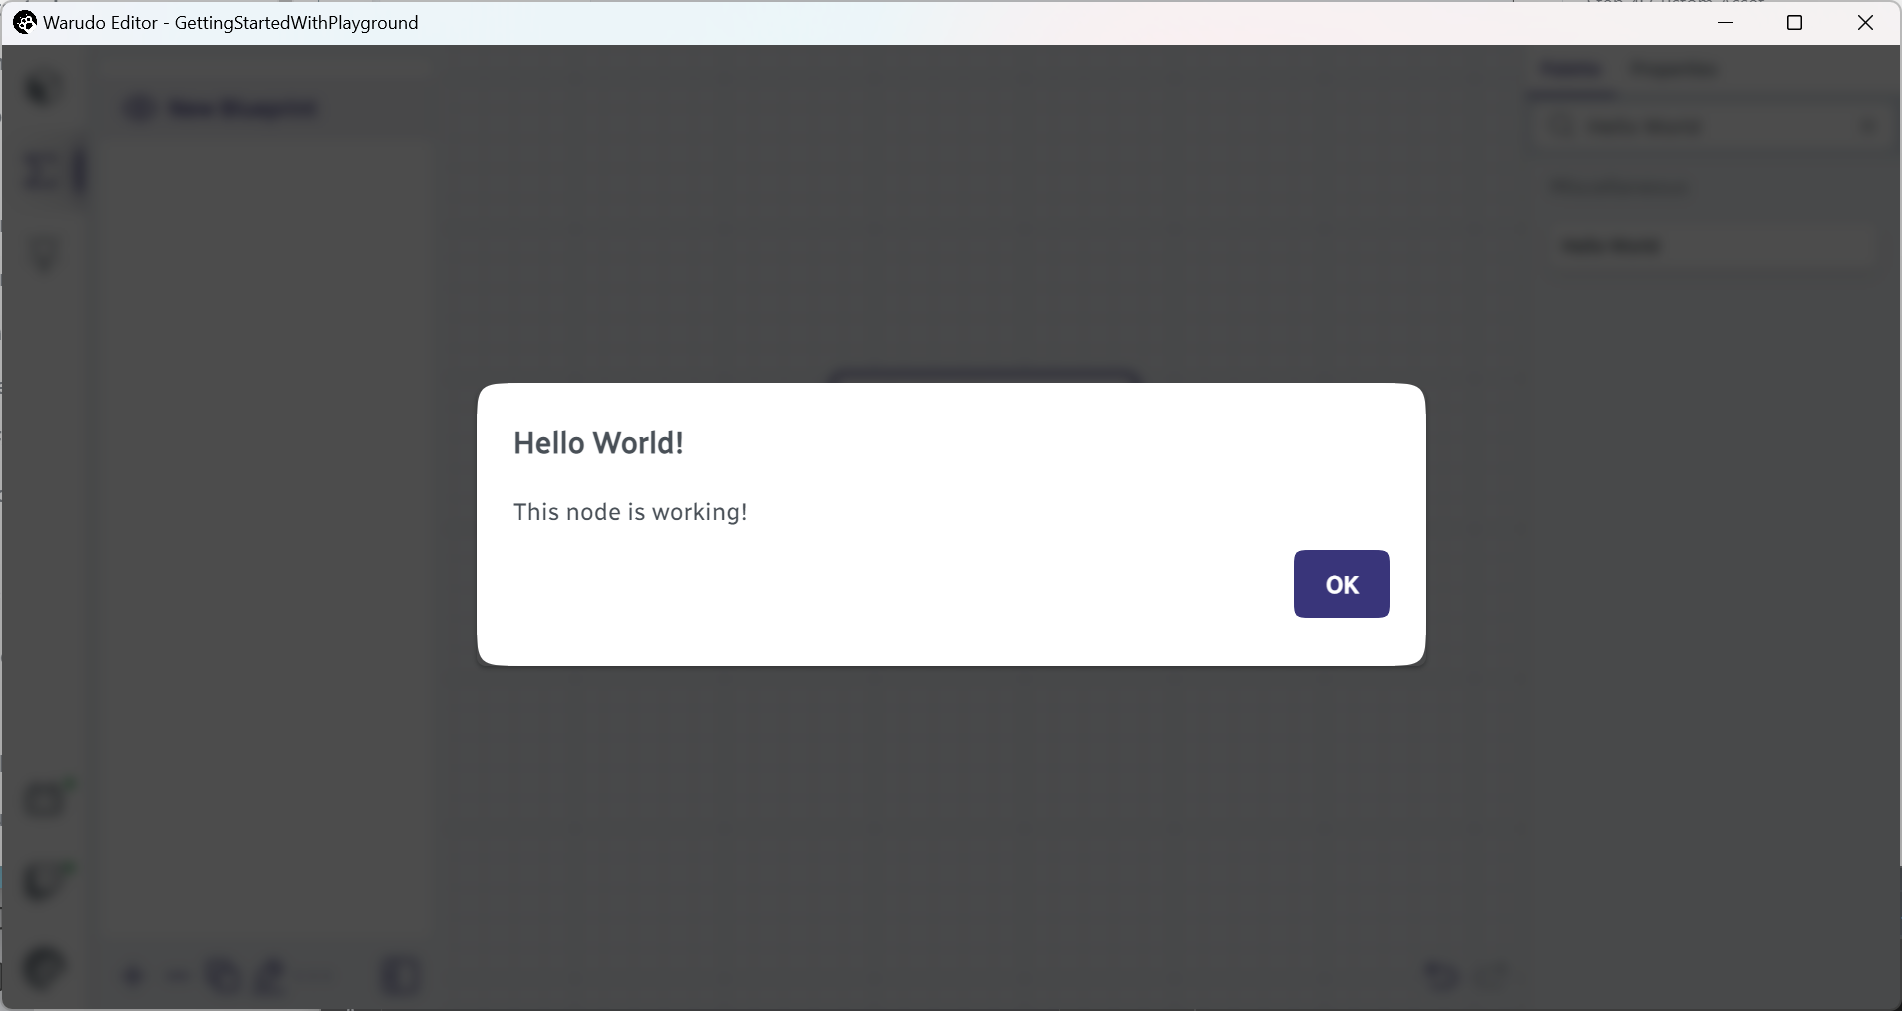
모두 제대로 작동한다면, 축하해요! 여러분은 방금 첫 번째 Warudo 노드를 만들었어요!
3단계: 핫 리로드
한가지 놀라운 점은 코드를 수정할 때마다 Warudo를 재시작할 필요가 없다는 거예요. 실제로 Warudo는 Playground 디렉토리에서 변경 사항을 자동으로 감지하고 코드를 핫 리로드해요!
그럼, 이를 직접 확인해 볼게요. HelloWorldNode.cs 파일로 돌아가 아래 새로운 코드를 붙여넣어 주세요. (직접 타이핑을 연습하고 싶다면 기존 코드를 업데이트해도 돼요.):
using Warudo.Core;
using Warudo.Core.Attributes;
using Warudo.Core.Graphs;

[NodeType(Id = "c76b2fef-a7e7-4299-b942-e0b6dec52660", Title = "Hello World")]
public class HelloWorldNode : Node {

    // New code below
    [DataInput]
    [IntegerSlider(1, 100)]
    public int LuckyNumber = 42;
    // New code above

    [FlowInput]
    public Continuation Enter() {
        // Changed code below
        Context.Service.PromptMessage("Hello World!", "This node is working! My lucky number: " + LuckyNumber);
        return Exit;
    }

    [FlowOutput]
    public Continuation Exit;

}
Ctrl+S를 누르자마자, 또 다른 토스트 메시지가 나타나고, 노드가 성공적으로 컴파일되고 핫 리로드되었음을 알릴 거예요. blueprint에 있는 노드도 자동으��로 업데이트됩니다:
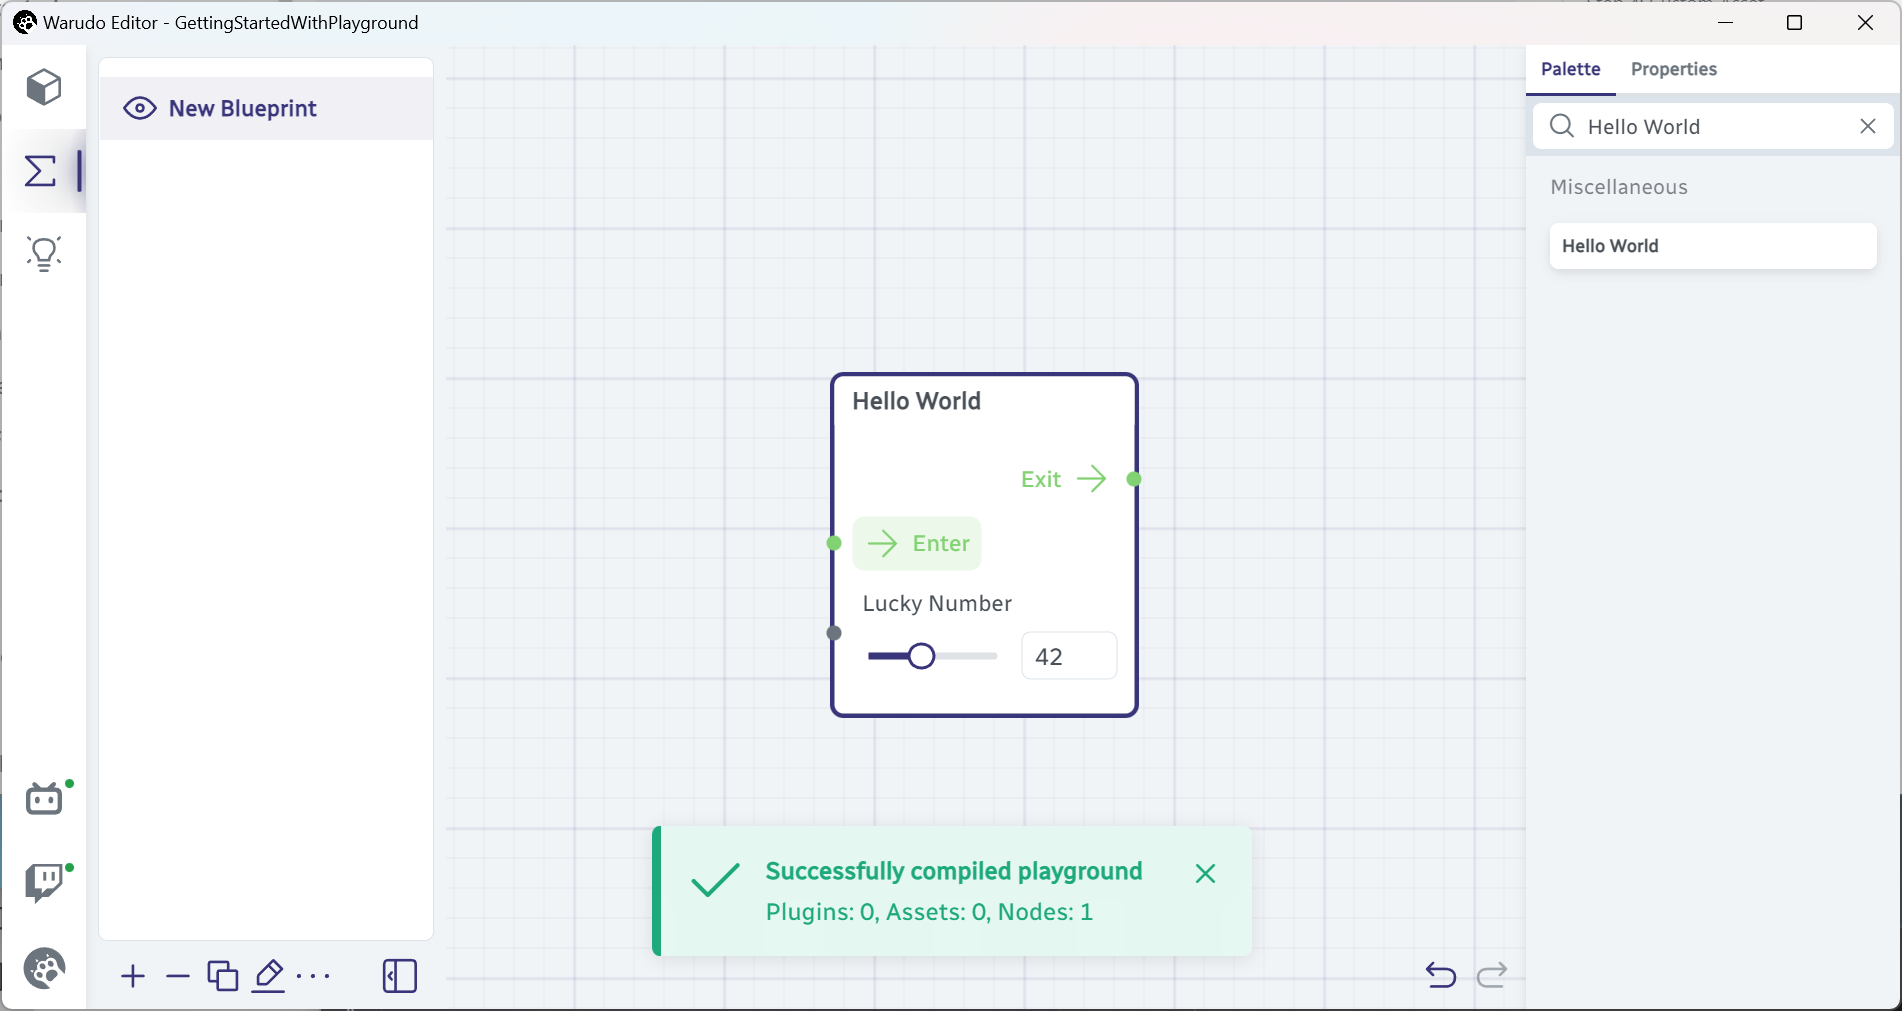
이제 행운의 숫자를 설정하고, 노드가 여전히 제대로 작동하는지 확인해 보세요!

4단계: 커스텀 에셋
Warudo는 새로운 .cs 파일도 감지할 수 있어요. 이번에는 커스텀 에셋을 만들어 볼게요. Playground 디렉토리에서 CookieClickerAsset.cs라는 파일을 생성하고, 아래 코드를 붙여넣어 주세요:
using Warudo.Core.Attributes;
using Warudo.Core.Scenes;

[AssetType(Id = "82ae6c21-e202-4e0e-9183-318e2e607672", Title = "Cookie Clicker")]
public class CookieClickerAsset : Asset {

    [Markdown]
    public string Status = "You don't have any cookies.";

    [DataInput]
    [IntegerSlider(1, 10)]
    [Description("Increase me to get more cookies each time!")]
    public int Multiplier = 1;

    private int count;

    [Trigger]
    public void GimmeCookie() {
        count += Multiplier;
        SetDataInput(nameof(Status), "You have " + count + " cookie(s).", broadcast: true);
    }

    protected override void OnCreate() {
        base.OnCreate();
        SetActive(true);
    }

}
해당 코드를 저장하면, 커스텀 노드 (HelloWorldNode.cs)와 커스텀 에셋 (CookieClickerAsset.cs)이 로드되었다는 토스트 메시지가 나타날 거예요:
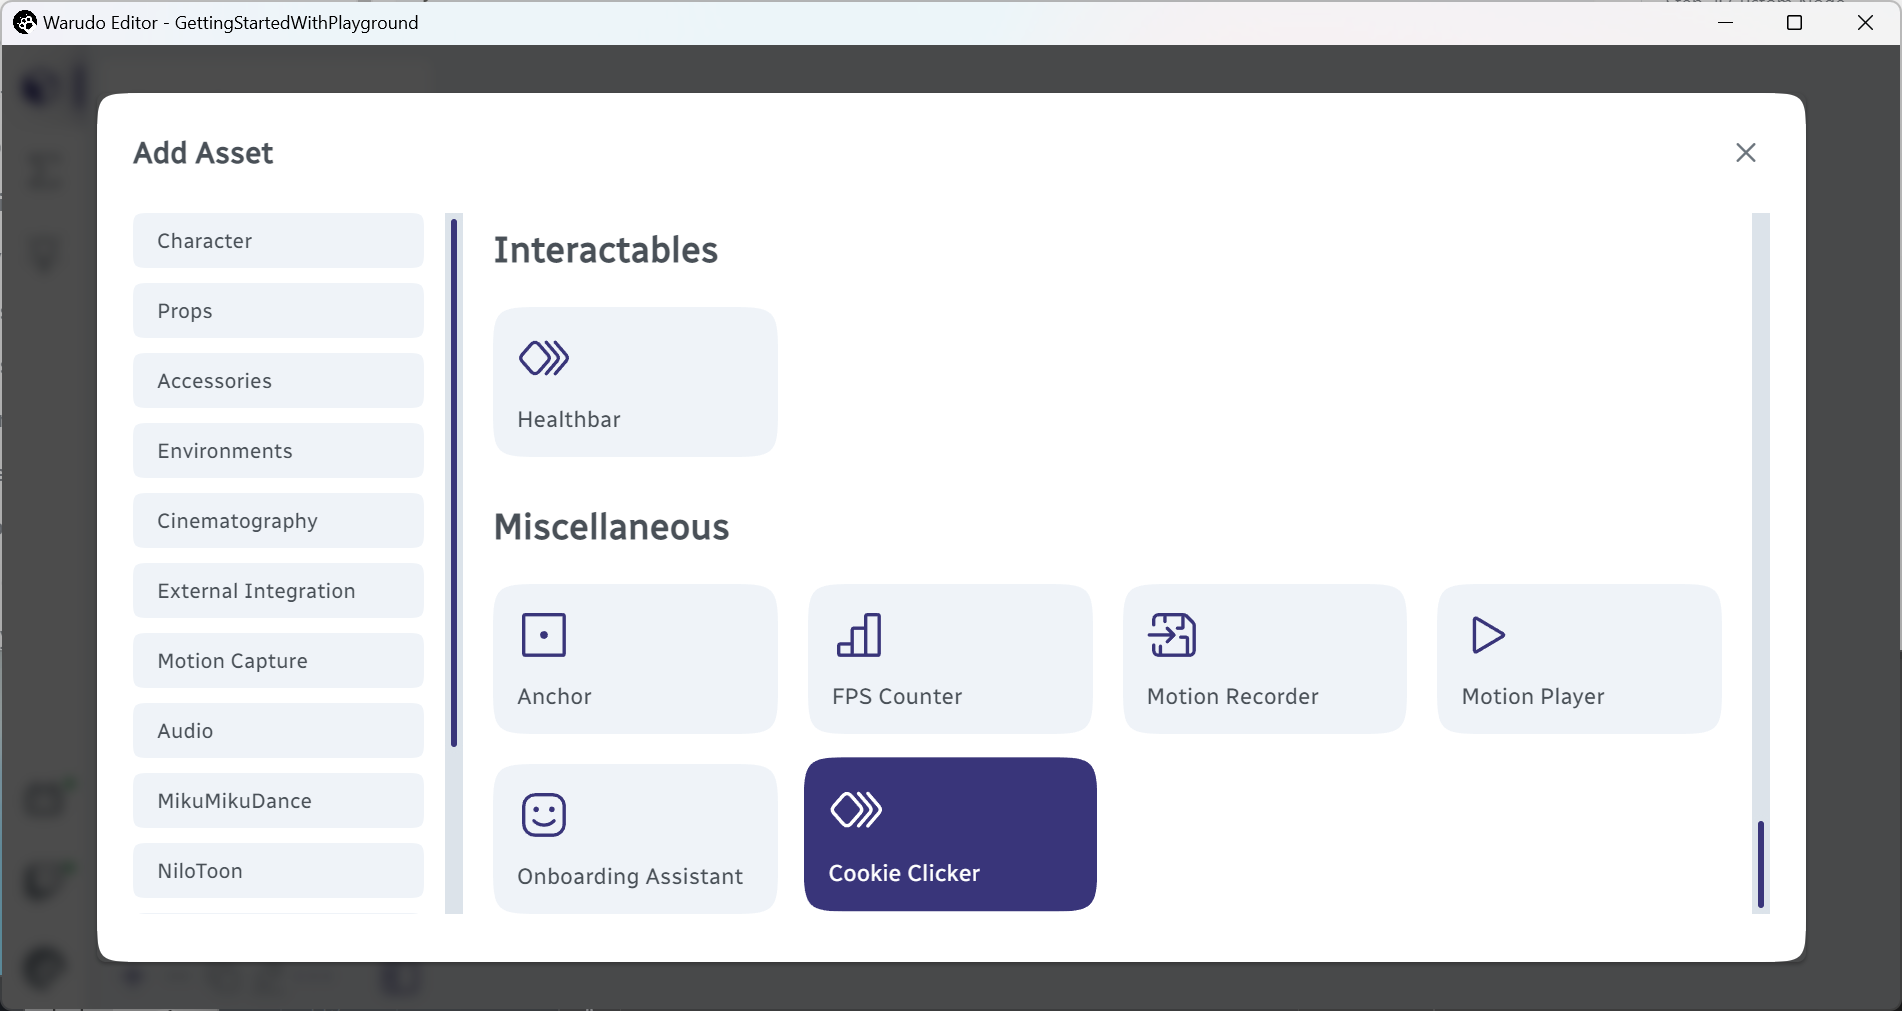
새로운 에셋은 Add Asset 메뉴에서 찾을 수 있어요:
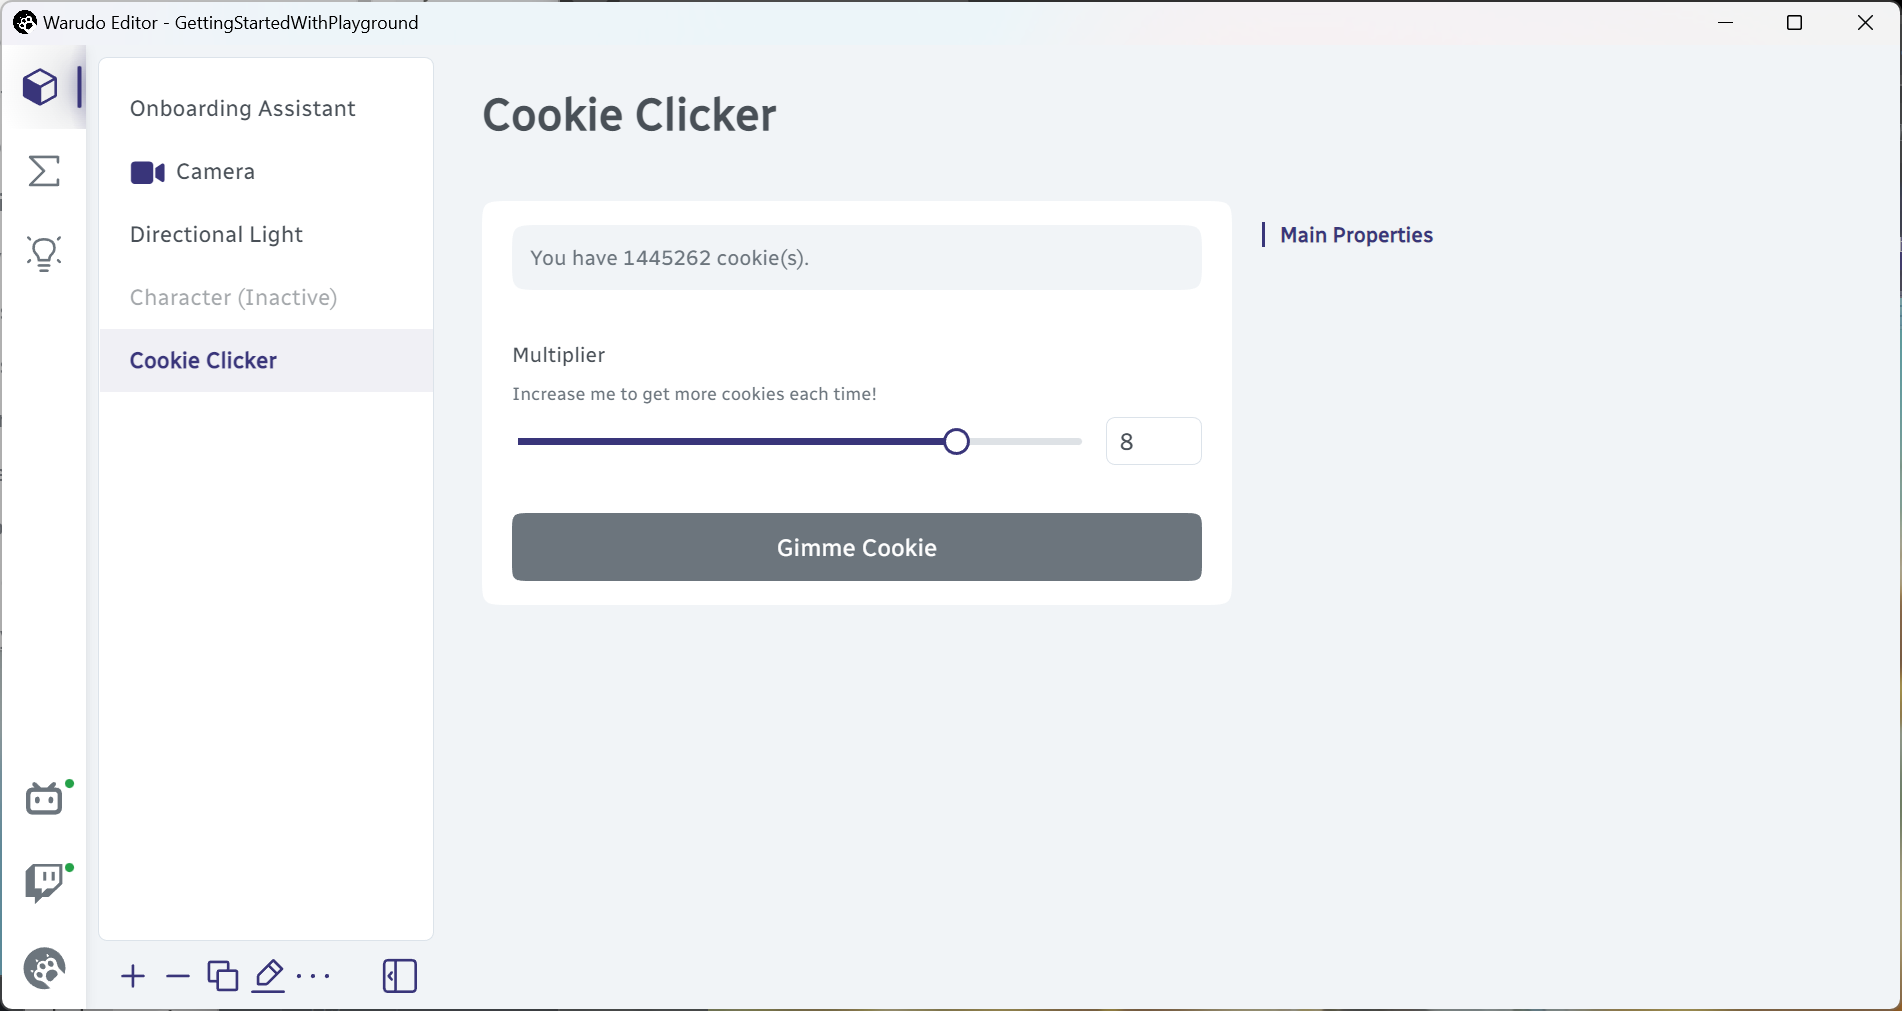
씬에 추가하고 즐겨보세요! VTubing이 필요 없을 정도로 재밌을 거예요!
Summary
이번 짧은 튜토리얼에서는 Playground를 사용하는 방법과 커스텀 노드 및 에셋의 기본 개념을 배웠어요. 다음 튜토리얼에서는 우리가 만든 커스텀 노드와 에셋을 배포하기 위한 플러그인 모드를 만드는 방법을 배울 거예요!