Creating Your First Script
There are two ways of scripting in Warudo: using Playground, or creating a plugin mod. In this tutorial, we will look into using Playground to write your first custom node!
What is playground? Think of Playground as a sandbox where you can write and test your custom nodes and assets. Instead of compiling and packaging your C# code, you can write your code directly in the Playground directory in your Warudo data folder. This allows you to quickly iterate and test your code without the need to build mods or restart Warudo.
Without further ado, let's dive in!
Keep in mind that if you have any questions, we have a dedicated #plugins-scripting channel on our Discord server where you can ask for help!
Step 1: Environment Setup
First, make sure you have .NET 8 SDK installed. Then, download the .csproj file here and put it into the Playground directory inside your Warudo data folder (Menu → Open Data Folder). This file helps your IDE to provide code auto-completion and syntax highlighting.
Open your favorite C# IDE - we will use JetBrains Rider, but other IDEs such as Visual Studio Code would work just fine (for Visual Studio Code, you may need to install the C# language extension).
Open the Playground directory in your IDE. Create a file called HelloWorldNode.cs in the directory, and paste the following into the file:
using Warudo.Core;
using Warudo.Core.Attributes;
using Warudo.Core.Graphs;

[NodeType(Id = "c76b2fef-a7e7-4299-b942-e0b6dec52660", Title = "Hello World")]
public class HelloWorldNode : Node {

    [FlowInput]
    public Continuation Enter() {
        Context.Service.PromptMessage("Hello World!", "This node is working!");
        return Exit;
    }

    [FlowOutput]
    public Continuation Exit;

}
Step 2: Custom Node
Open Warudo. Upon startup, you should see a pop-up message (called a toast) like this:
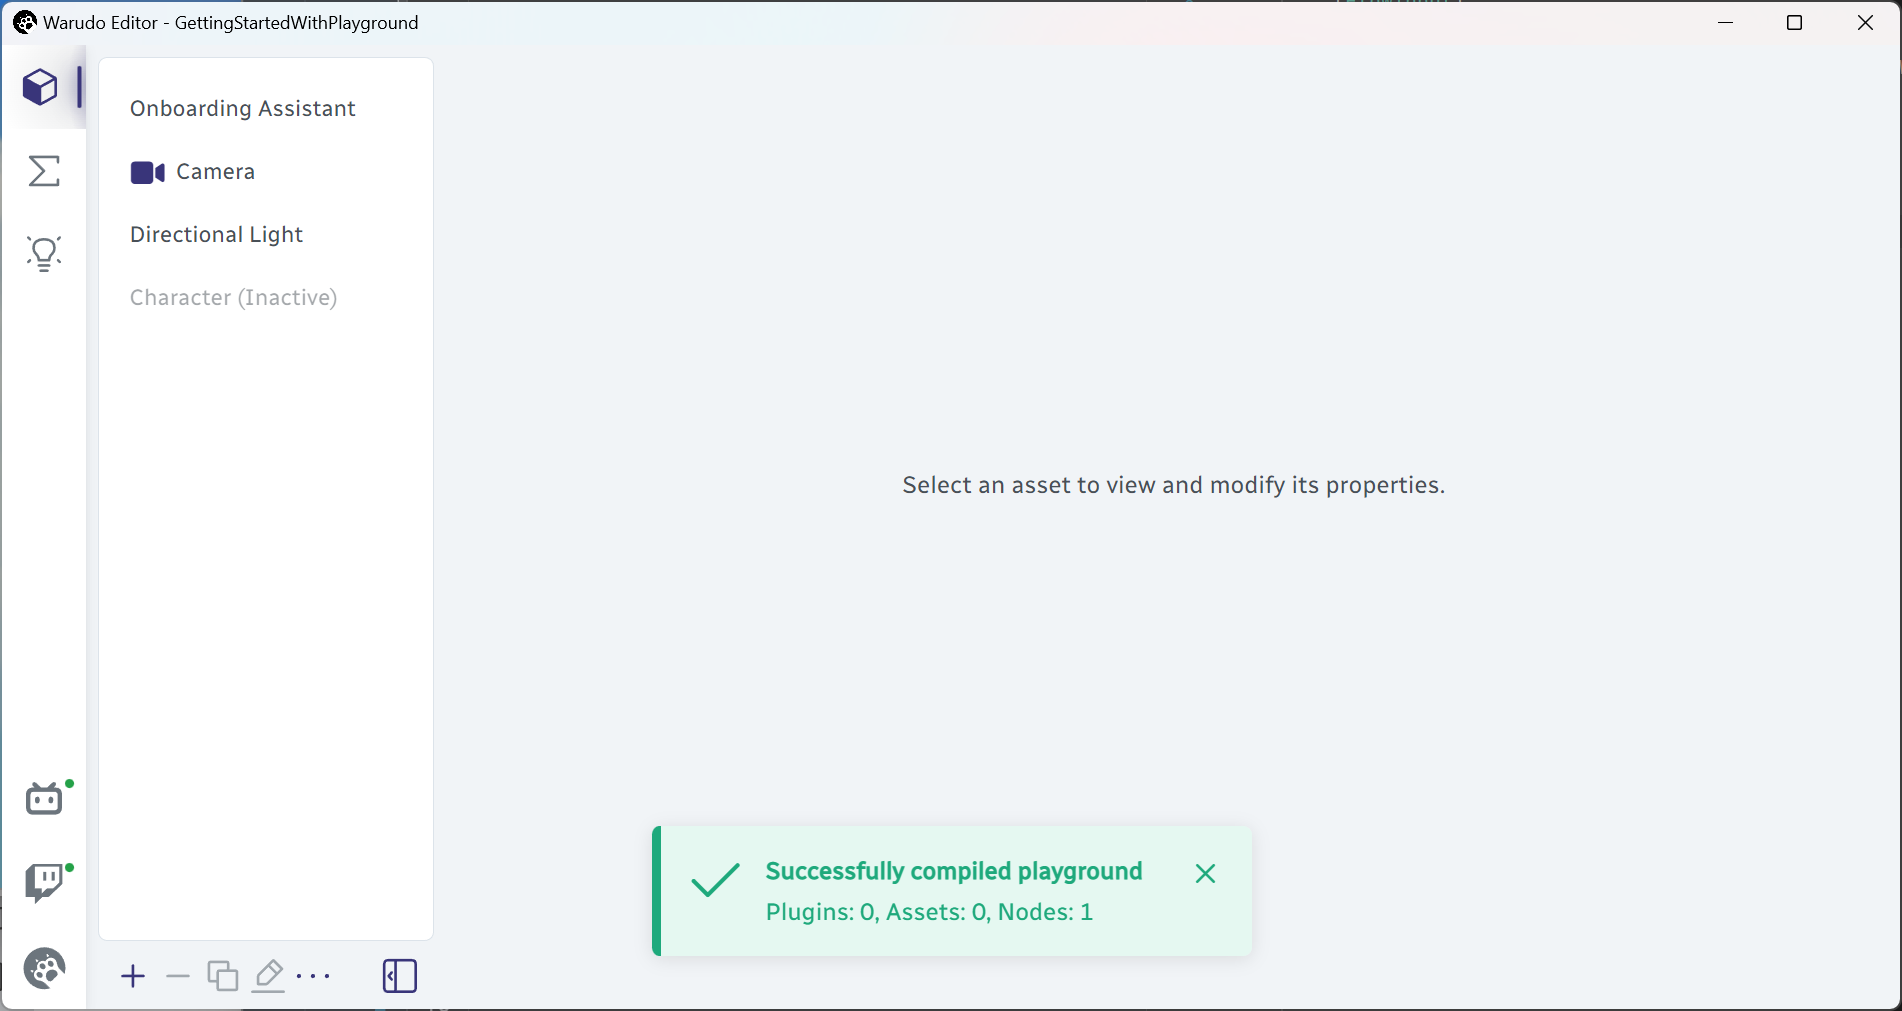
This indicates the HelloWorldNode.cs has been successfully compiled and loaded, and since the code above defines a custom node, we see Nodes: 1 in the message.
Go to the blueprints tab. Create a new blueprint and find the Hello World node in the node palette. Drag it out and you should see something like this:
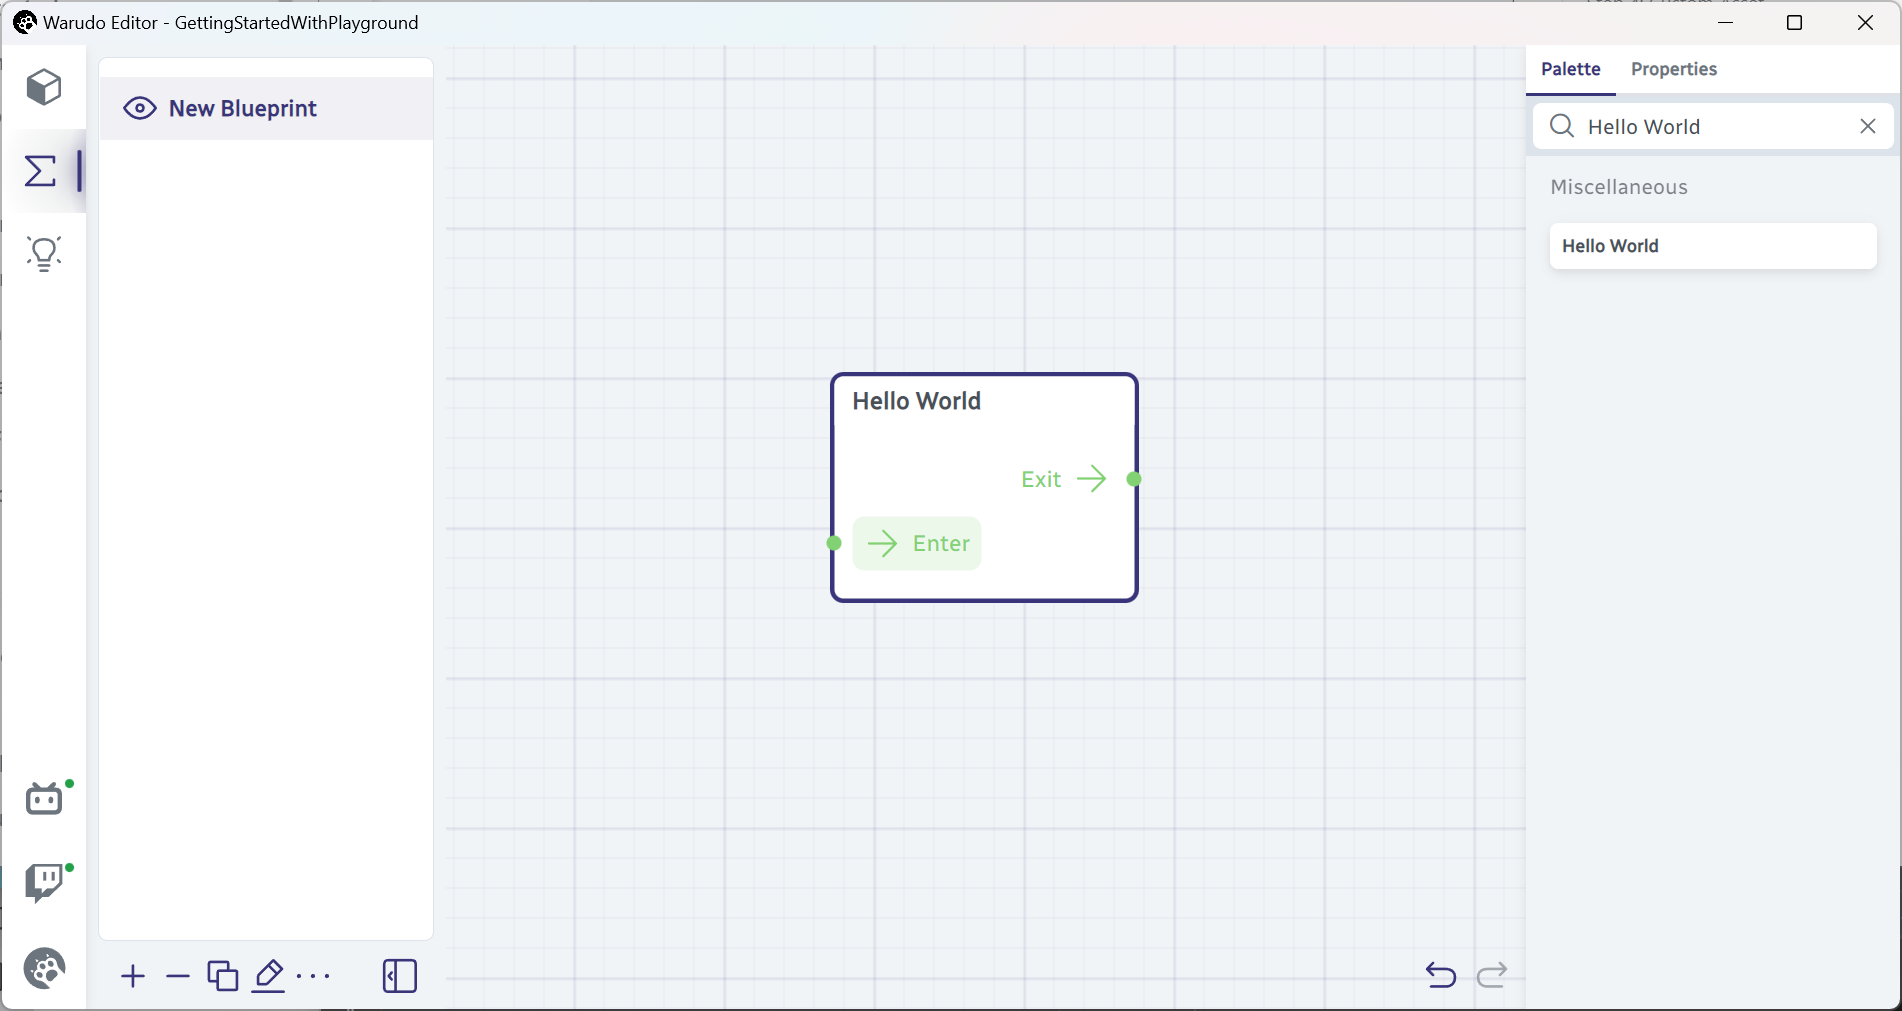
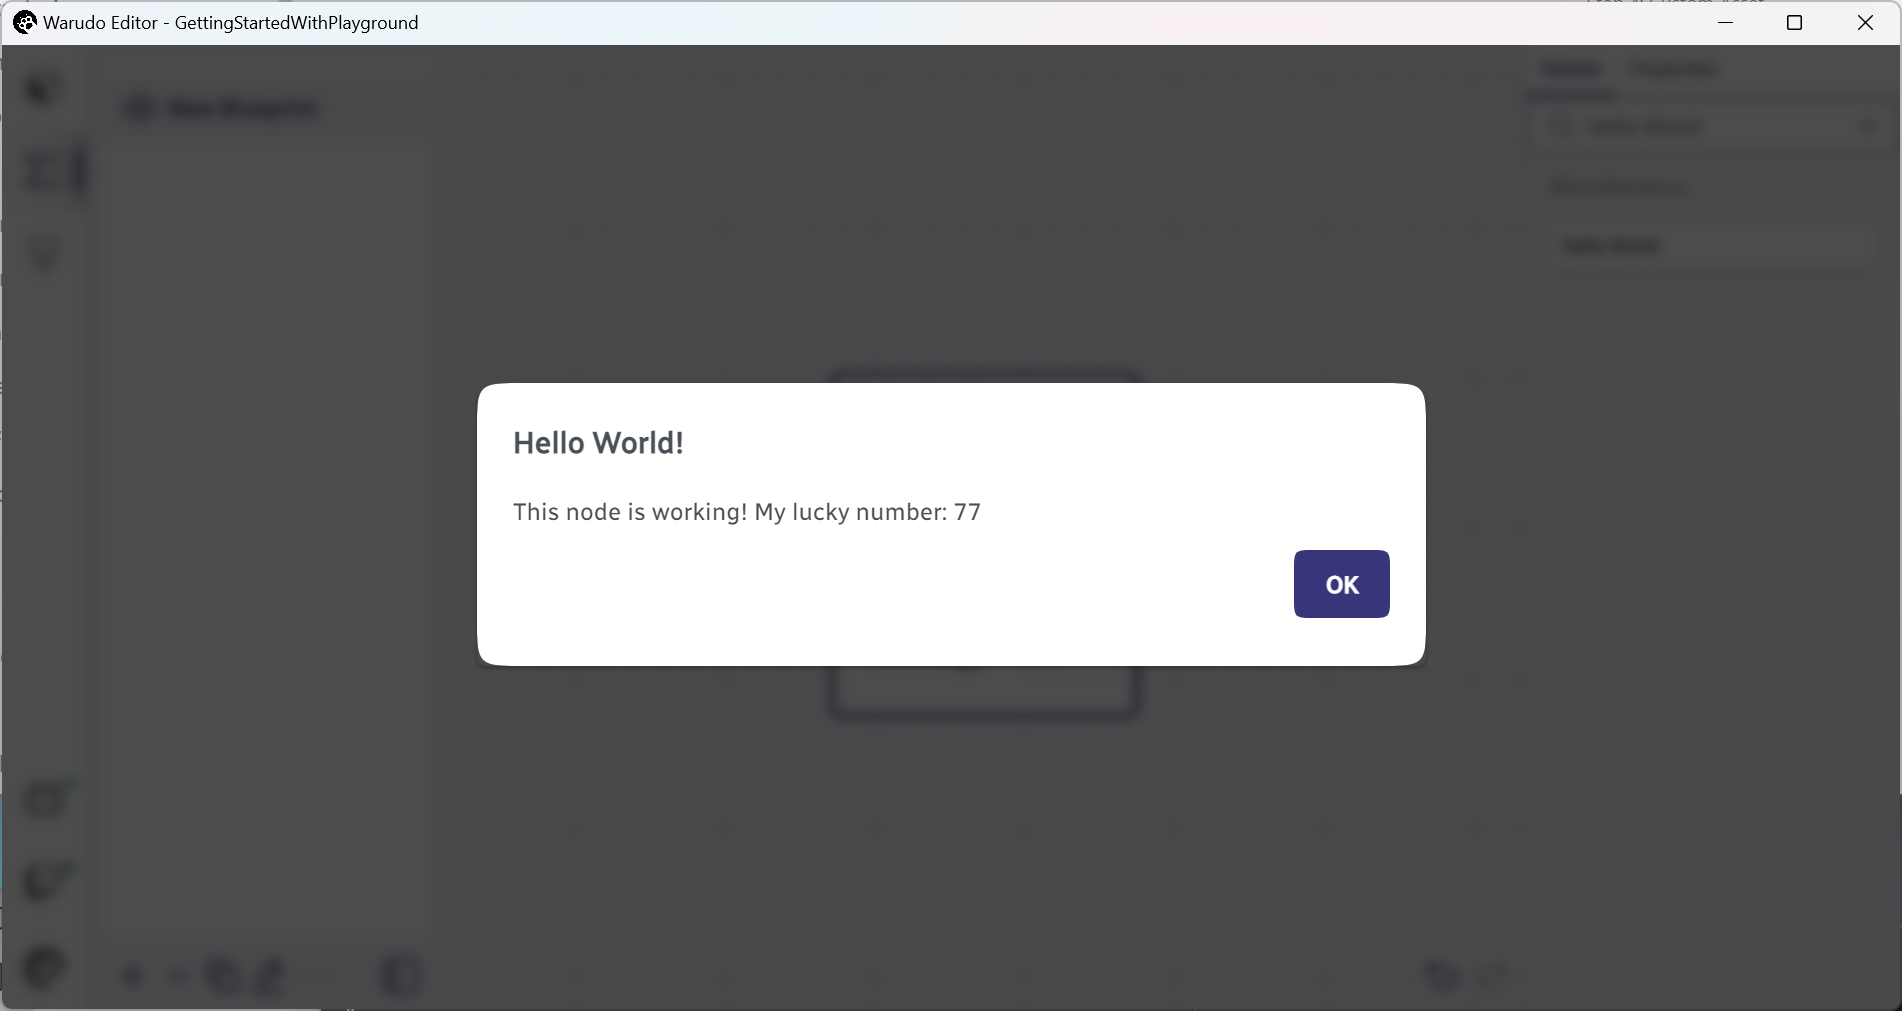
Click on the Enter flow input, and you should see this message:
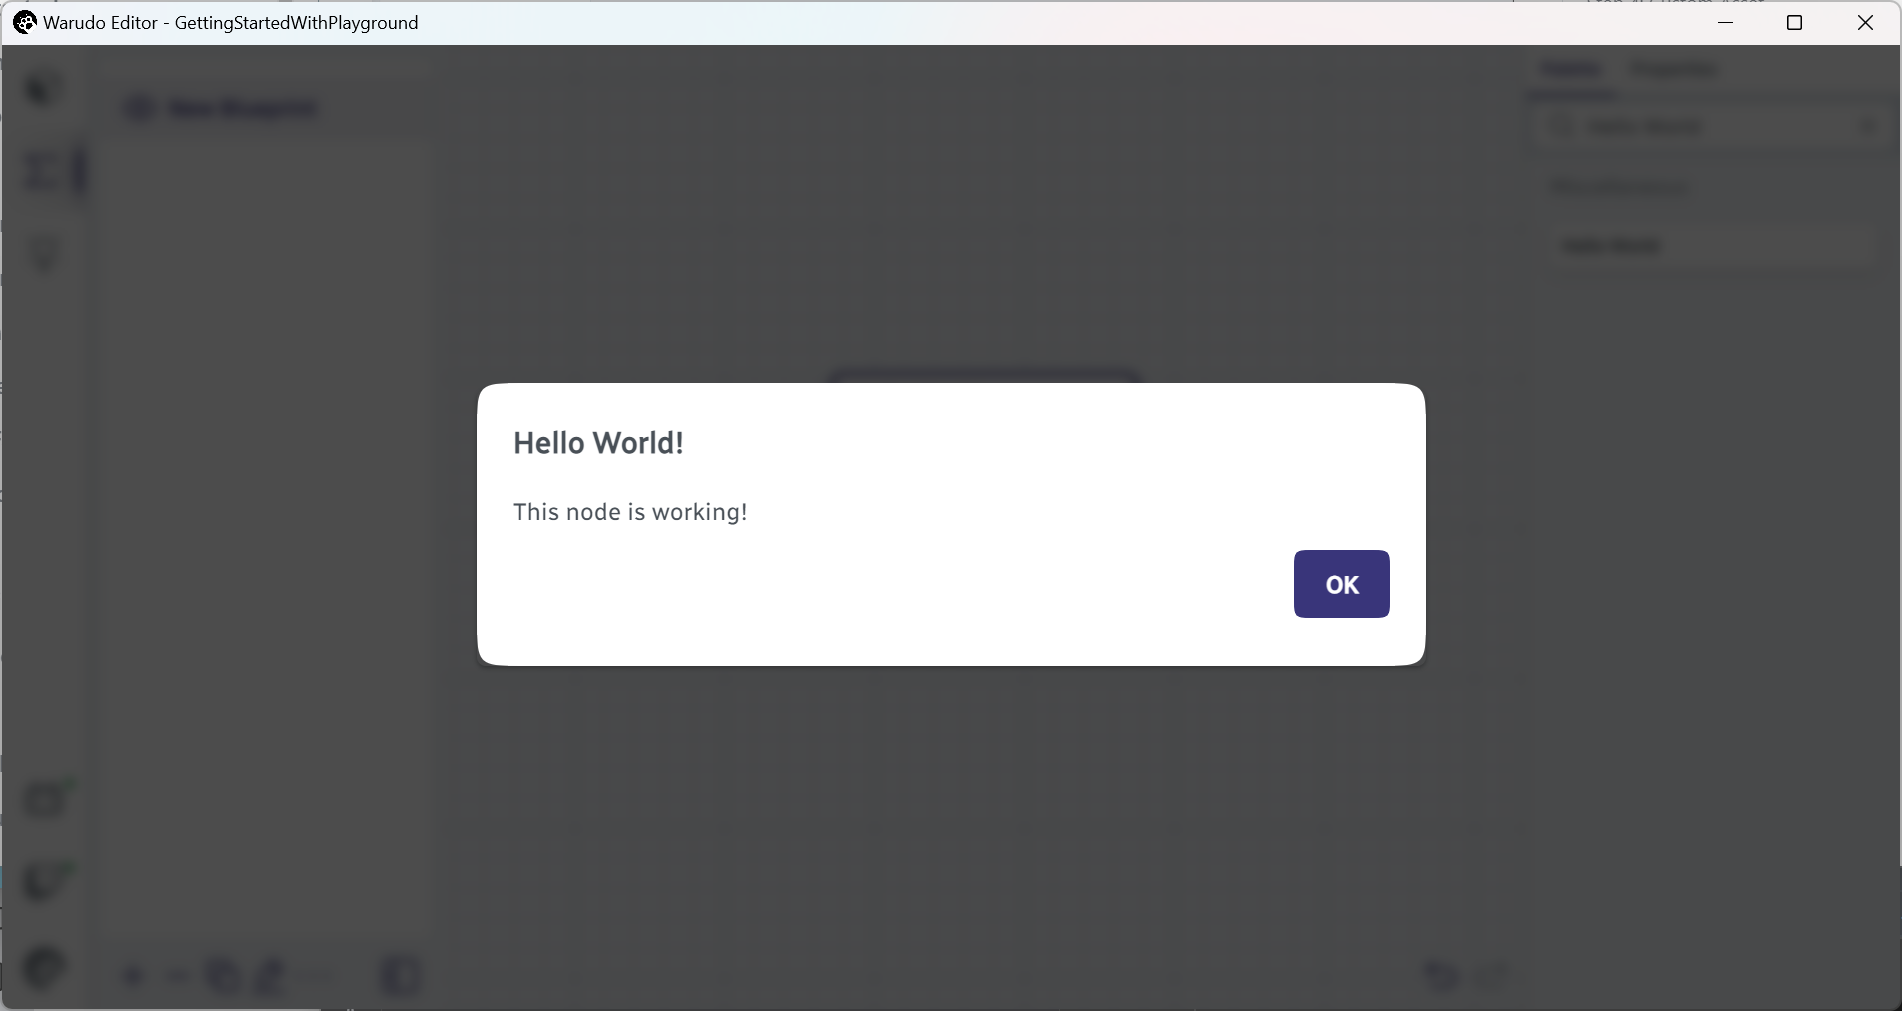
If all is working, congratulations! You have just created your very first Warudo node!
Step 3: Hot Reload
One thing awesome is that you don't need to restart Warudo every time you make code changes. In fact, Warudo automatically detects any changes you have made in the Playground directory and hot-reload your code!
Let's see that in action. Go back to the HelloWorldNode.cs and paste the following new code (or update your existing code if you want to practice typing):
using Warudo.Core;
using Warudo.Core.Attributes;
using Warudo.Core.Graphs;

[NodeType(Id = "c76b2fef-a7e7-4299-b942-e0b6dec52660", Title = "Hello World")]
public class HelloWorldNode : Node {

    // New code below
    [DataInput]
    [IntegerSlider(1, 100)]
    public int LuckyNumber = 42;
    // New code above

    [FlowInput]
    public Continuation Enter() {
        // Changed code below
        Context.Service.PromptMessage("Hello World!", "This node is working! My lucky number: " + LuckyNumber);
        return Exit;
    }

    [FlowOutput]
    public Continuation Exit;

}
Immediately after you press Ctrl+S, another toast message should appear, indicating the node has been successfully compiled and hot-reloaded. The node in the blueprint is also updated accordingly:
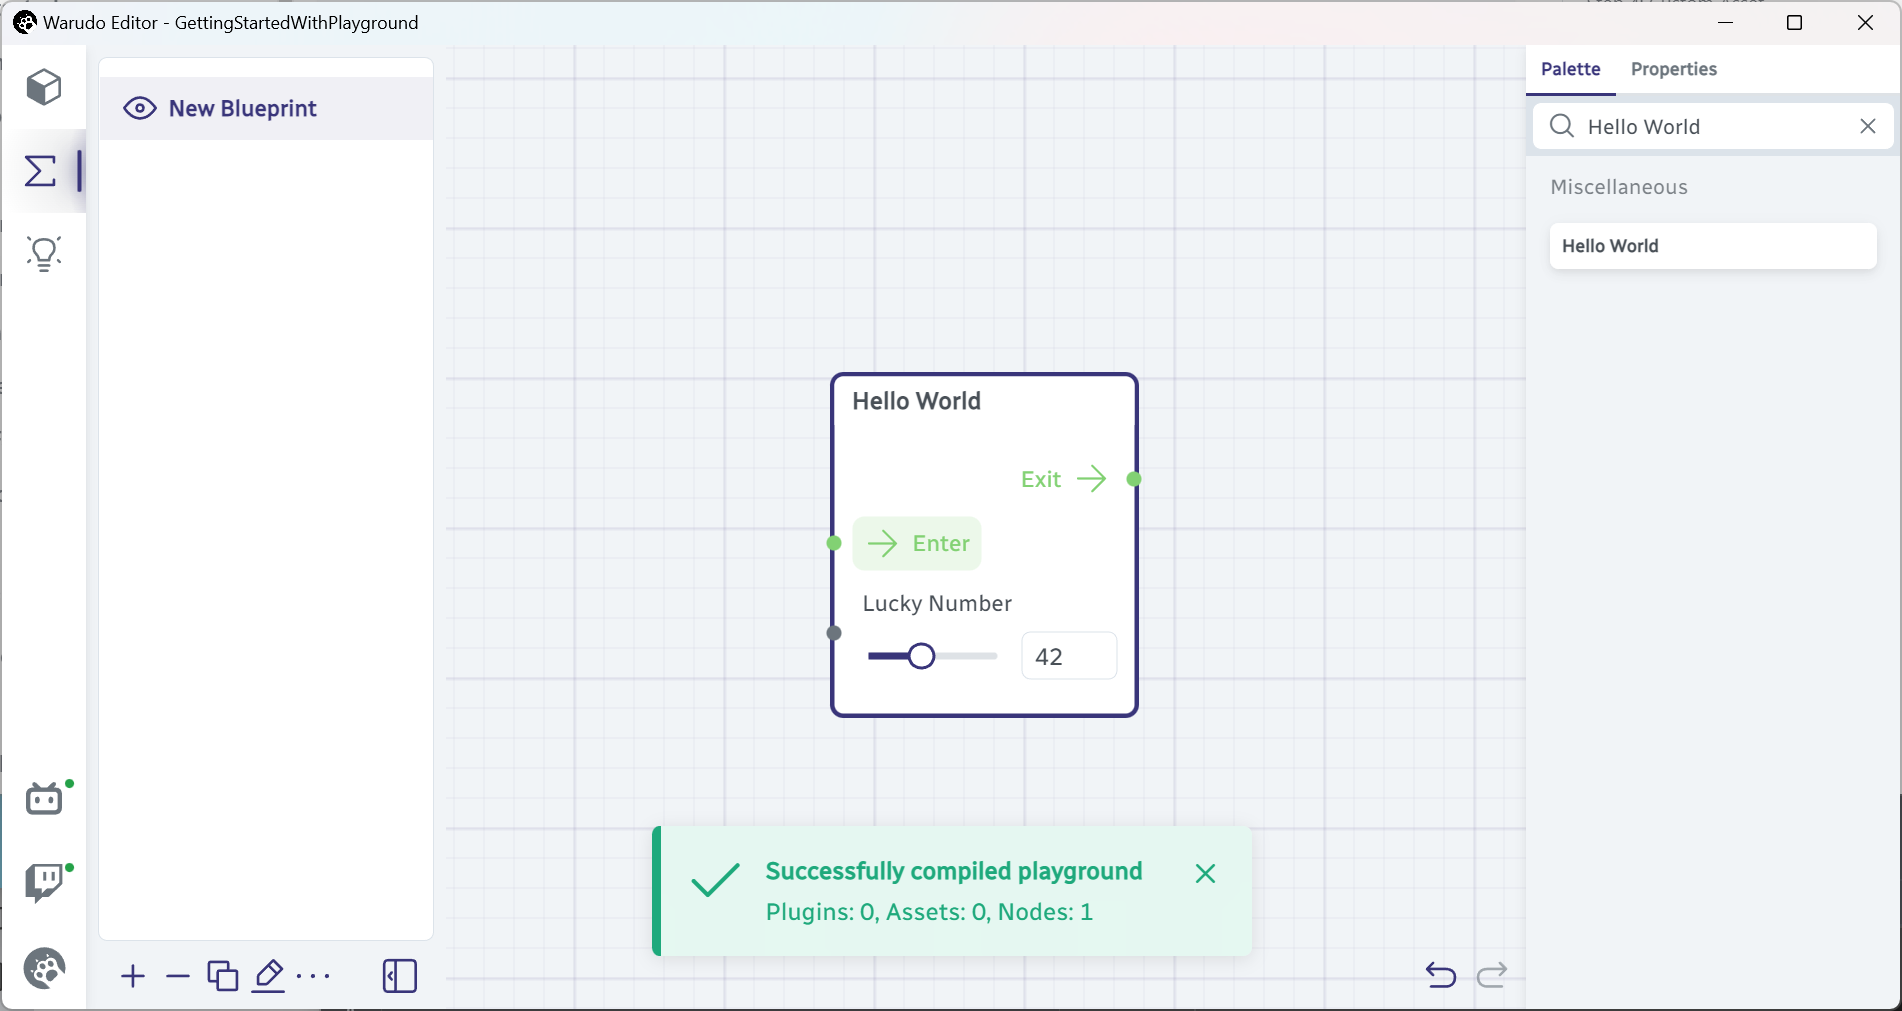
Try set a lucky number and verify the node still works!
Step 4: Custom Asset
Warudo can also detect new .cs files. Let's try creating a custom asset this time. Create a file called CookieClickerAsset.cs in the Playground directory, and paste the following code:
using Warudo.Core.Attributes;
using Warudo.Core.Scenes;

[AssetType(Id = "82ae6c21-e202-4e0e-9183-318e2e607672", Title = "Cookie Clicker")]
public class CookieClickerAsset : Asset {

    [Markdown]
    public string Status = "You don't have any cookies.";

    [DataInput]
    [IntegerSlider(1, 10)]
    [Description("Increase me to get more cookies each time!")]
    public int Multiplier = 1;

    private int count;

    [Trigger]
    public void GimmeCookie() {
        count += Multiplier;
        SetDataInput(nameof(Status), "You have " + count + " cookie(s).", broadcast: true);
    }

    protected override void OnCreate() {
        base.OnCreate();
        SetActive(true);
    }

}
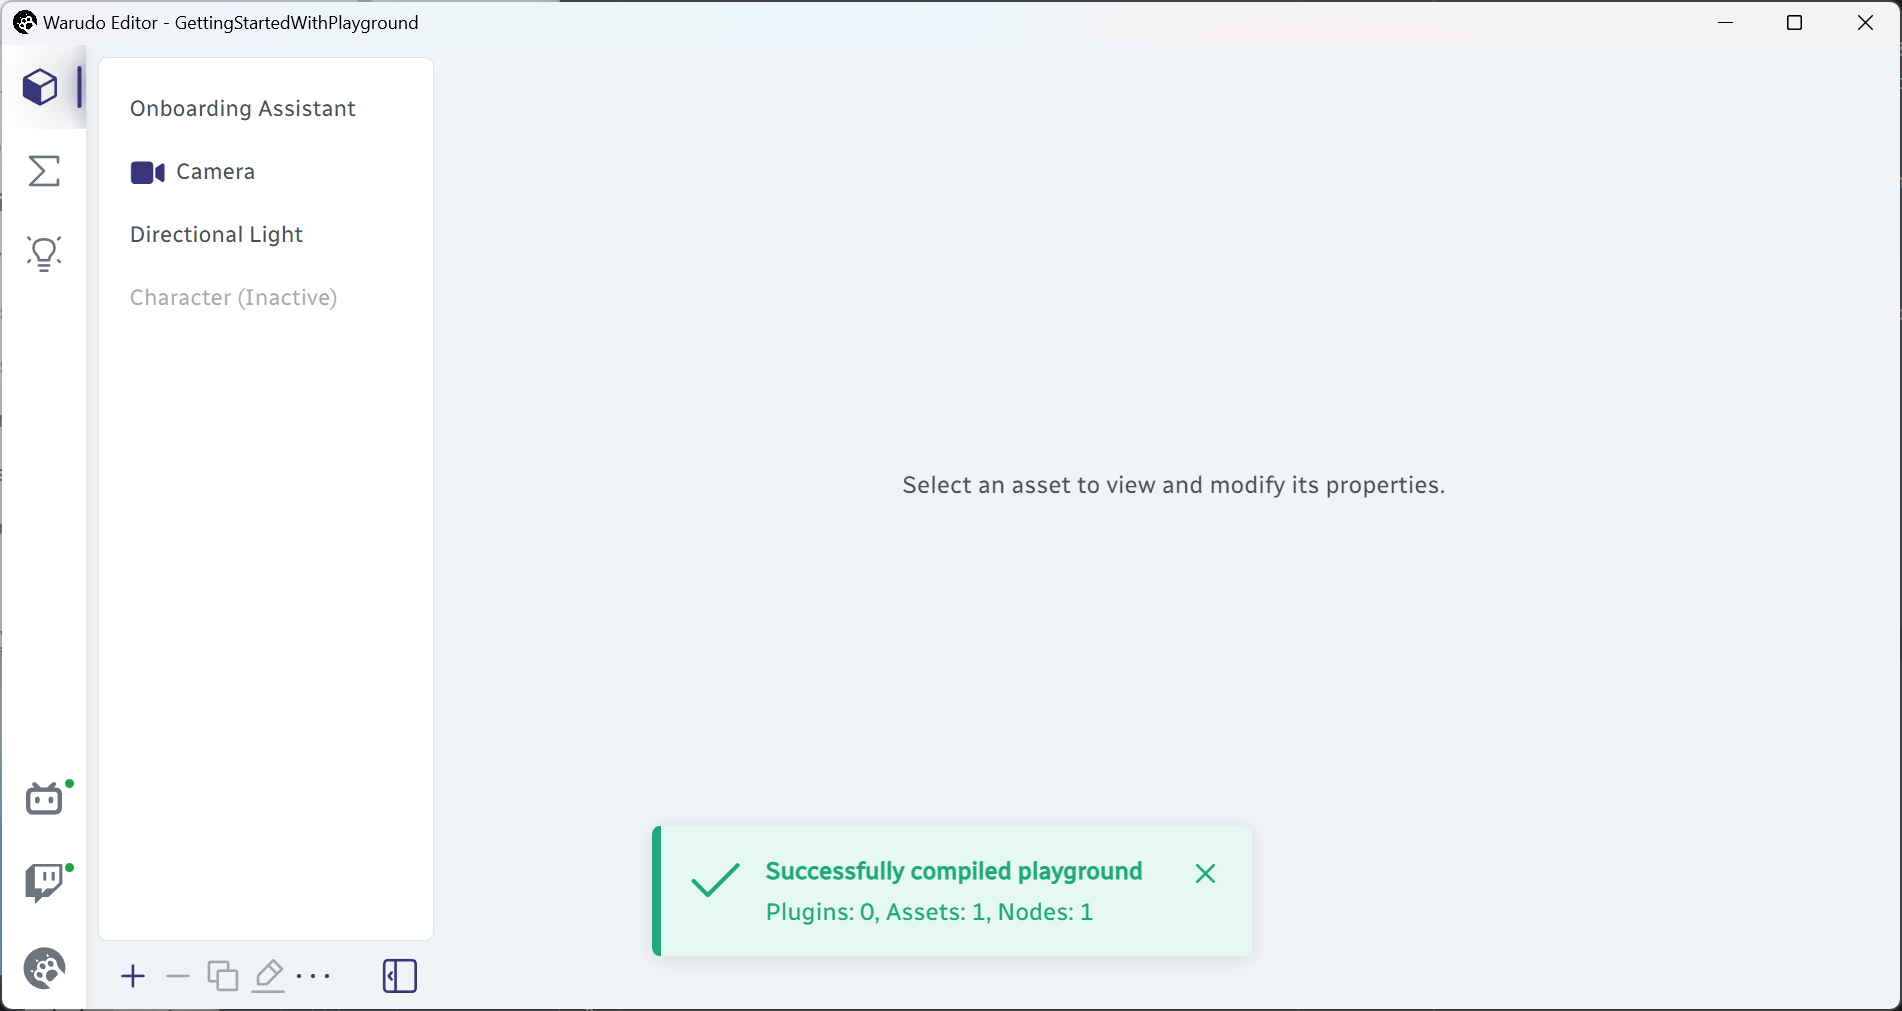
You should see a toast message that indicates one custom node (HelloWorldNode.cs) and one custom asset (CookieClickerAsset.cs) have been loaded:
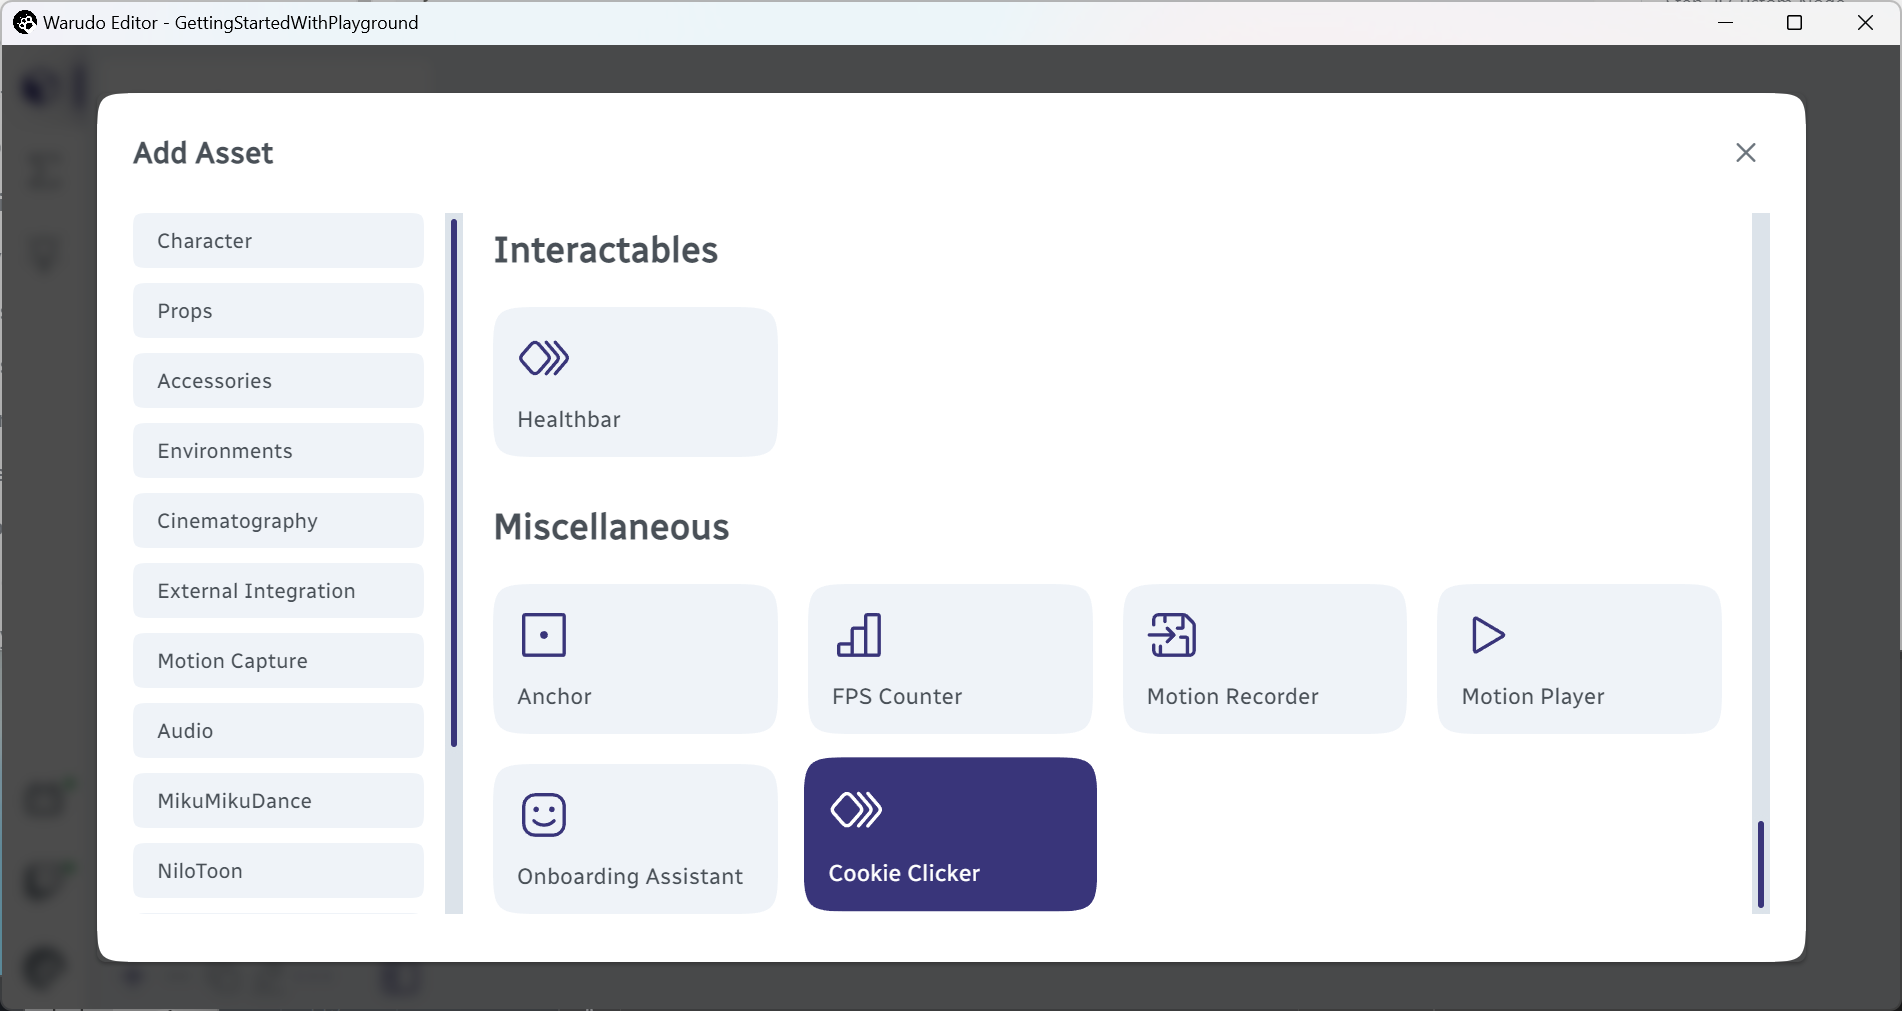
You can find the new asset in the Add Asset menu:
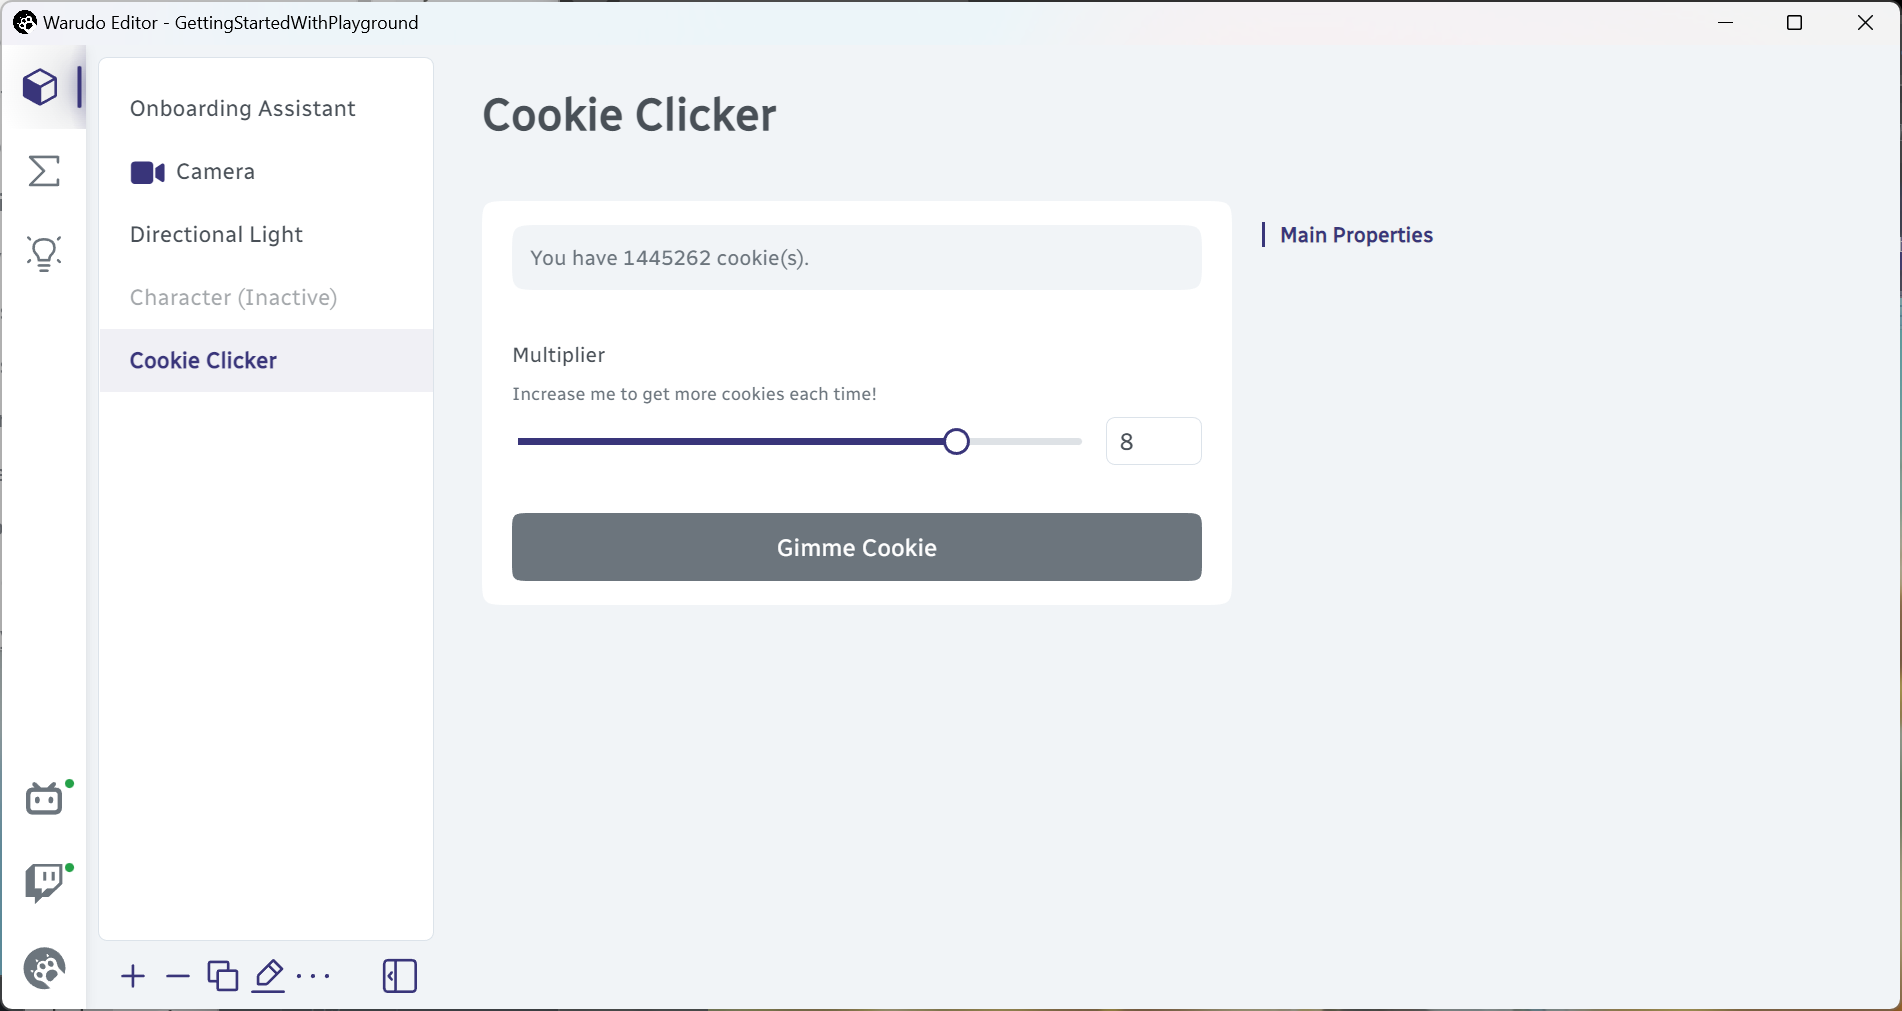
Add it to your scene and have fun! Who needs VTubing when I can do this all day?
Summary
In this short tutorial, we learned how to use Playground and took a glimpse into how custom nodes and assets work. In the next tutorial, we will see how to create a plugin mod to distribute the custom node and asset we have just created!