Getting Started
Basic Setup
First, when you open Warudo, you should see two windows: the main window and the editor window.
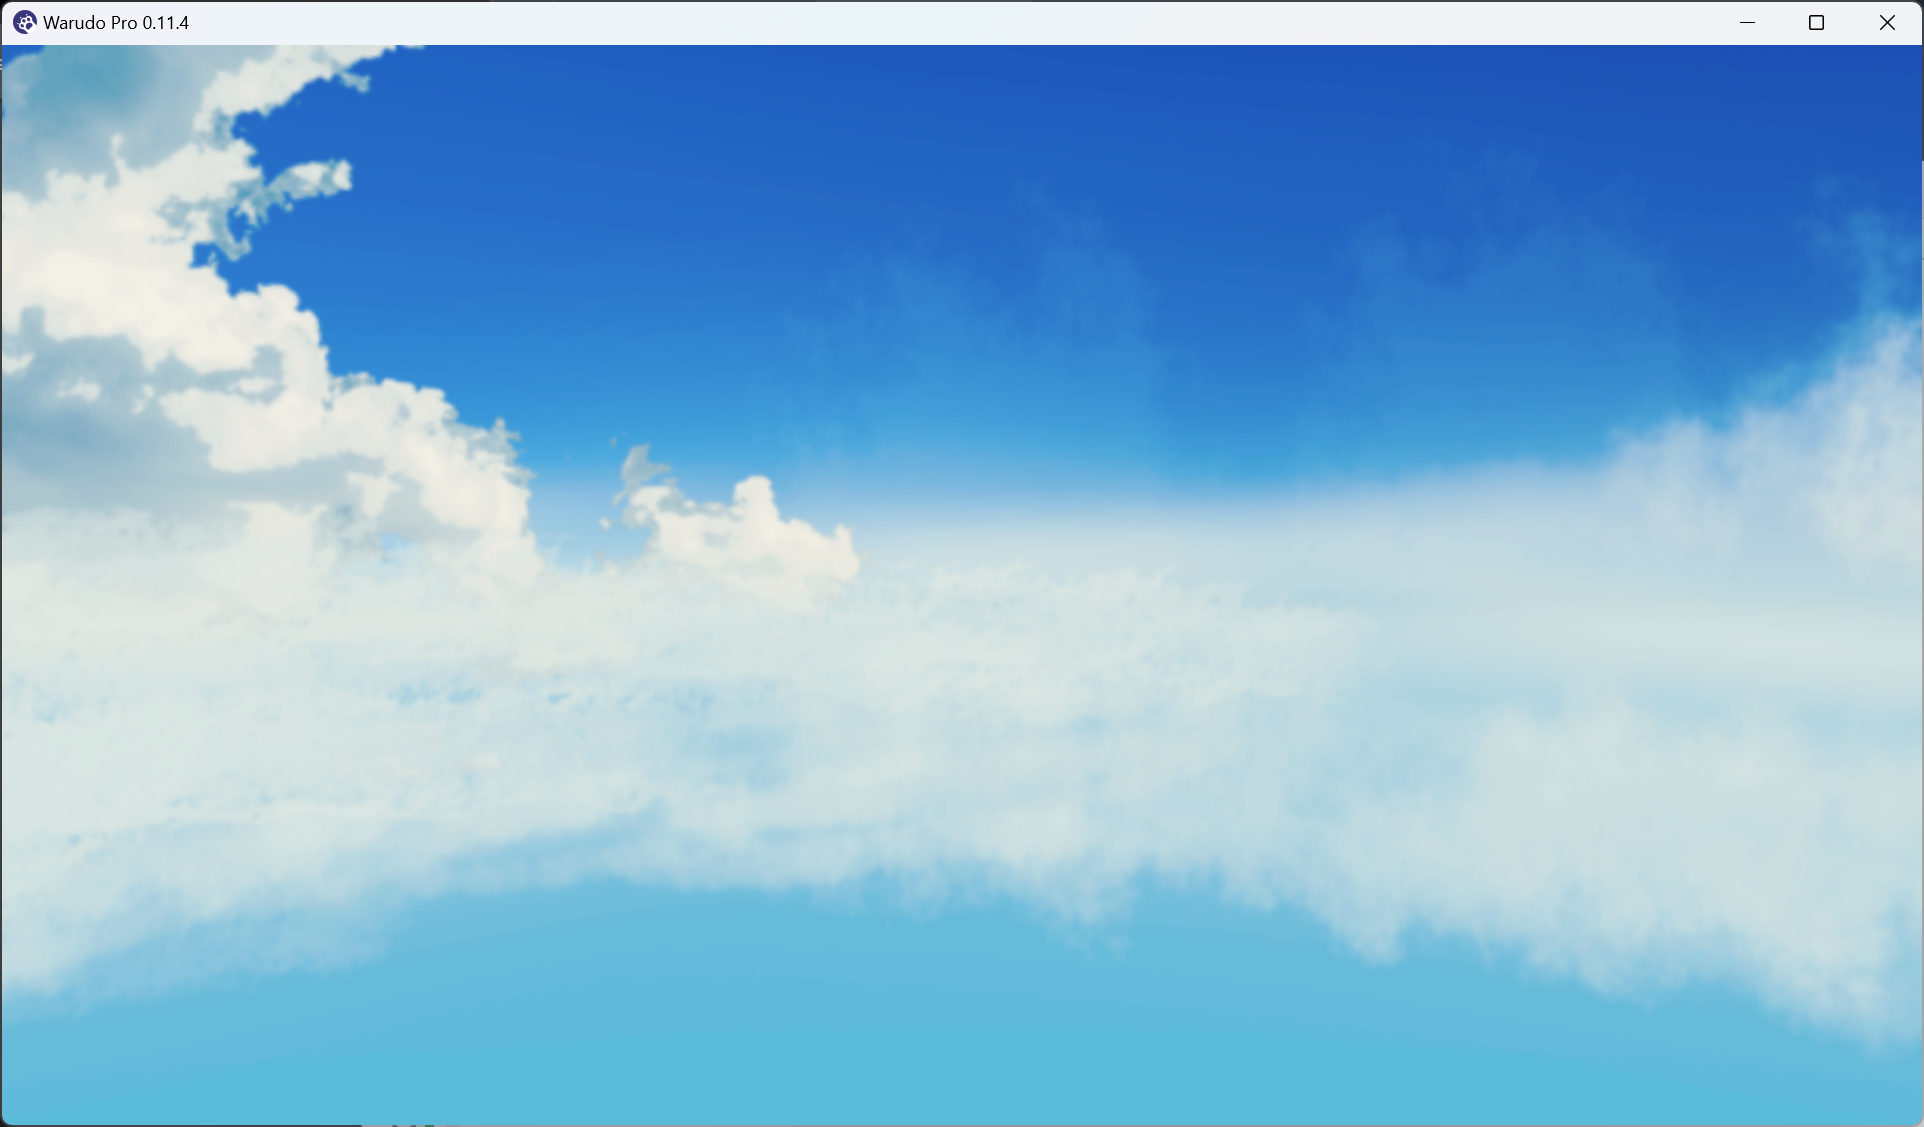
Main window.
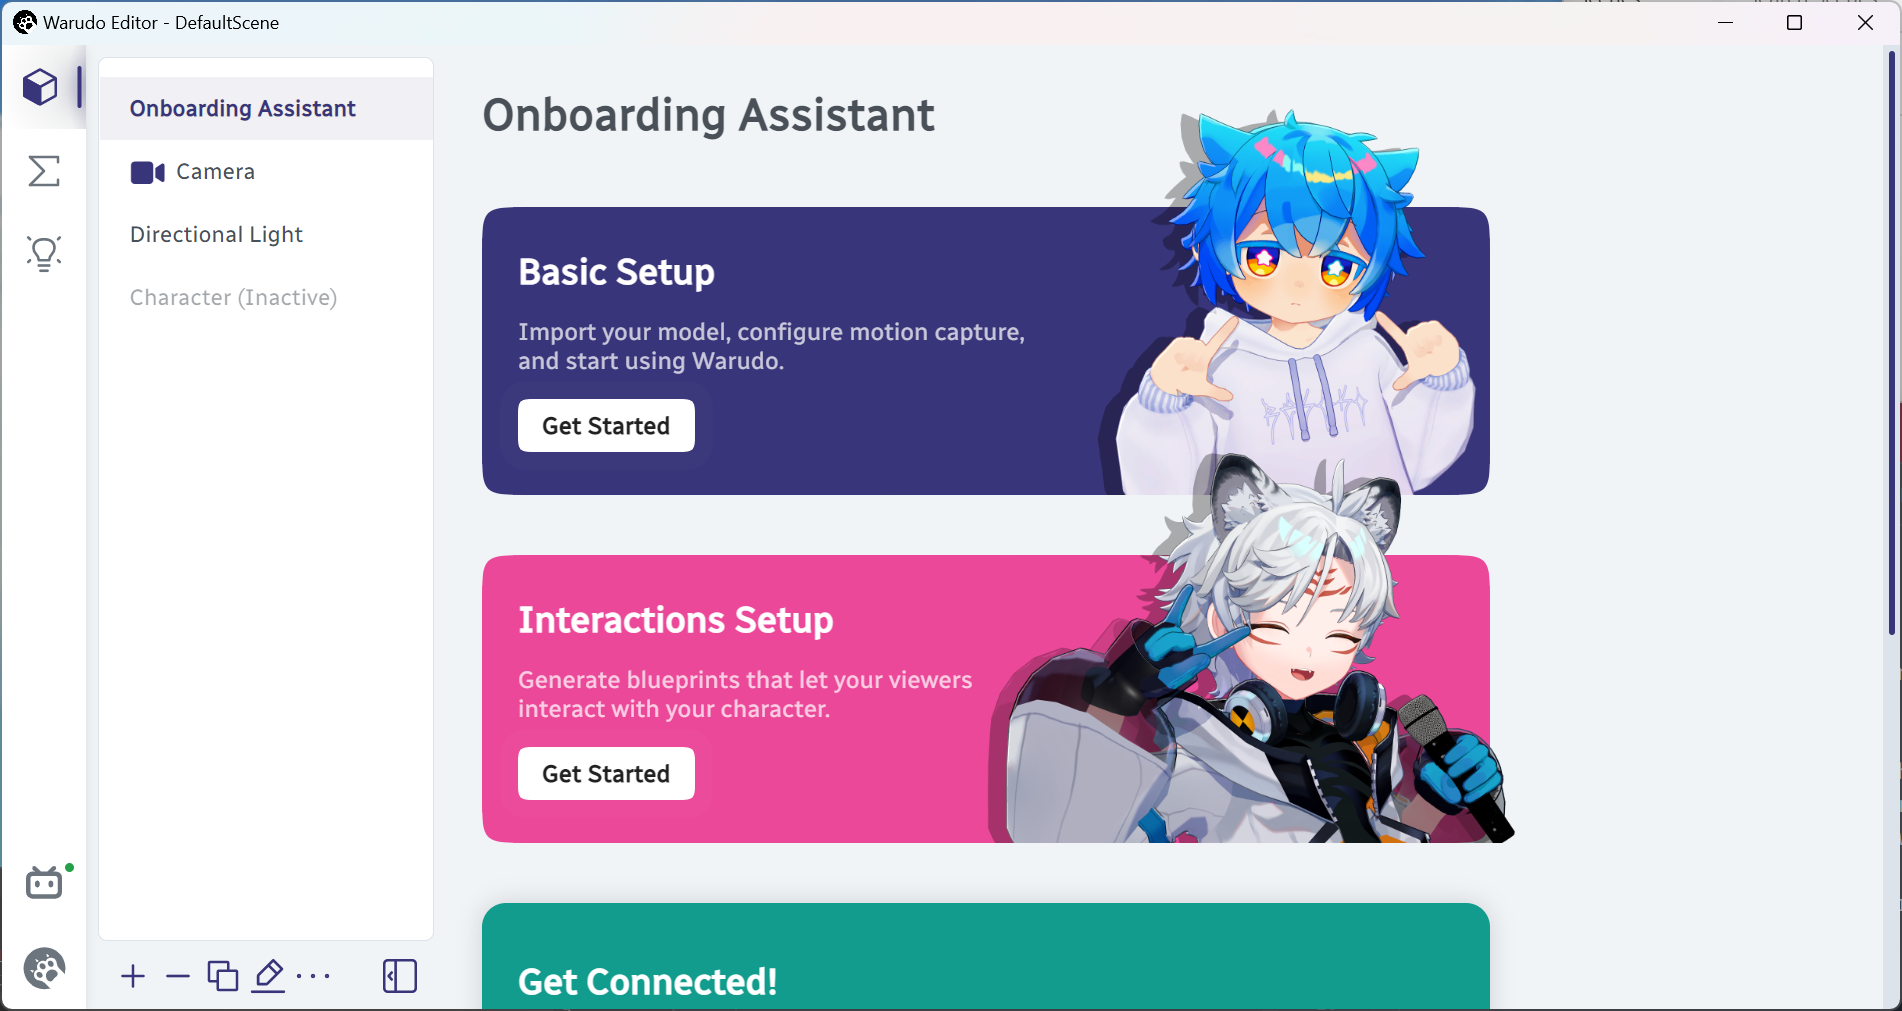
Editor window.
The editor is used to configure your character, environment, etc., while the main window is where everything is in action. You can close the editor window at anytime and reopen it by pressing Esc while the main window is focused.
Time to dive in! Click on Basic Setup → Get Started.
Basic setup window.
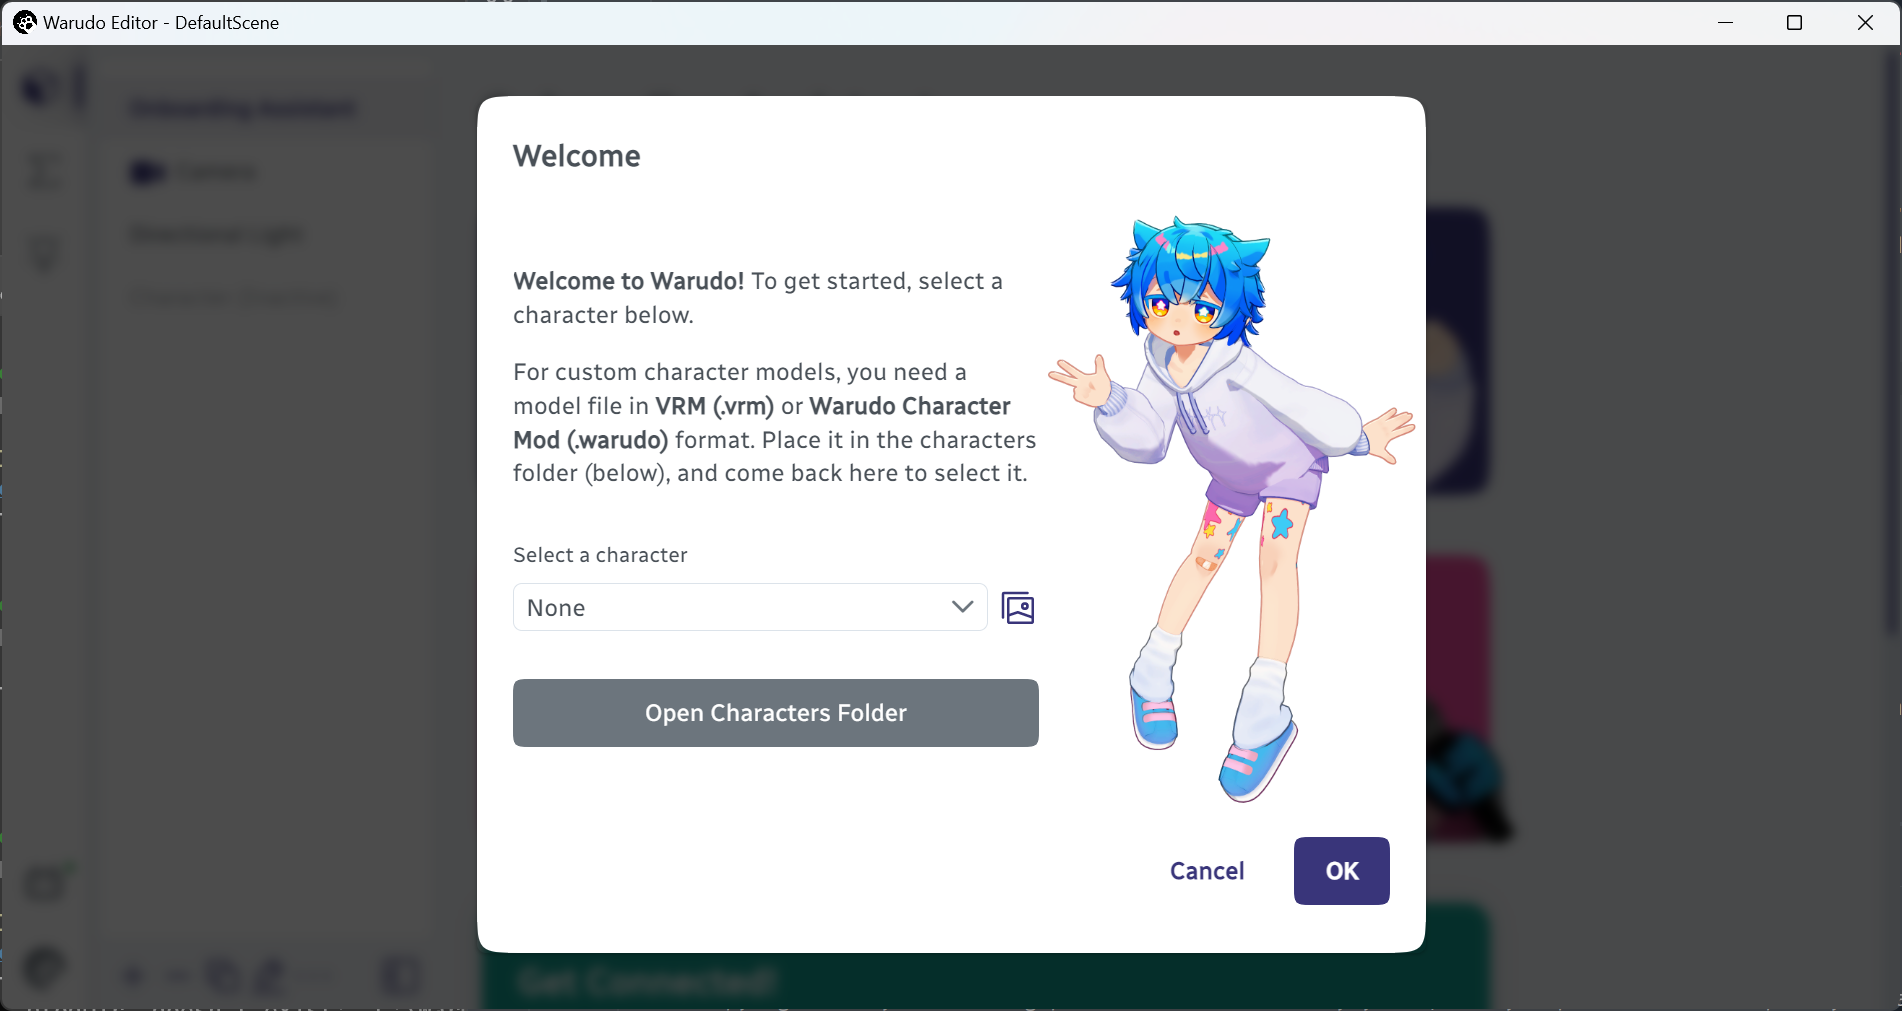
Click on Open Characters Folder, and you should see a folder named "Characters" opened in the file explorer. This is where you put your character models.
Warudo supports two model formats: .vrm and .warudo. The former is a standard avatar format exported by software like VRoid Studio, while the latter is Warudo's own format and supports virtually any Unity-compatible character model (details). For now, let's just put a .vrm file in the "Characters" folder.
Q: Does Warudo support .vsfavatar models?
A: No, Warudo does not support .vsfavatar models. However, if you have access to the Unity source files that are used to create the .vsfavatar model, creating a .warudo model is very easy; both .vsfavatar and .warudo are exported from Unity. Please follow the modding guide for more details.
Now, go back to Warudo and open the dropdown. You should see your character's name in the list. Select it, and you should see your character loaded into the scene!
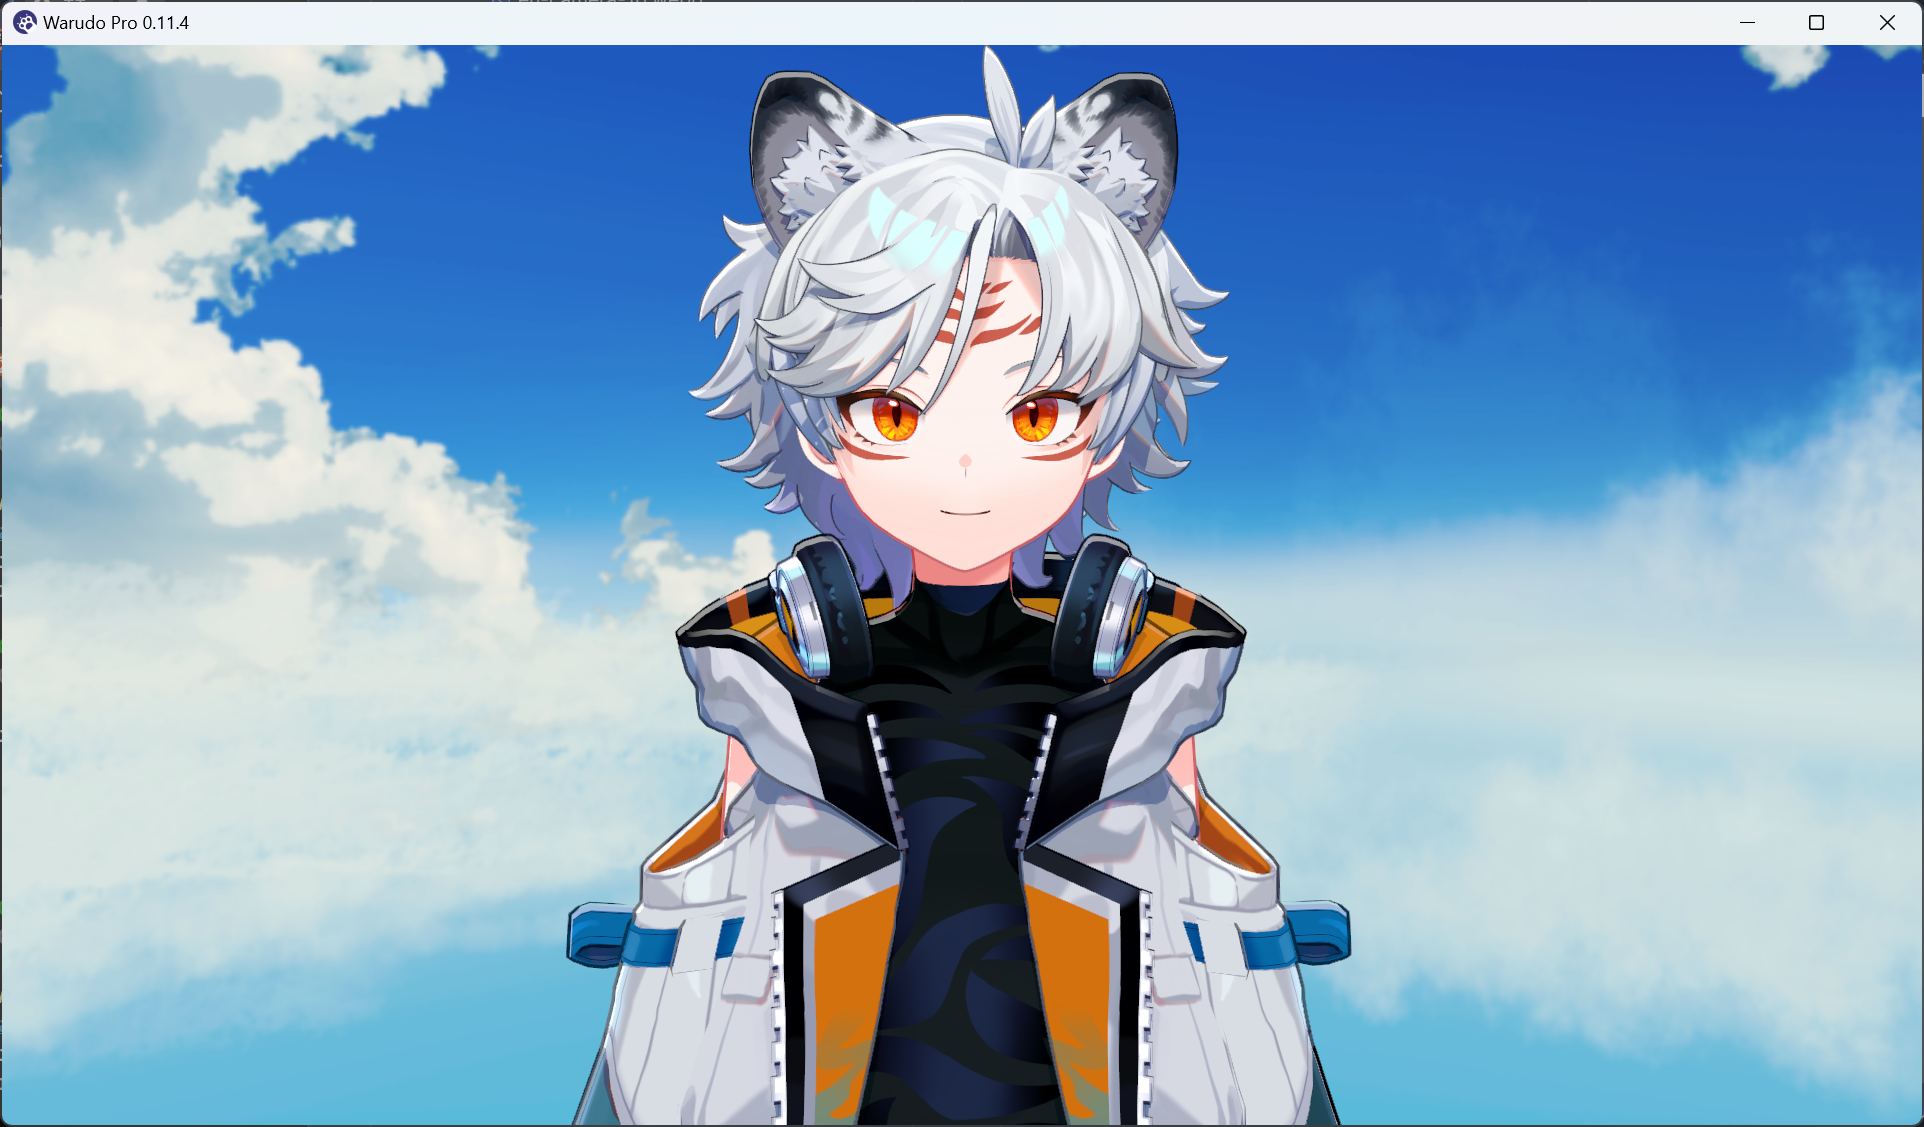
Character loaded into the scene.
Let's click OK to move on to the next step. Here, you are asked if you would like Warudo to recommend a motion capture setup for you. If you select "Yes," Warudo asks you a few questions to decide what face tracking and pose tracking solutions to use. For example, if you have an iPhone and a webcam, and you don't have a Leap Motion Controller or full-body tracking hardware, Warudo will recommend using iFacialMocap (an iPhone app) for face tracking and MediaPipe (a built-in tracking that uses your webcam) for hand tracking. If you select "No," then you will have to manually select what face tracking and pose tracking solutions to use.
If you are a first-time user, we recommend selecting "Yes" to let Warudo recommend a motion capture setup for you. Click OK, and select the options that best describe your setup, and click OK again.
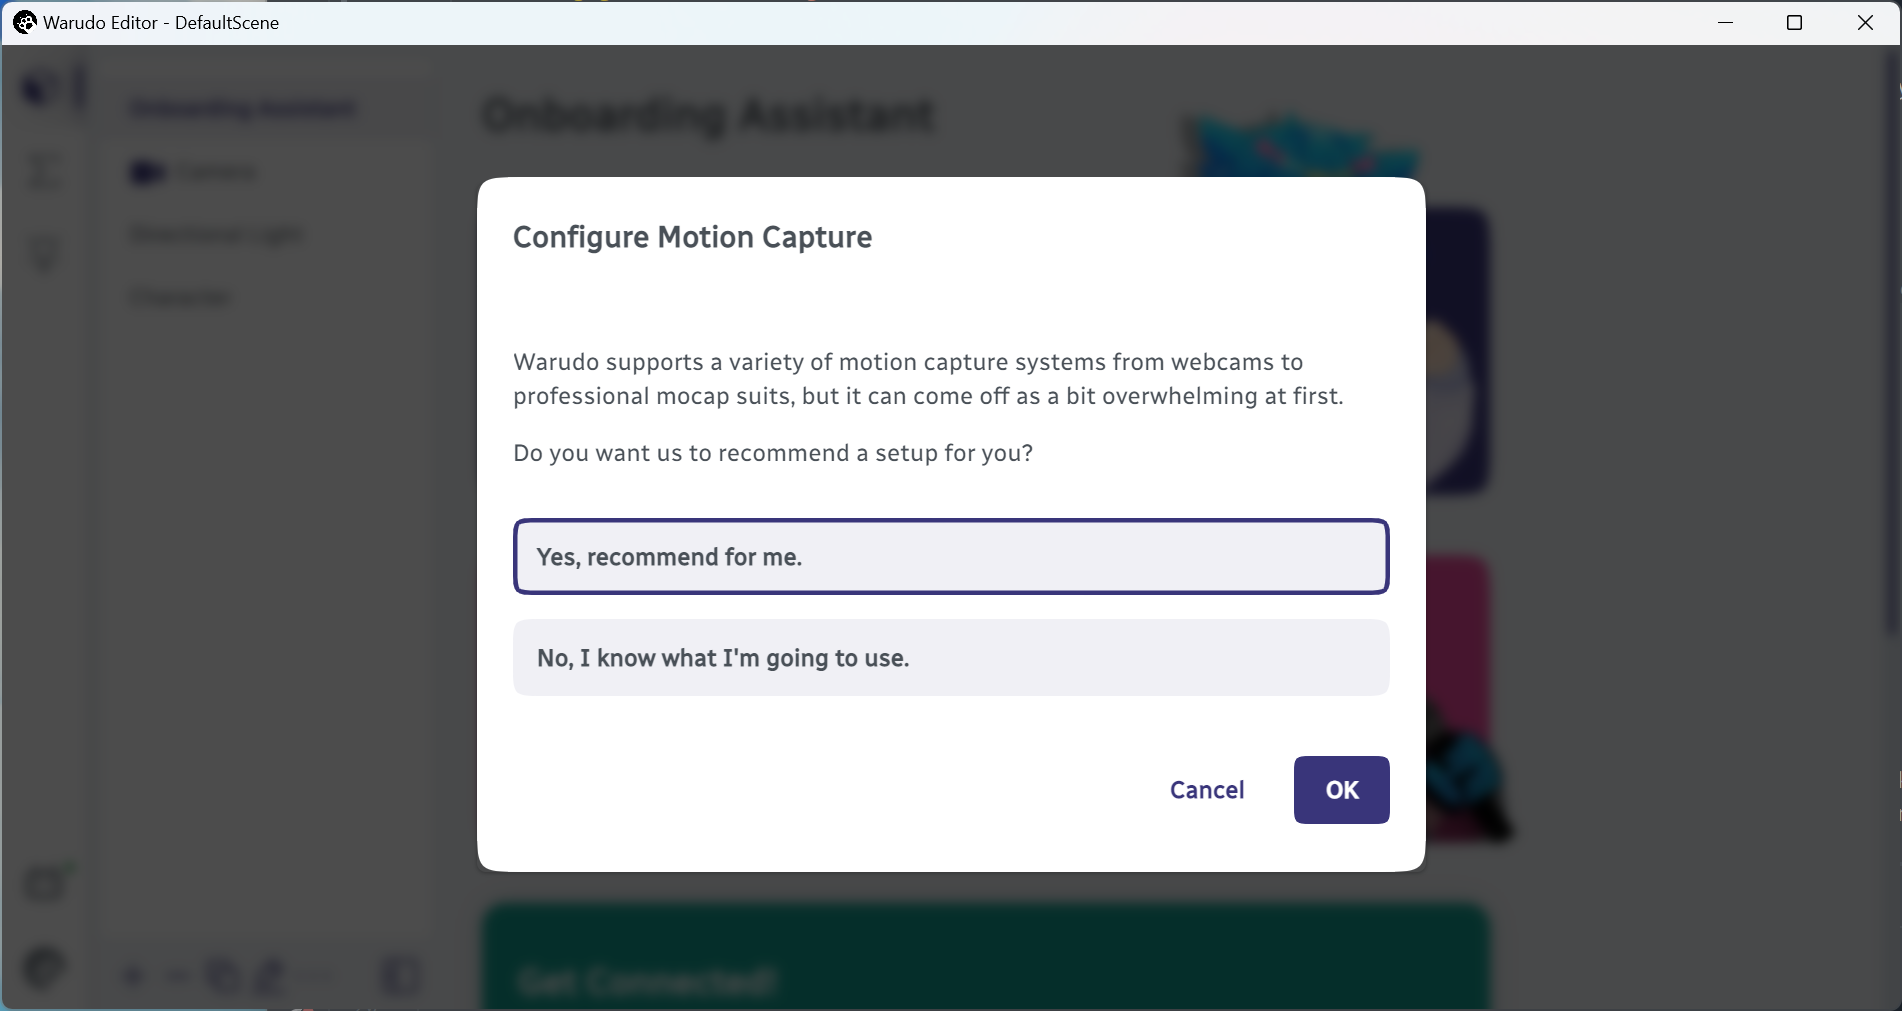
Configure motion capture.
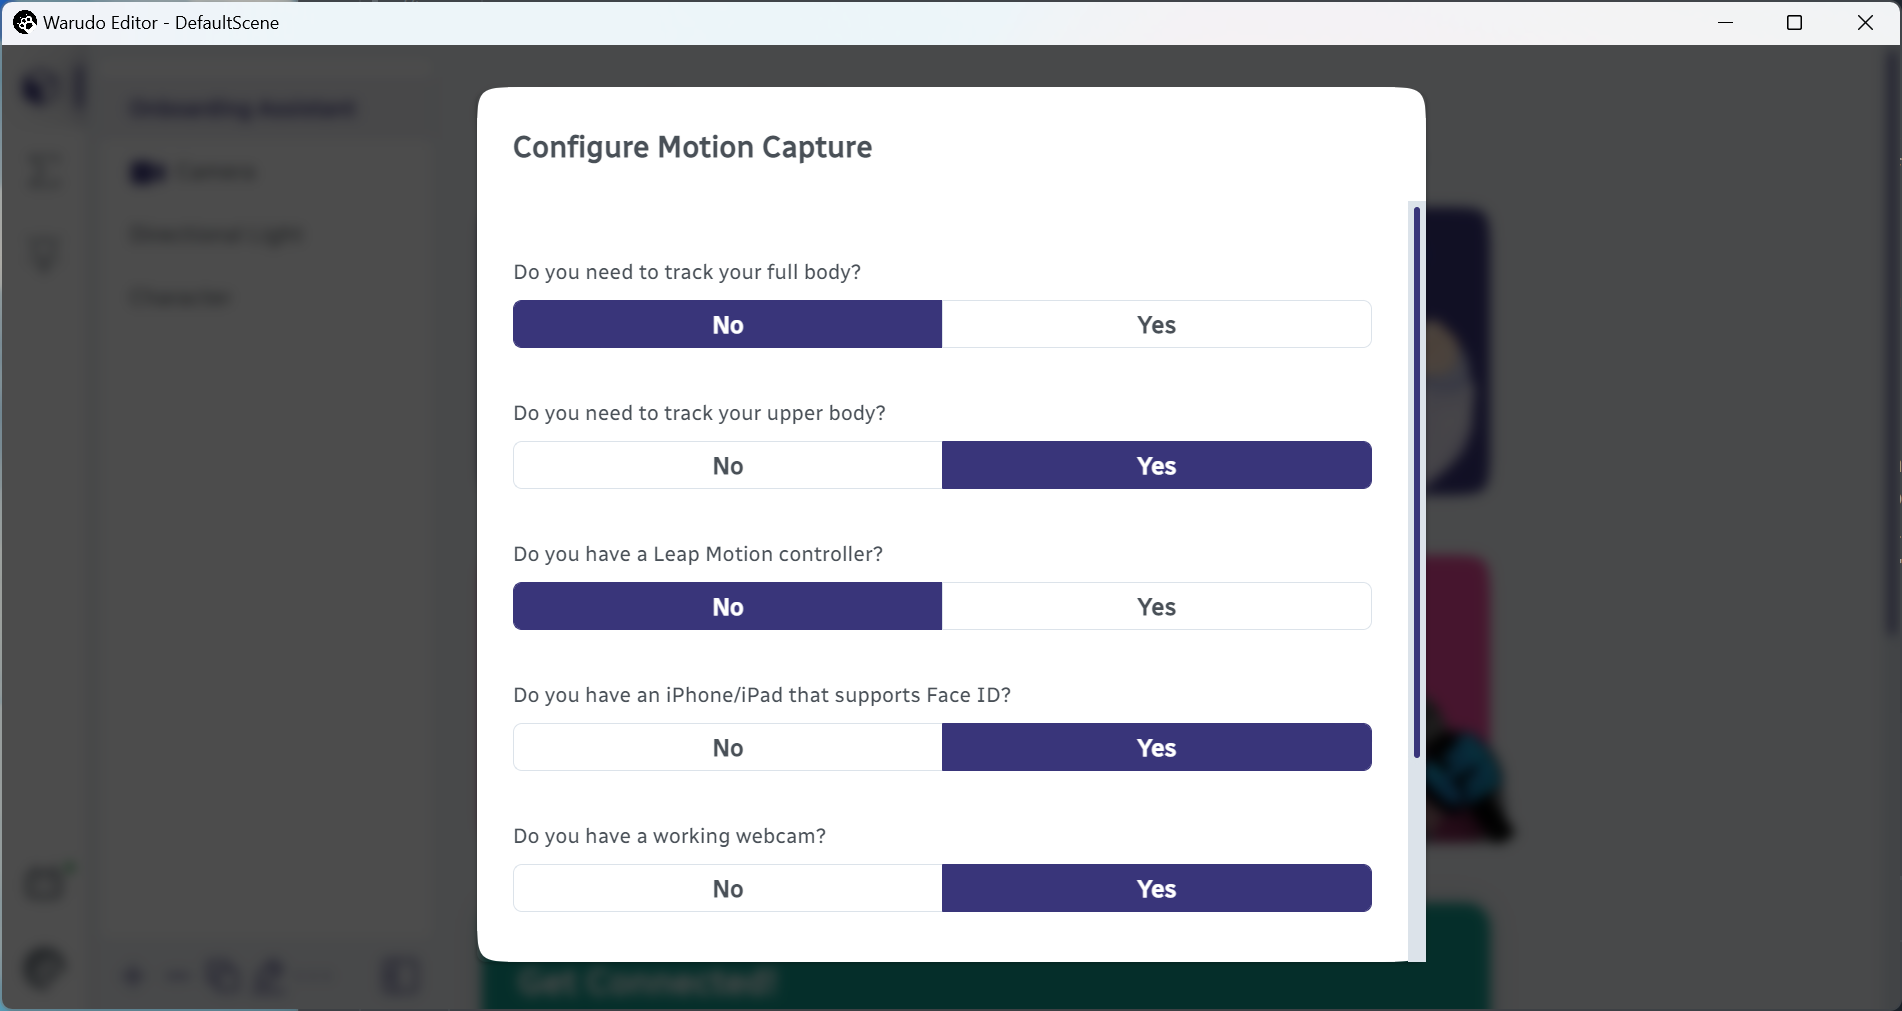
Answer a few questions.
In the next screen, you are asked to confirm the face tracking and pose tracking solutions that Warudo has selected for you:
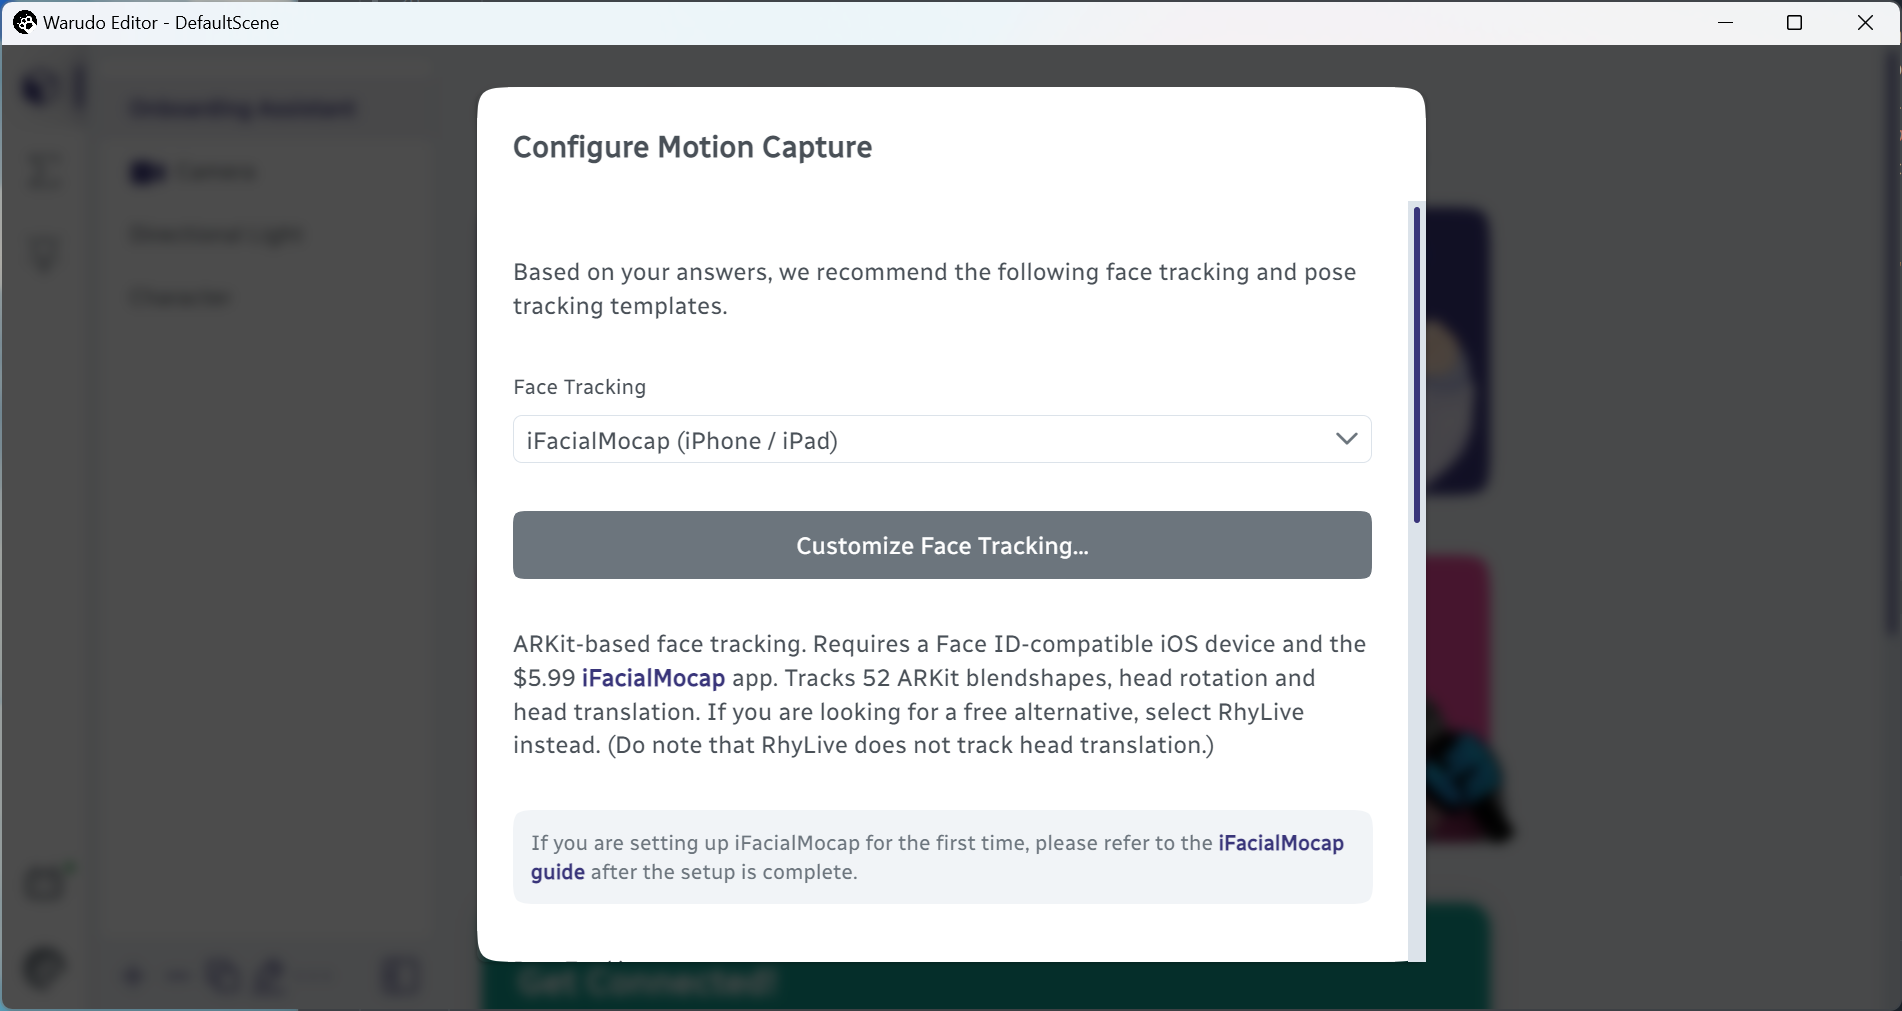
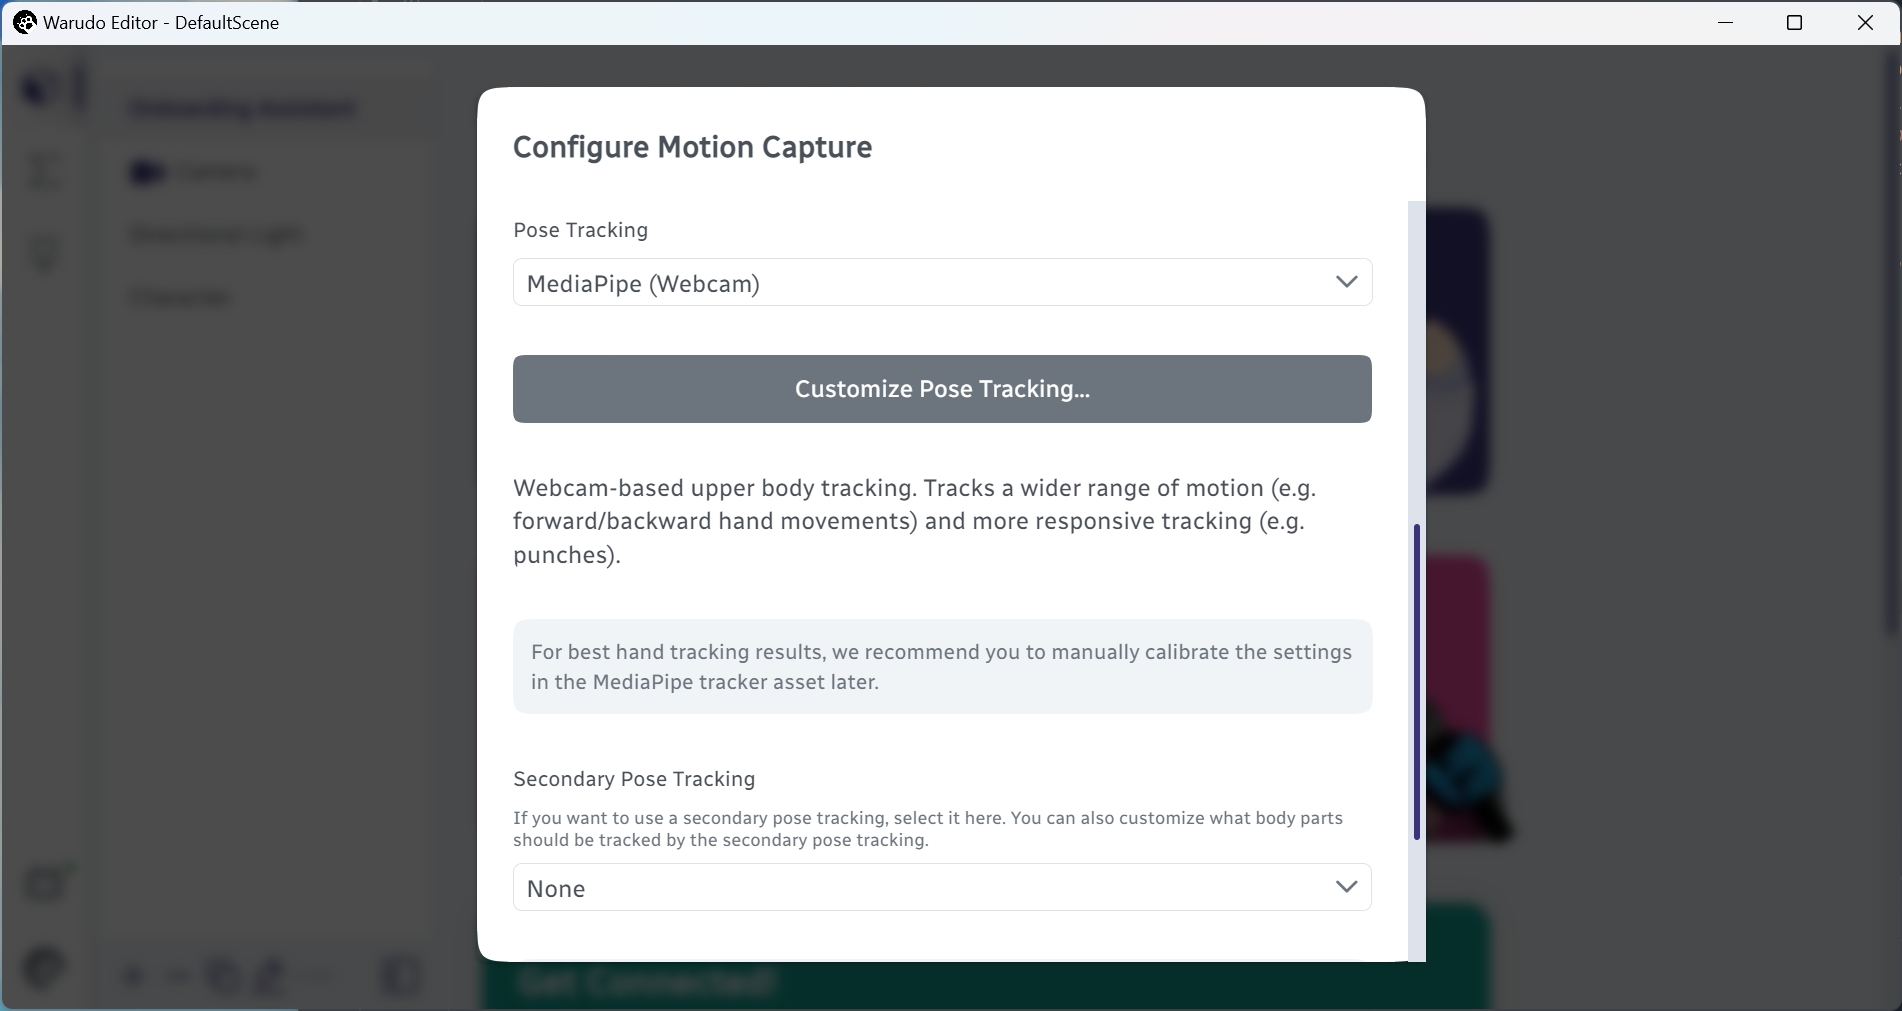
Confirm motion capture setup.
If you want to set up a secondary tracking, you can use the Secondary Pose Tracking option; this is helpful if you are using VR trackers/Mocopi for primary tracking and would like to use MediaPipe or Leap Motion Controller or StretchSense Gloves for added-on finger tracking.
Click OK to move on to the next step. If your model contains expressions, Warudo can help you import them and assign hotkeys to them. Select Yes and click OK to continue.
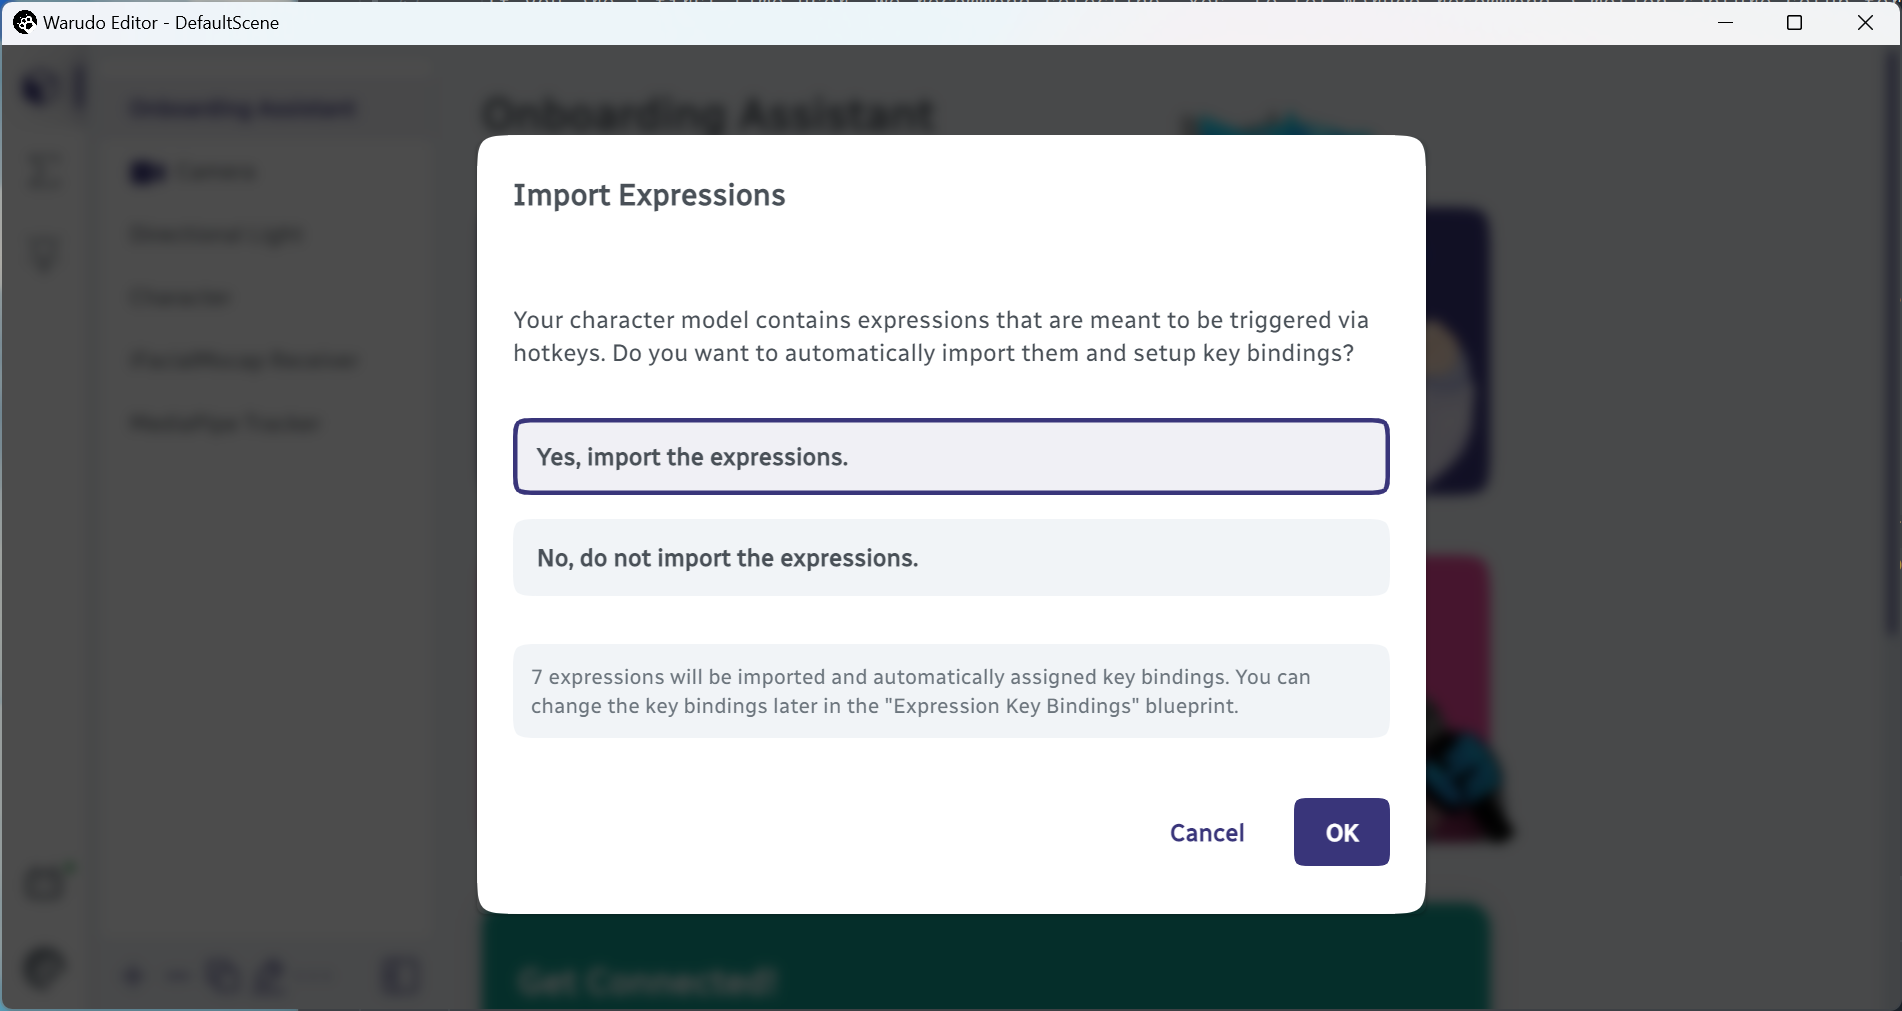
Import expressions.
A popup window will appear which contains a list of expressions just imported along with their hotkeys. Don't worry, you can change the hotkeys later. Click OK to continue.
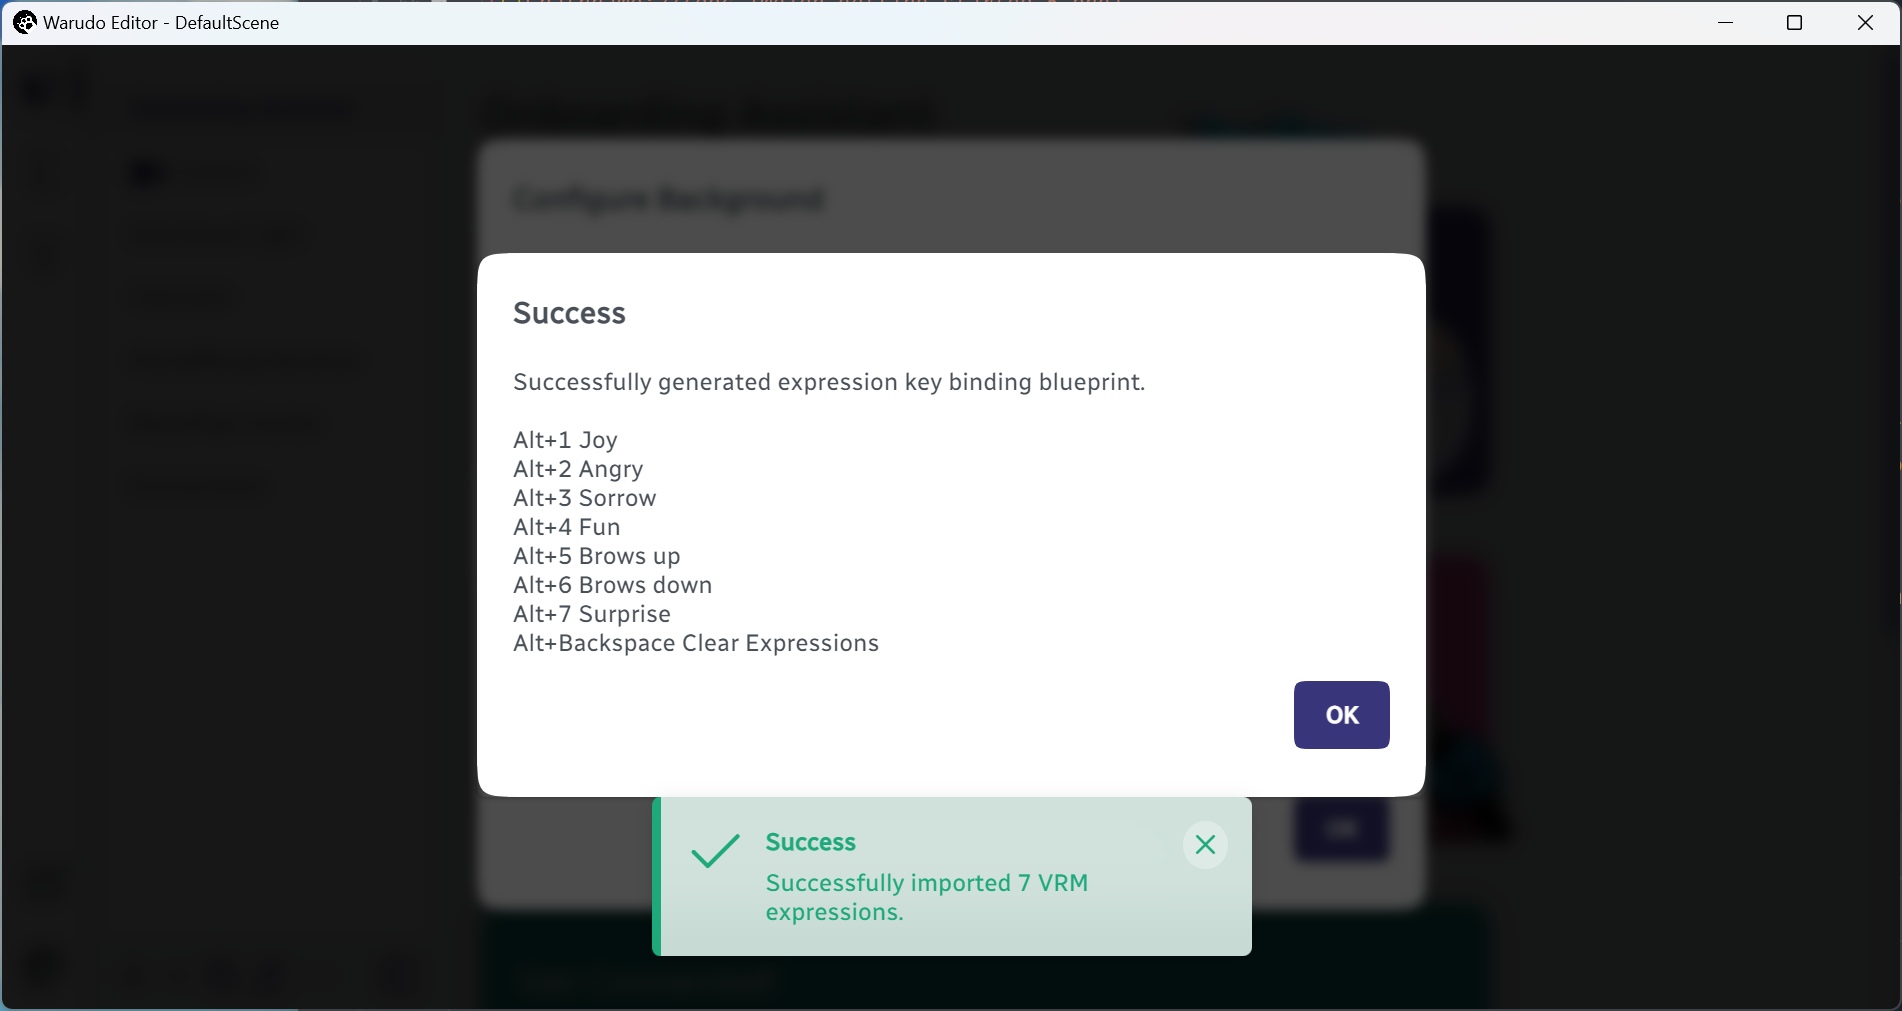
Confirm expression hotkeys.
Finally, you are asked to select a background for your VTubing scene. You can go with a transparent background or the default skybox, but Warudo comes with a few nice backgrounds for you to use (they are called Environments). Let's select Yes and choose the VR Room environment. Click OK to complete the setup.
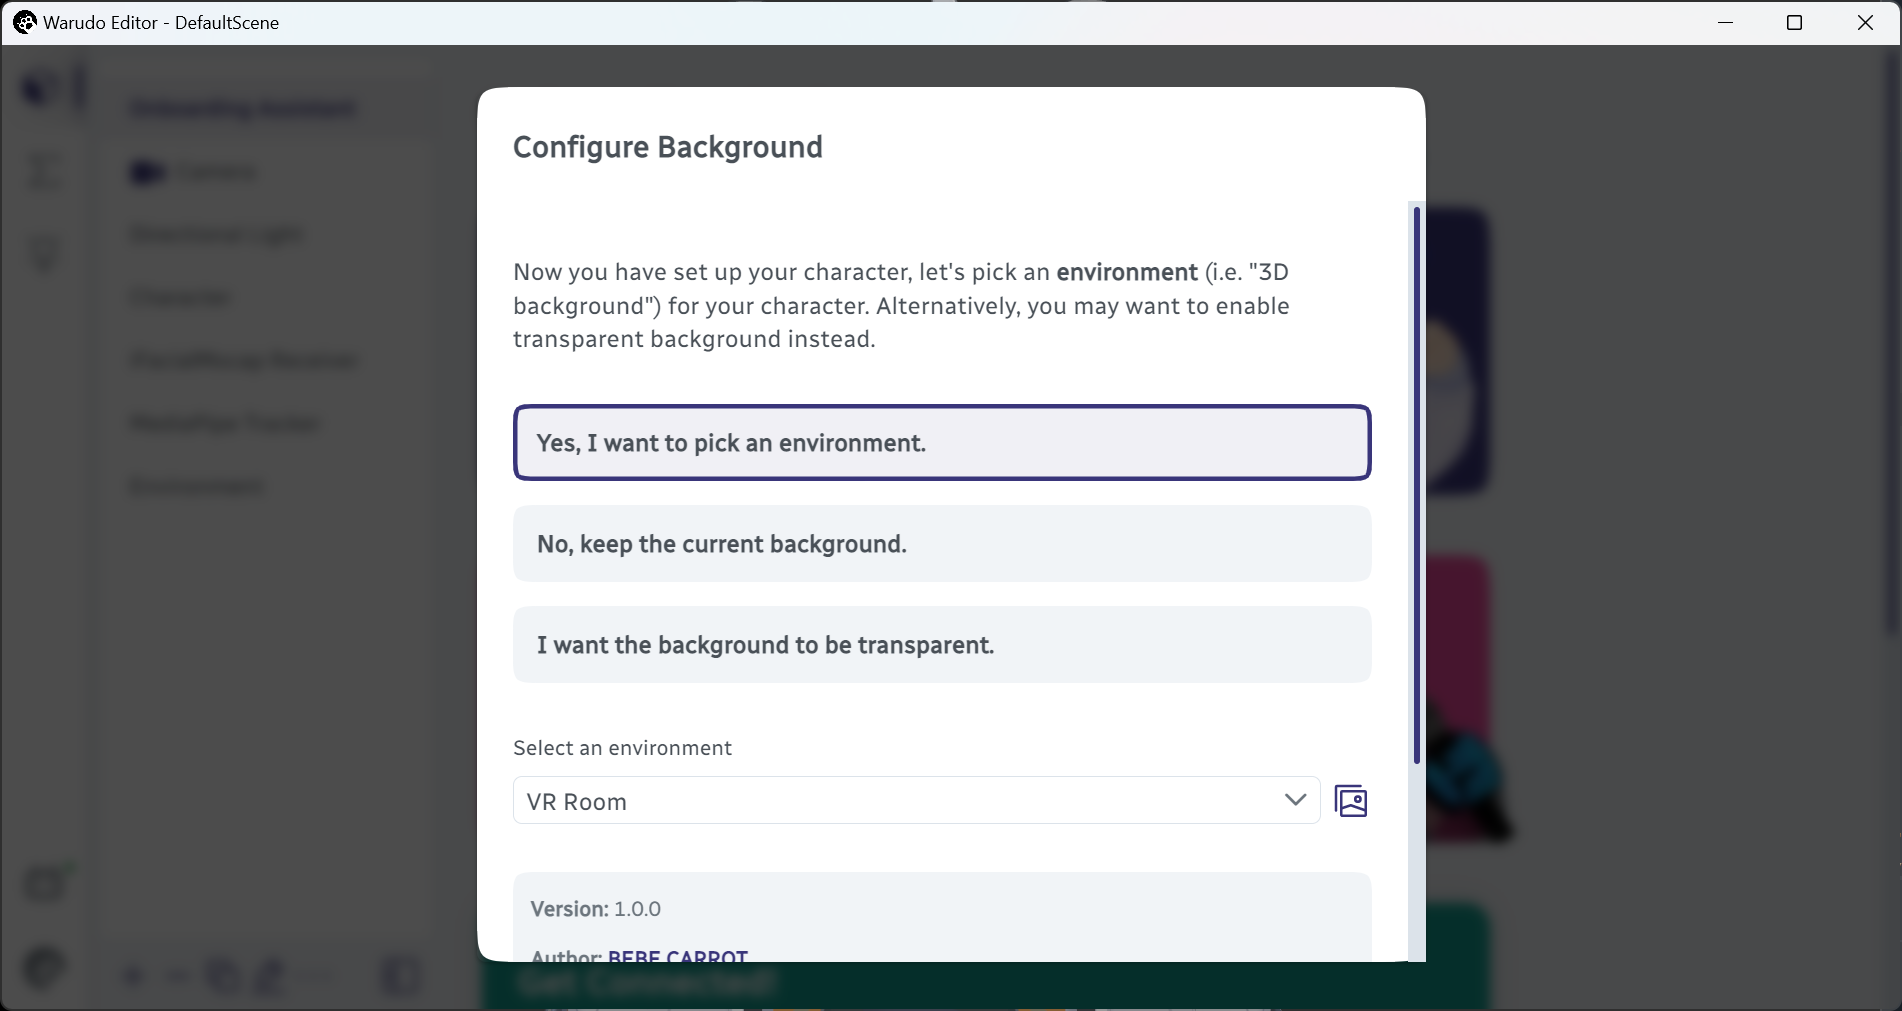
Select an environment.
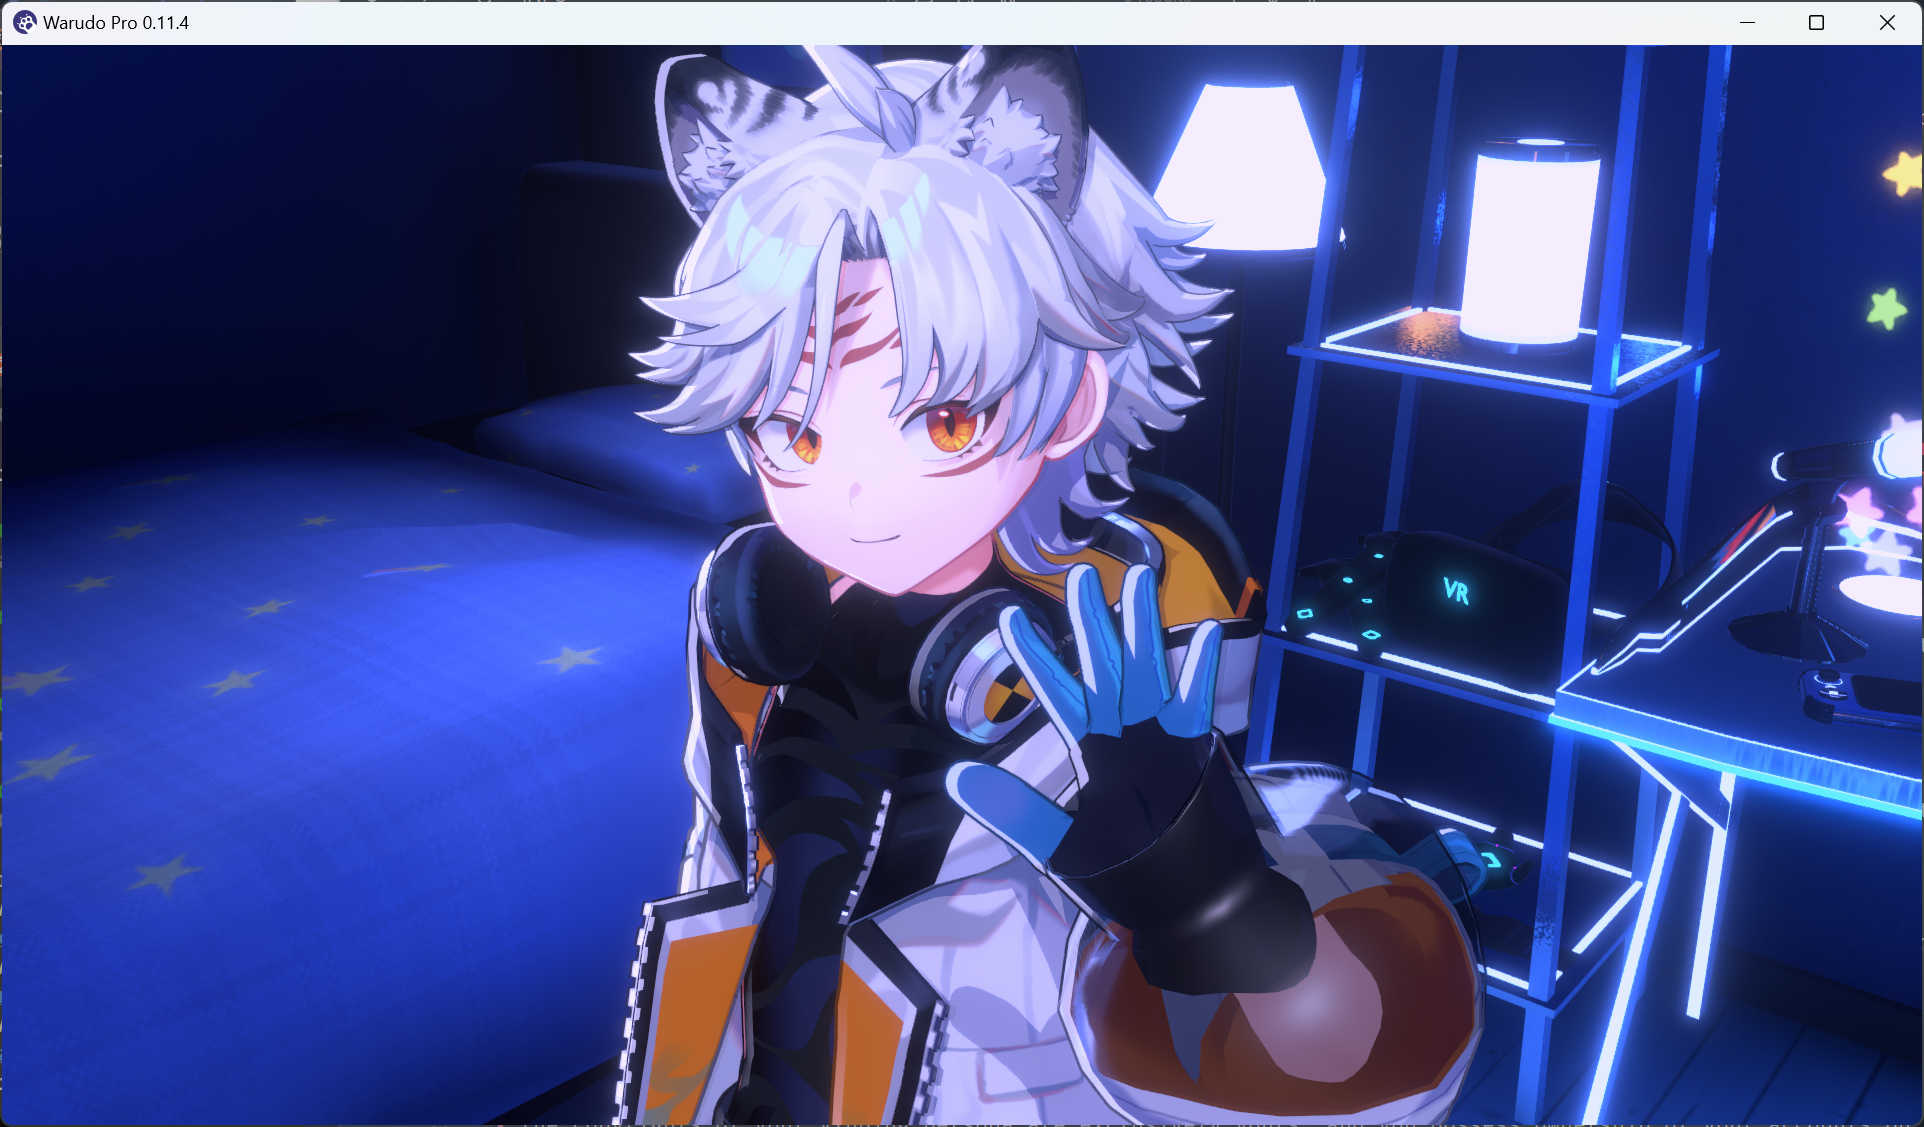
Your main window should now look like this:

Scene after setup.
If you have already connected your tracking software/hardware——in my case, I have opened the iFacialMocap app on my iPhone——then you should see your character moving already!

Character in motion.
Let's move on to learning some basic controls!
Scene Controls
Let's take a moment to admire your character model. By default, the scene camera is set to Orbit Character mode, which means the camera always rotates around the character. You can use Mouse LMB/RMB to rotate the view, Mouse Wheel to zoom in or out, and Mouse MMB to pan the view. Try moving the camera to this angle:
Camera orbiting around the character.
Now let's learn how to move the character. In the editor window, click on Character to select the character asset.
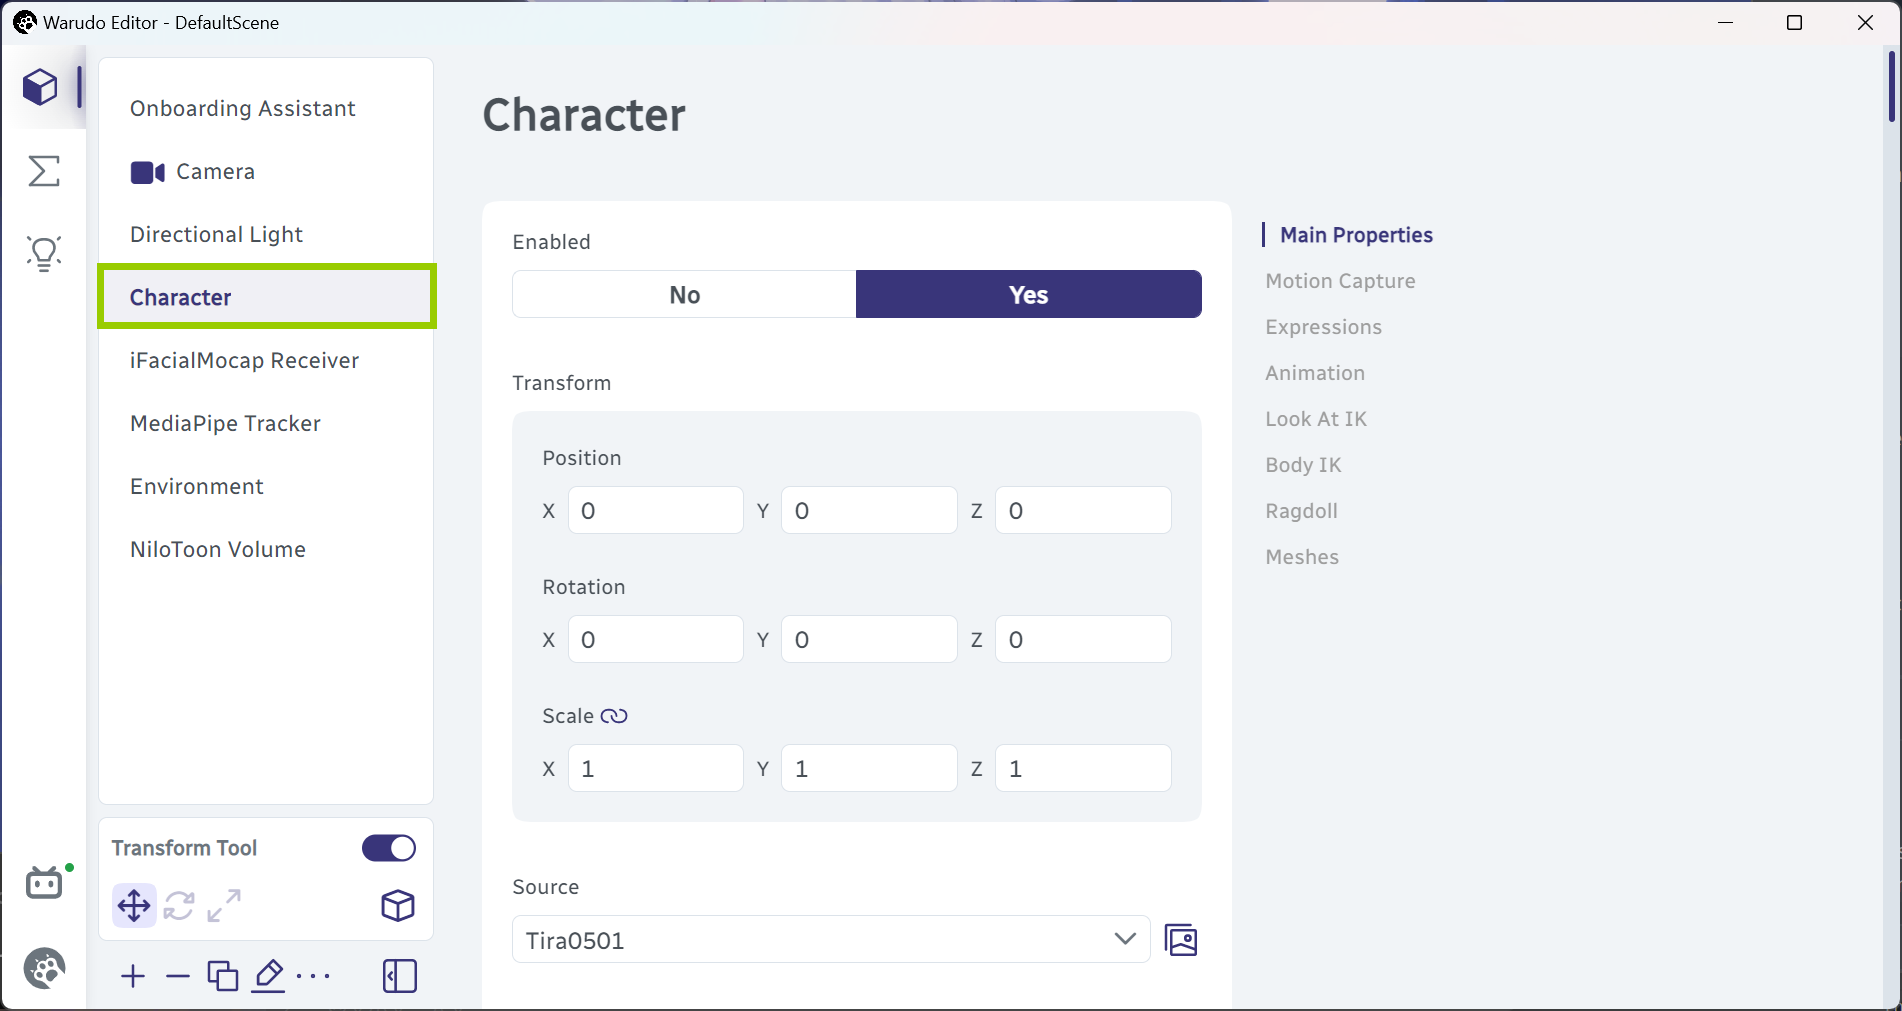
Select the character asset.
You should see a translation gizmo under the model's feet that can be used to move the model. Simply drag on an axis to move along that axis. Here I moved the model next to the bed:
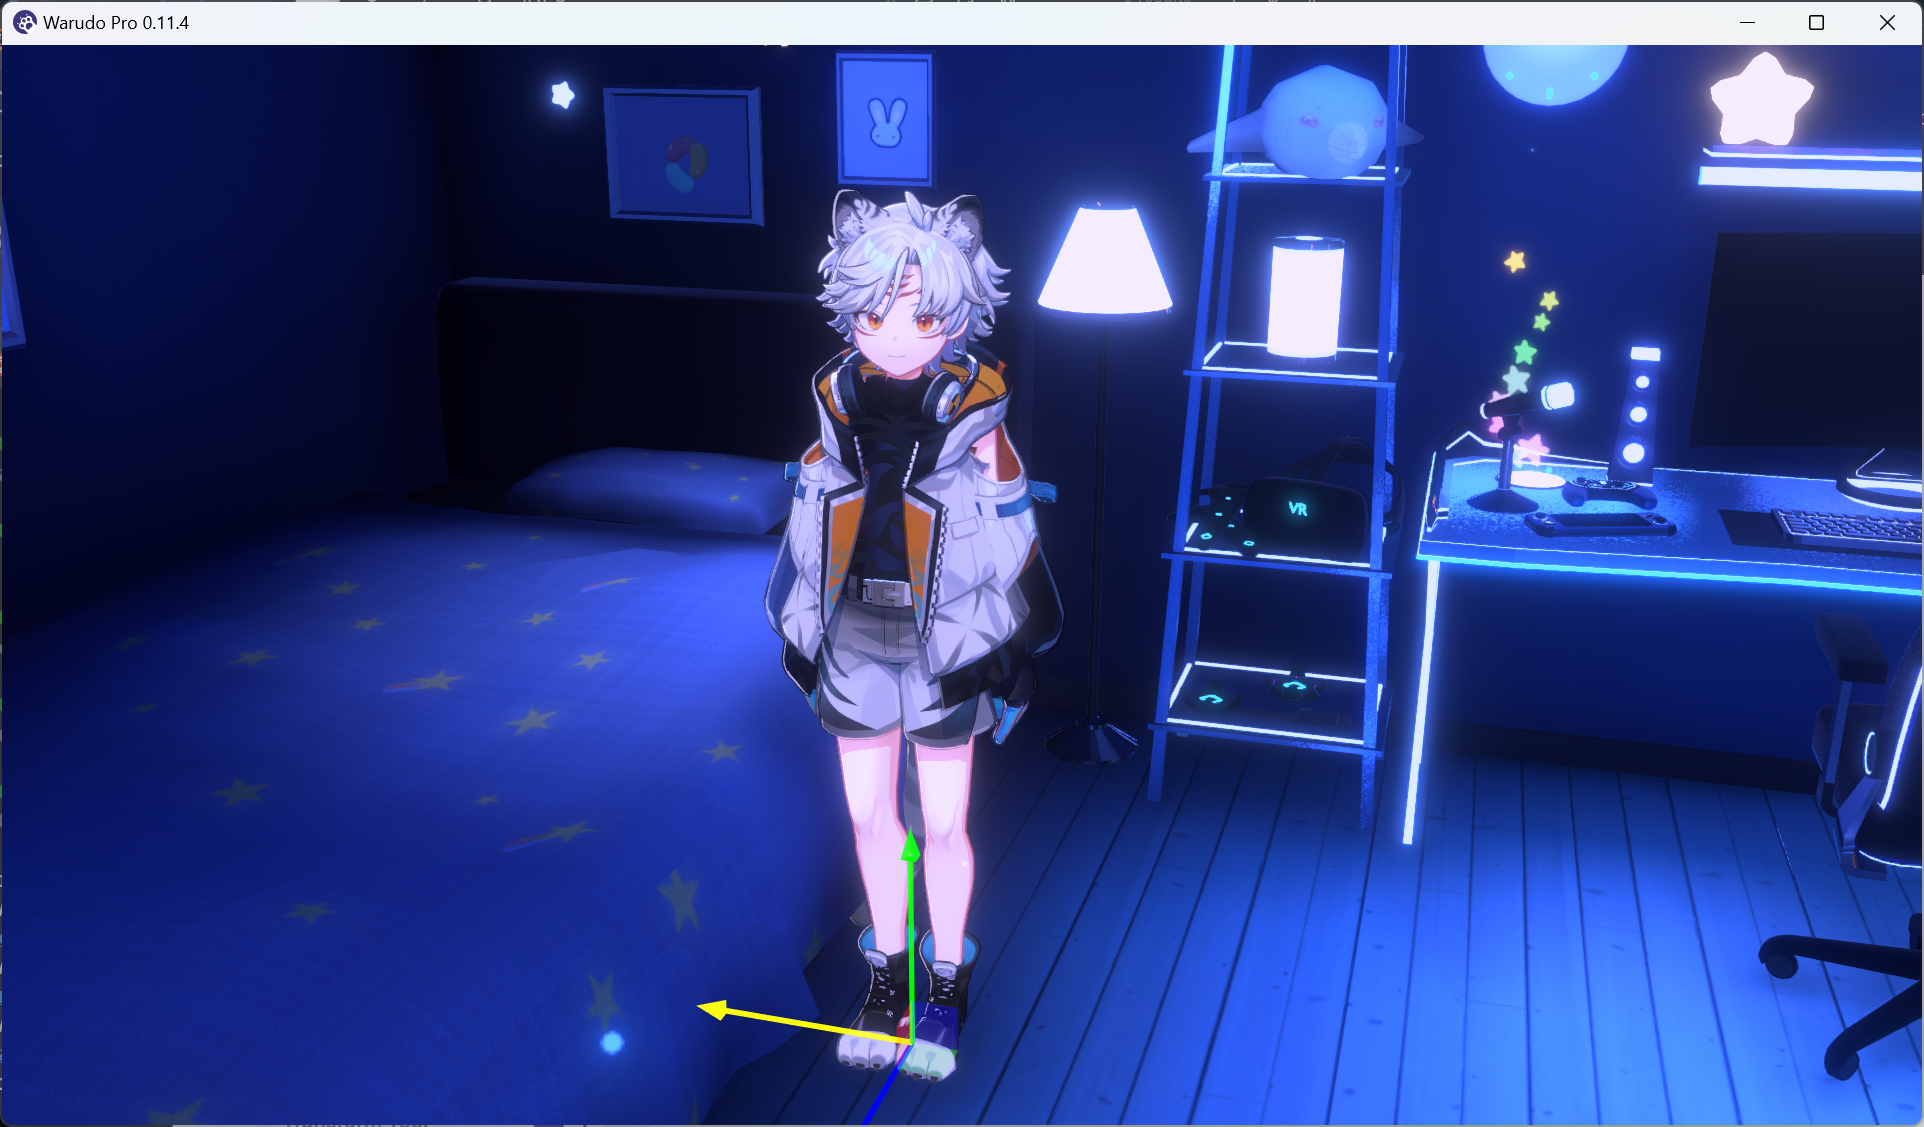
Move the model.
Can't see the gizmo? Try use Mouse MMB to pan the view.
You can switch to the rotation gizmo by pressing E (and, by the way, switch back to the translation gizmo by pressing W). Let's rotate the model a bit:
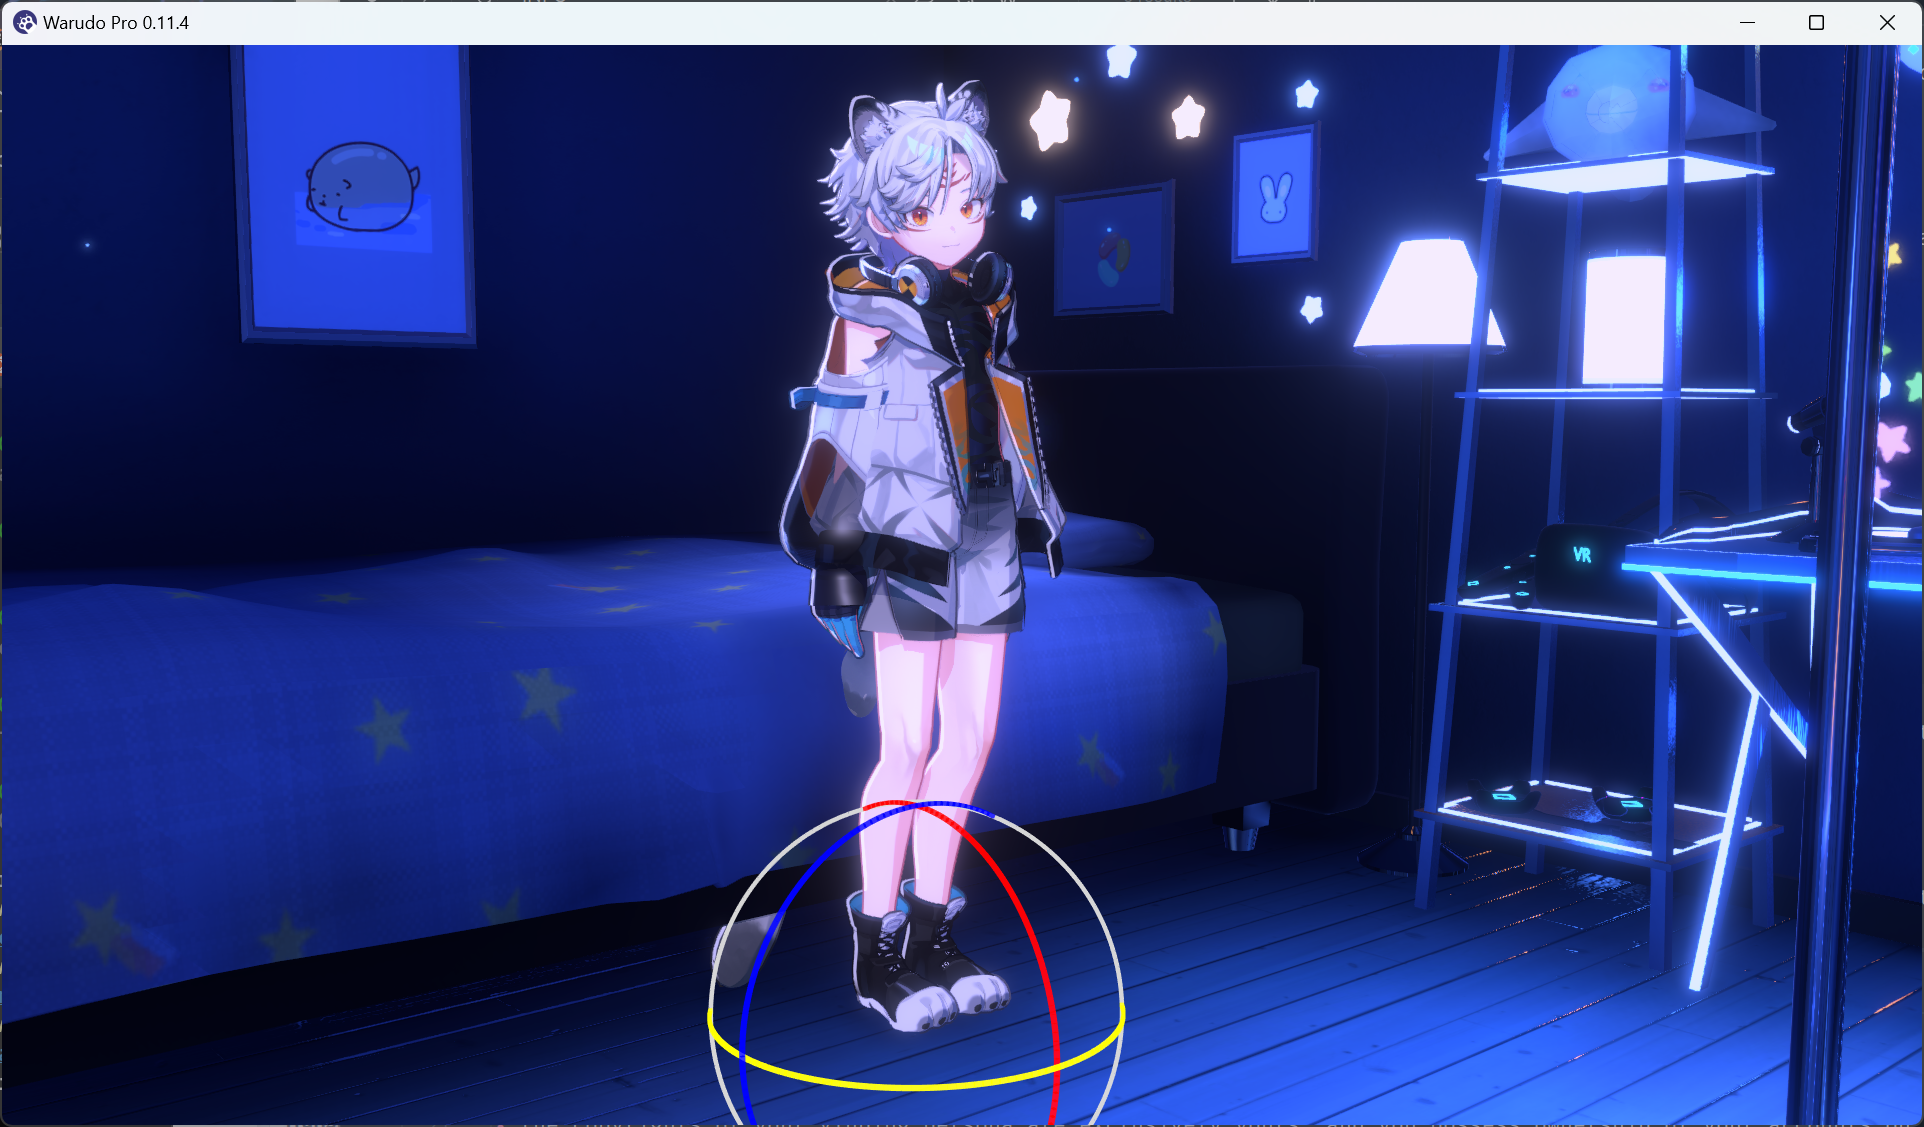
Rotate the model.
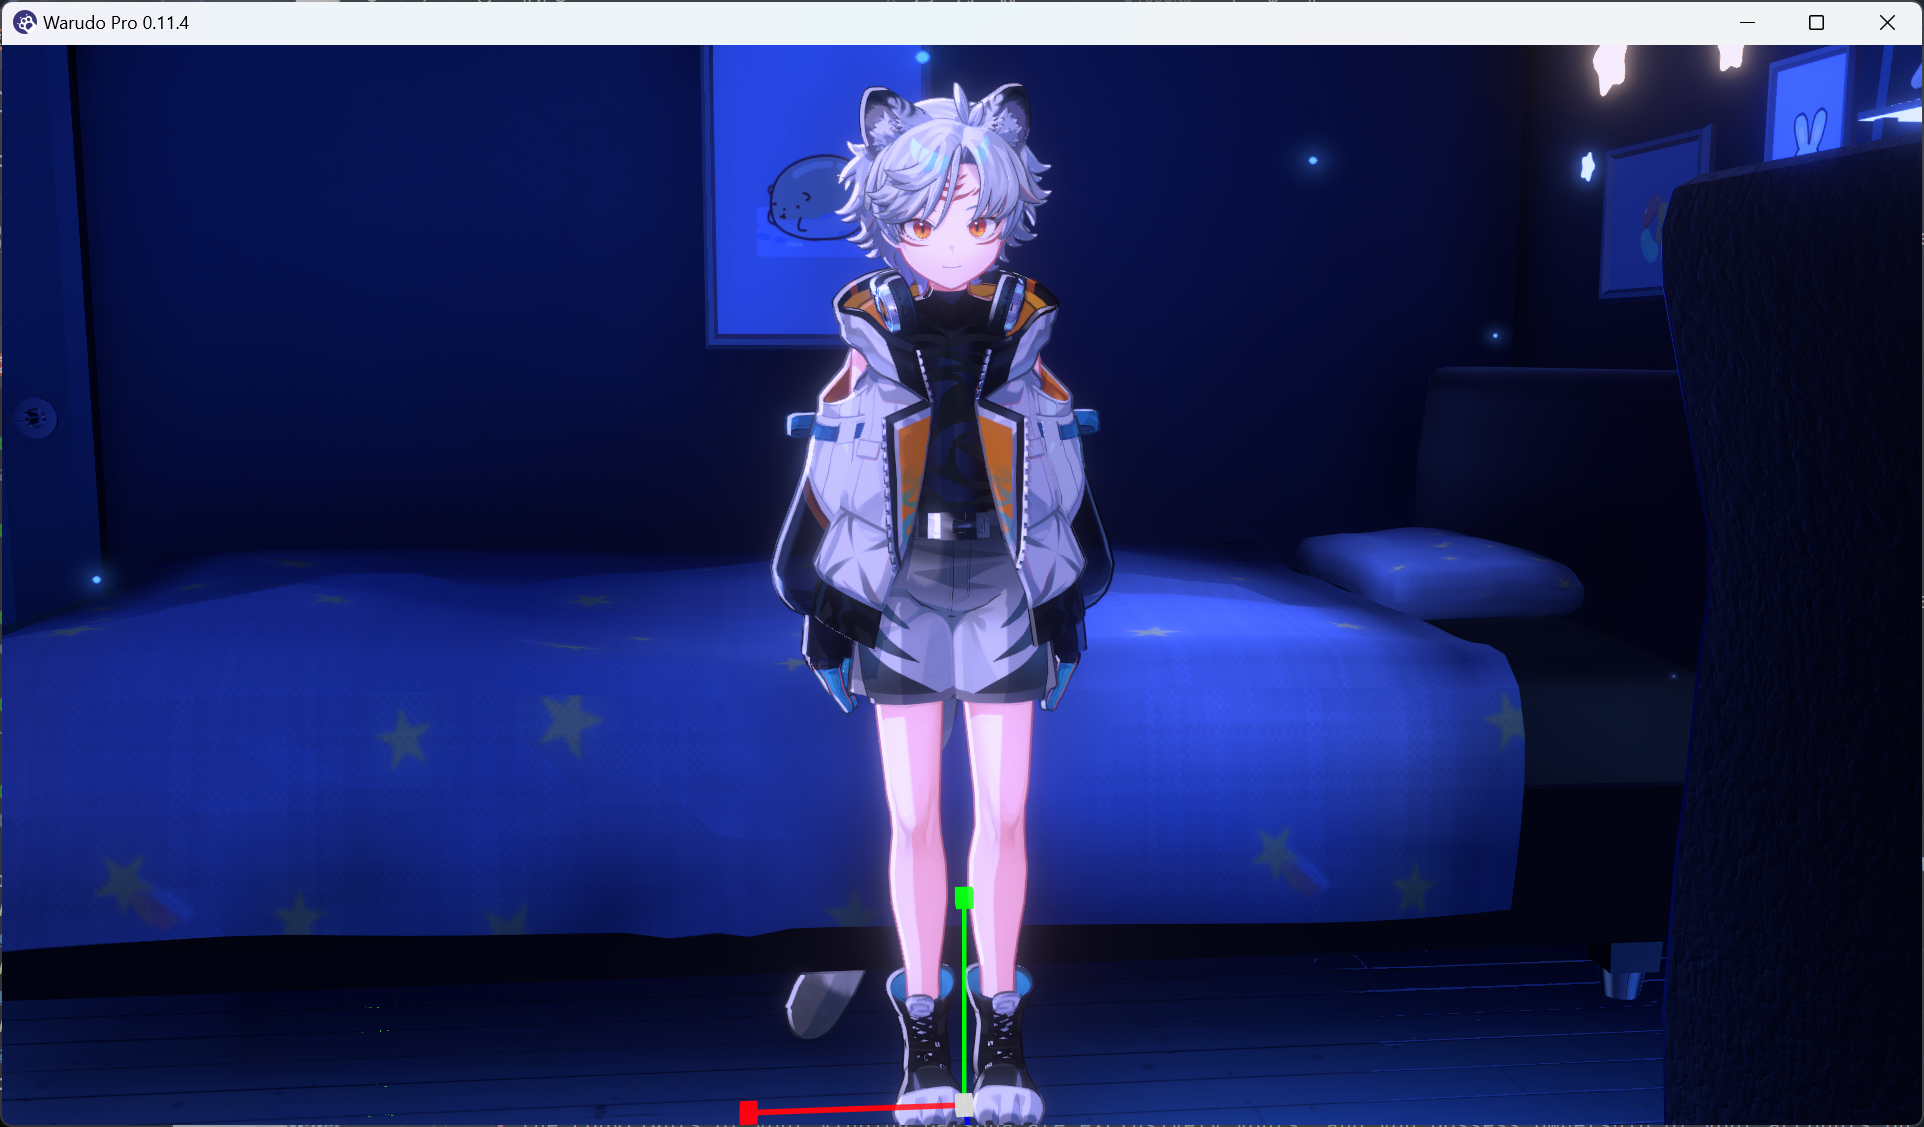
Press R to switch to the scale gizmo. Usually you don't want to scale your character, but Let's make the model wider just for fun:

Scale the model.
That doesn't look good! How can we restore the scale? If you've been paying attention, you may have noticed that the values in the Transform section change as you drag the gizmos. For example, this is what mine looks like now:
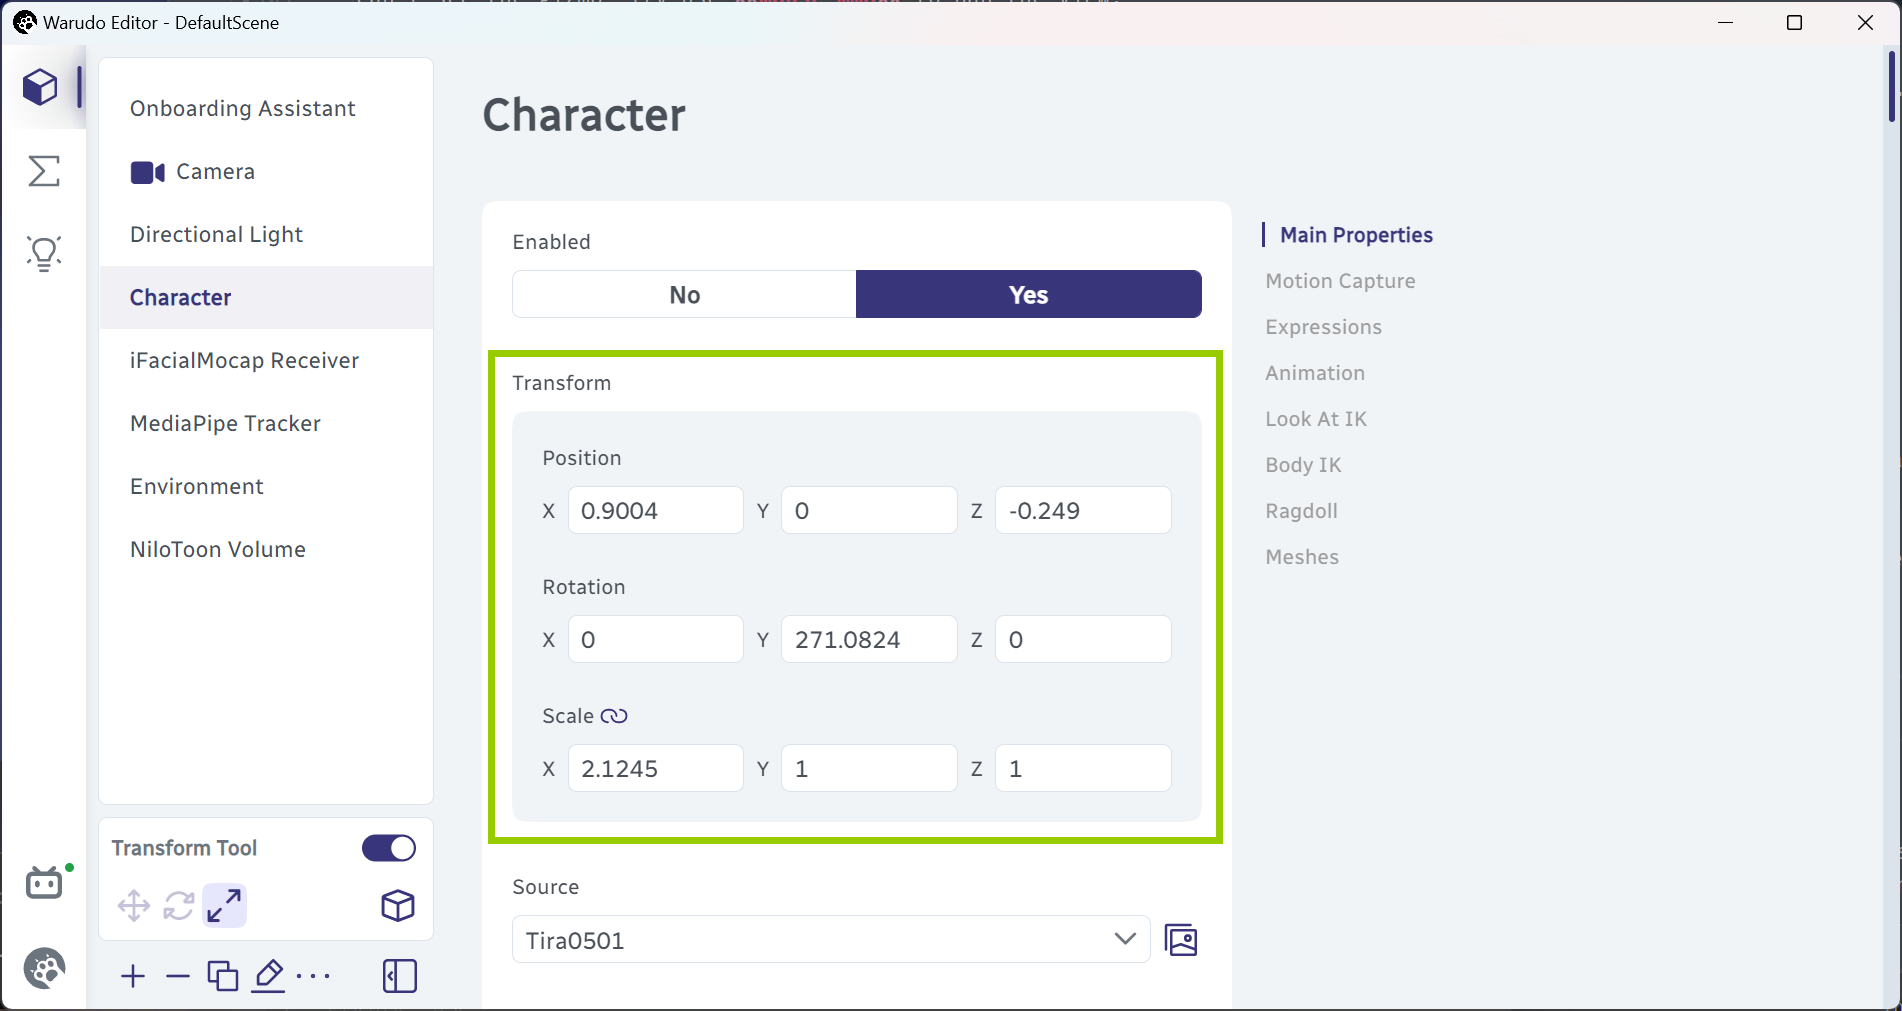
Transform values.
To return to the initial scale, just set the Scale values to 1, or click on the Reset button that appears when you hover over the Scale values:
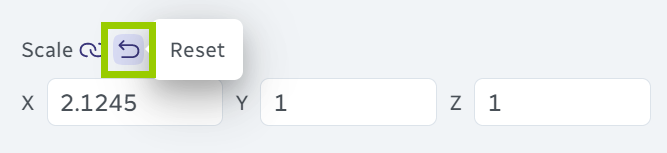
Reset scale.
That's much better!
Back to normal.
You can also switch between different gizmos in the editor.

In addition to orbiting around the model, the camera can also be switched to a free-look mode, allowing the camera to fly through the scene. Select the Camera asset and choose Free Look for the Control Mode:
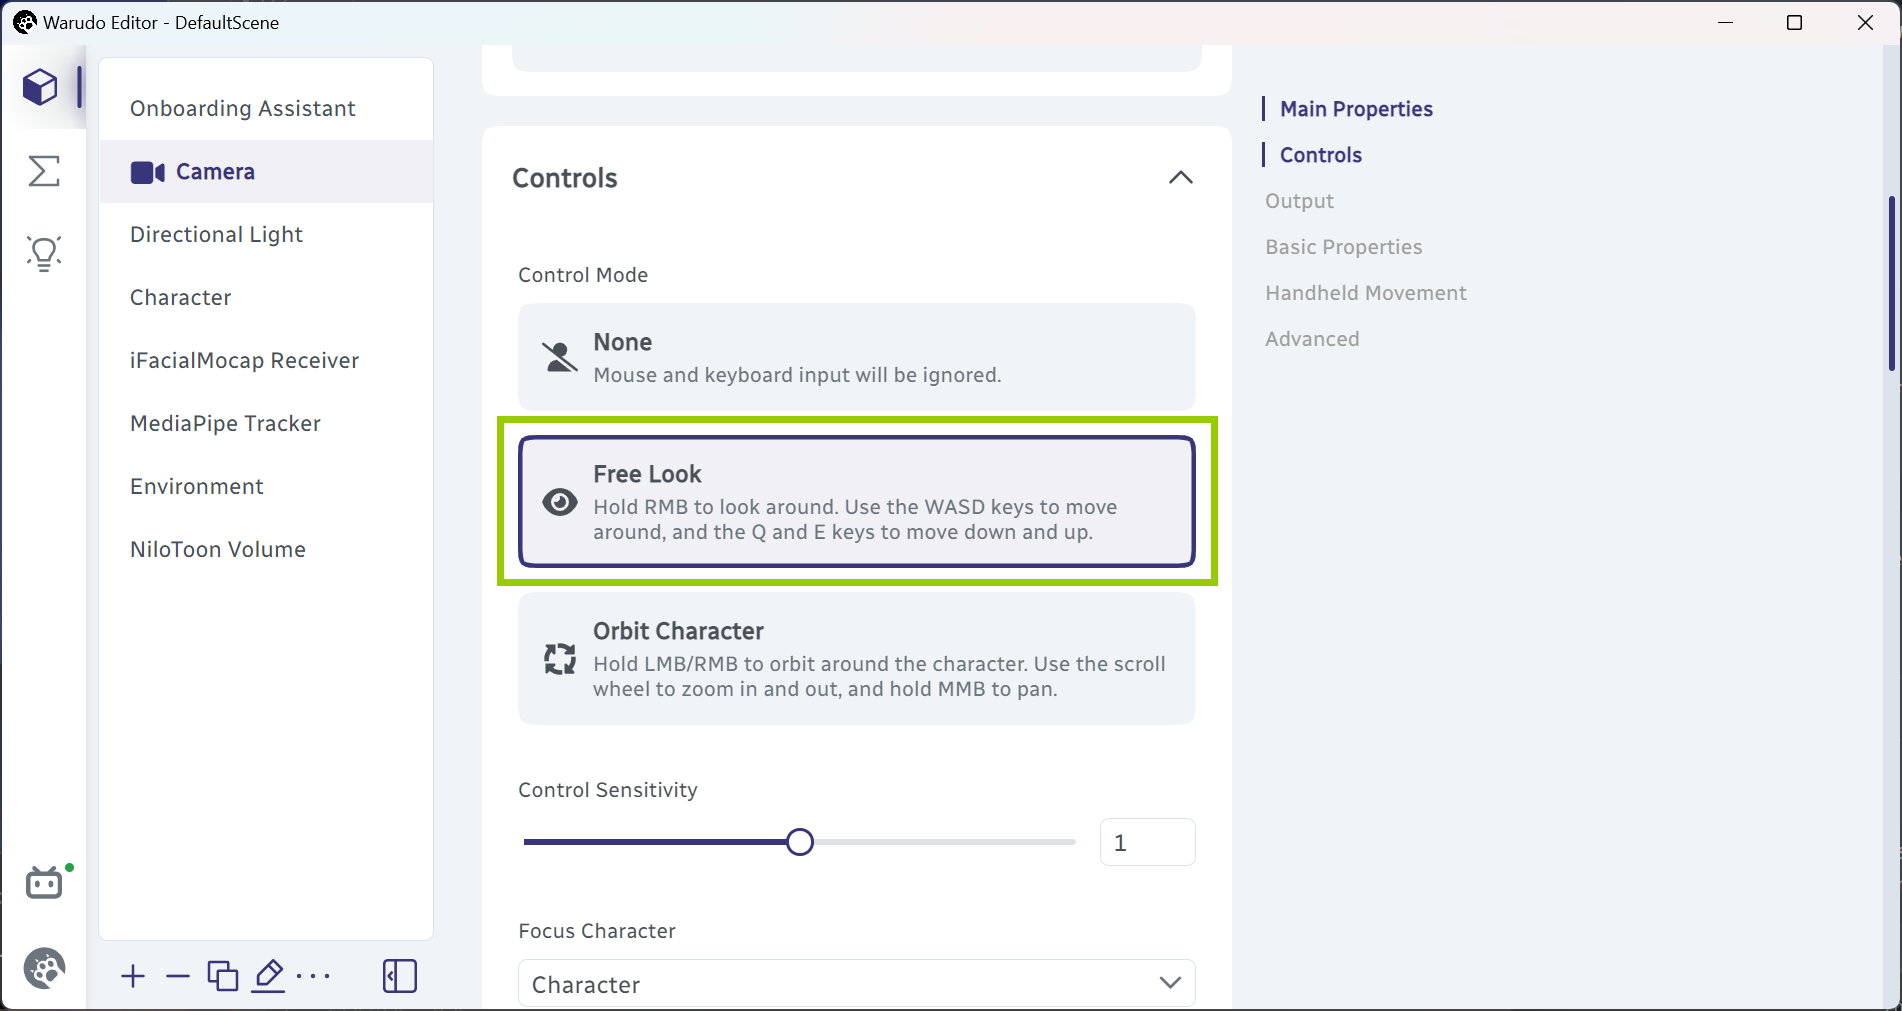
Switch to free-look mode.
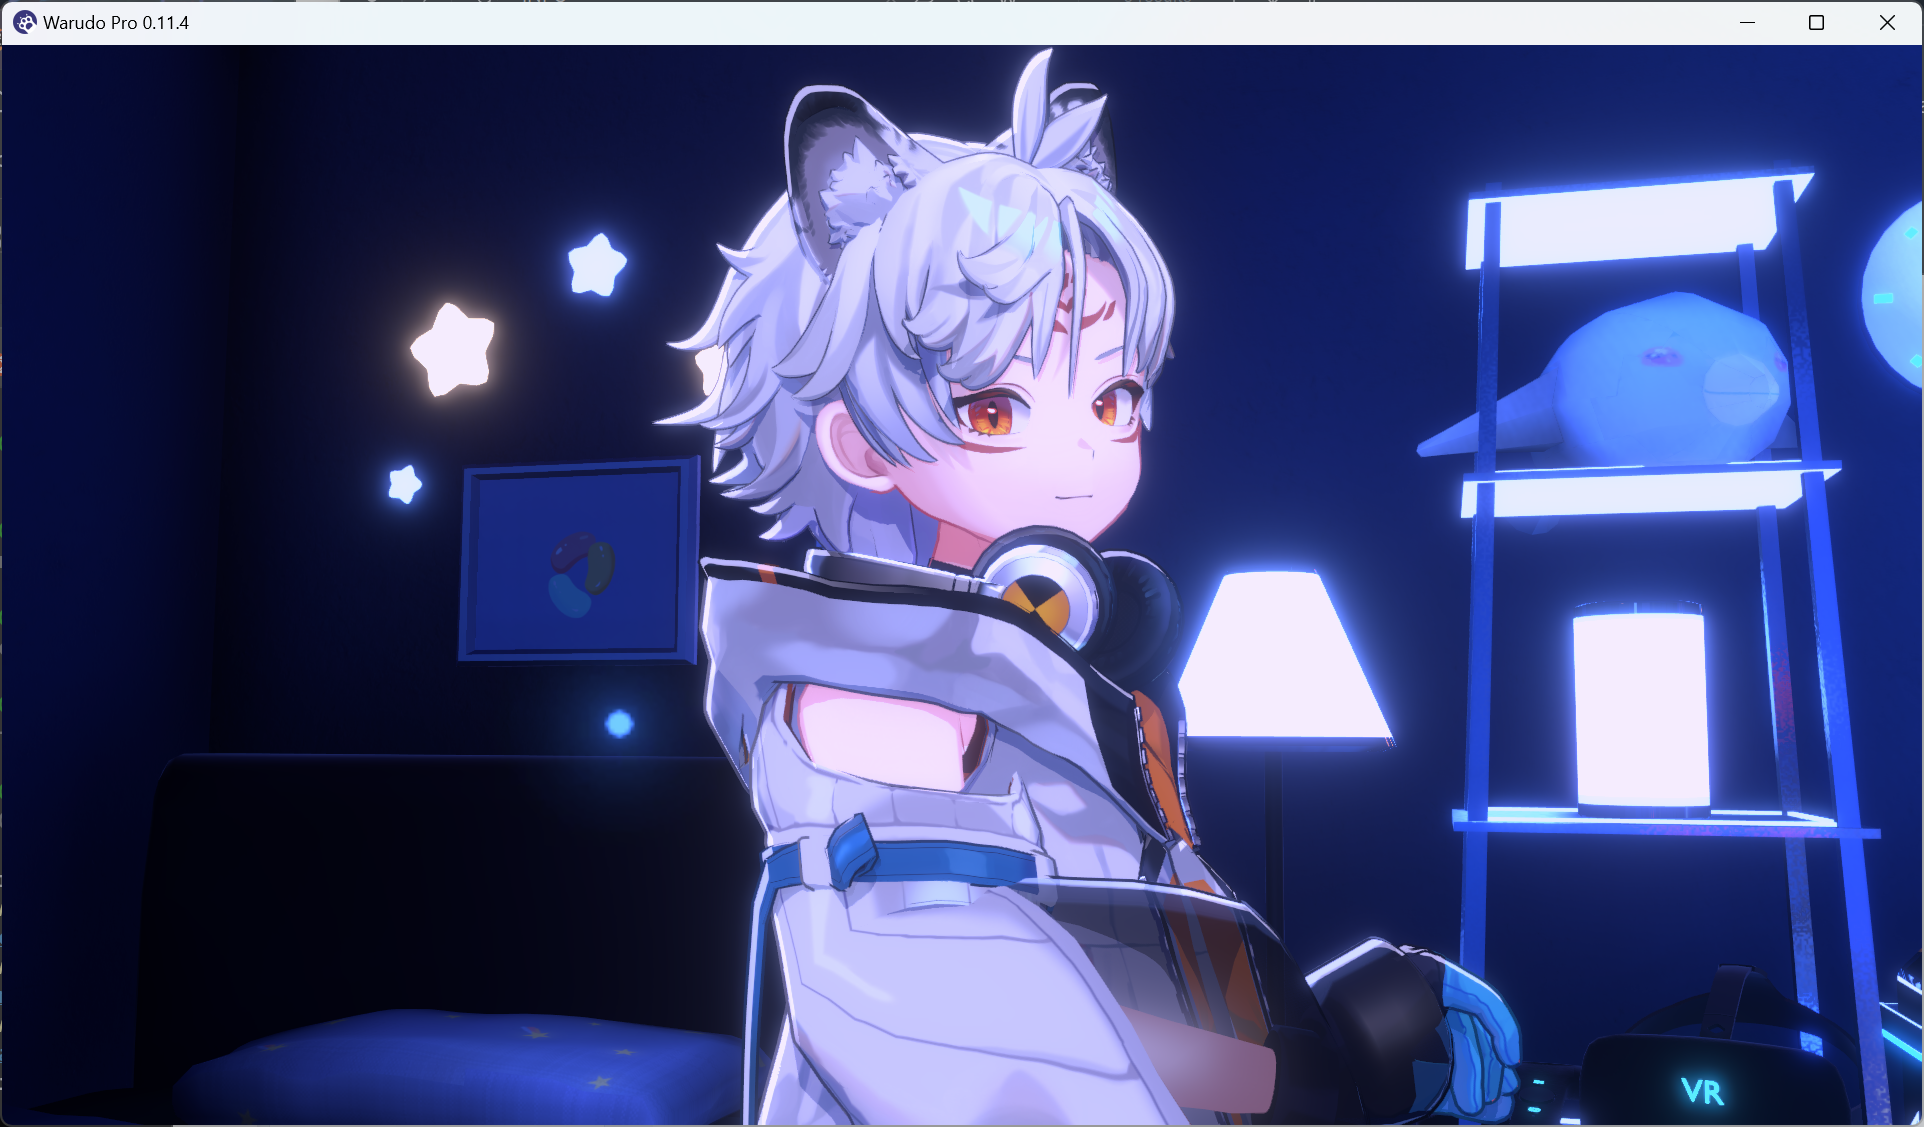
While holding down Mouse RMB, use WASD to move, E and Q to move up and down, and hold Left Shift to move faster. Use Mouse MMB to pan the view.
After you've gotten used to the two camera modes, switch back to Orbit Character mode and click Reset Camera Transform to return the camera to its default position.
You can also press V to switch between Orbit Character and Free Look modes.

Reset camera transform.
Back to default camera position.
Assets Tab
Now you have a basic sense of how to move the character and the camera, let's take a look at the editor!
By default, you are at the Assets tab. An asset is essentially anything that is "in the scene," such as a character, a camera, a prop, a motion capture tracker, etc.
You can click on an asset to select it. For example, click on the Directional Light asset to select it and adjust its color:
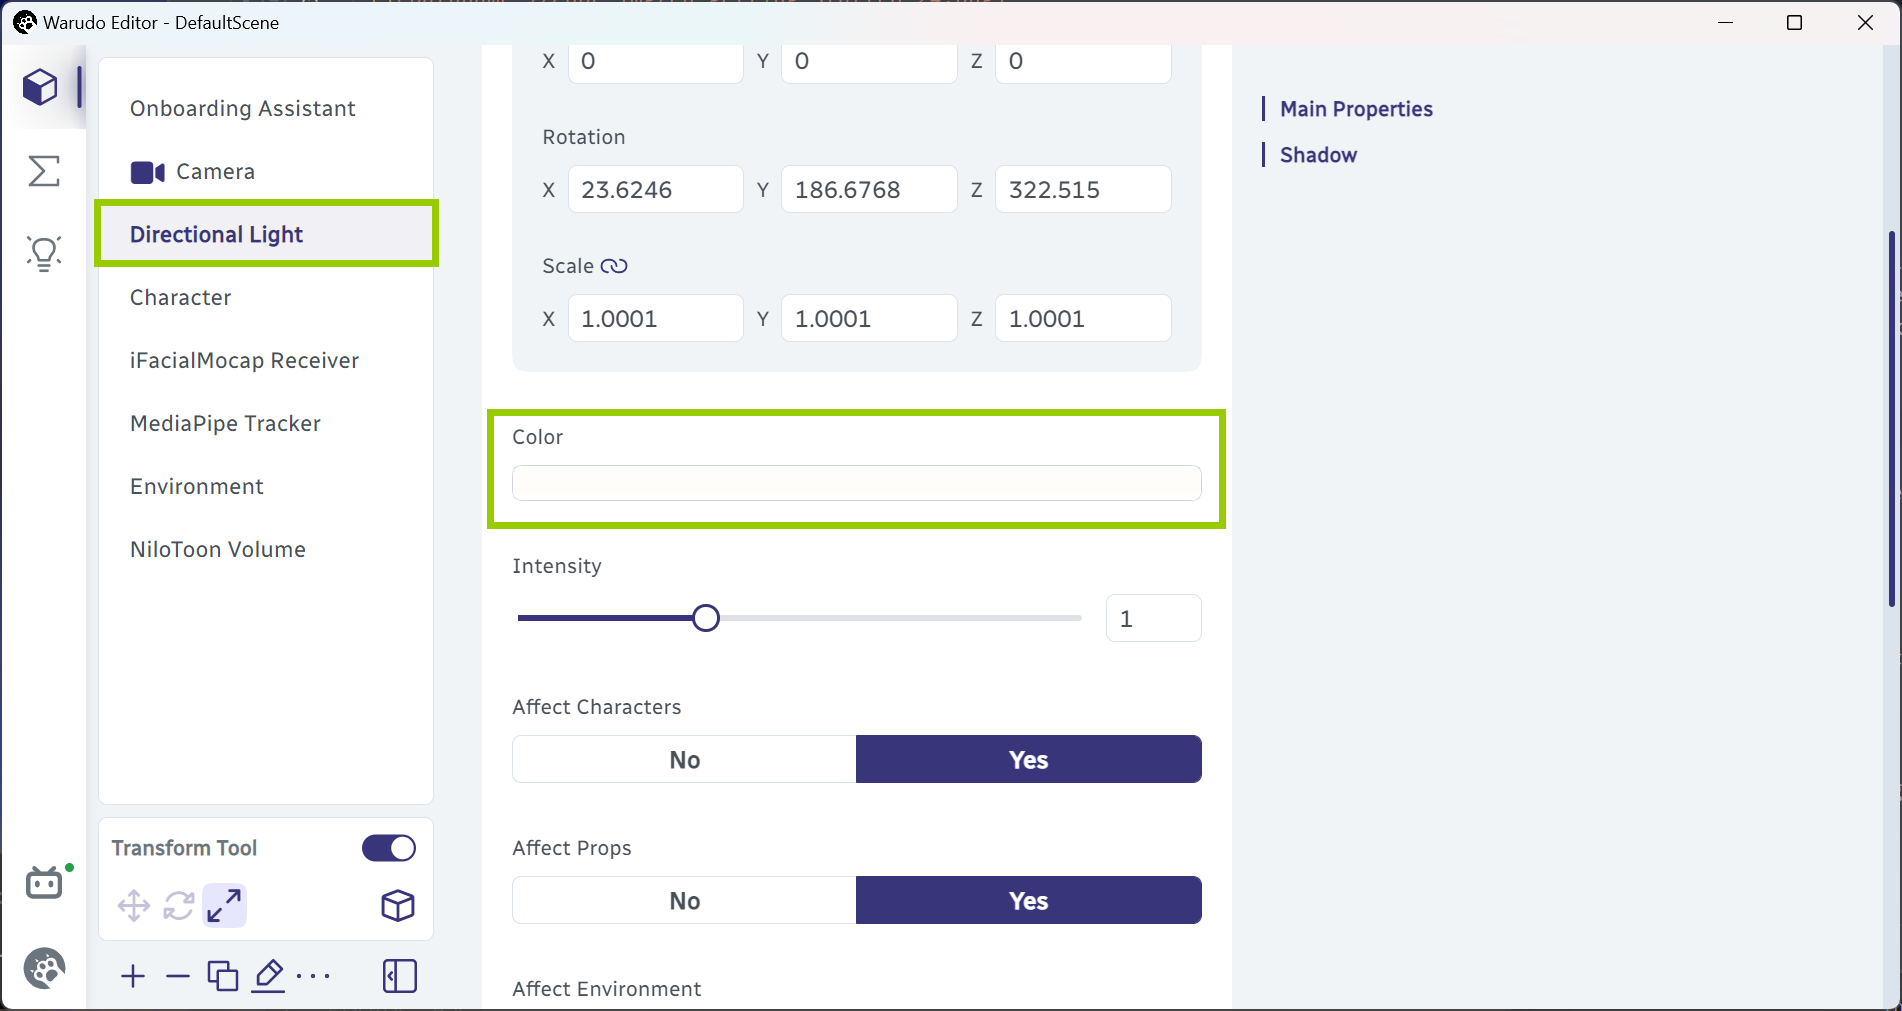
Select the directional light and adjust its color.
Spooky!

Light color set to red.
A motion capture tracker is also an asset. For example, since I have selected iFacialMocap as my face tracking solution, I have a iFacialMocap Receiver asset in my scene. I can click on it to select it and click the Calibrate button to calibrate my face tracking:
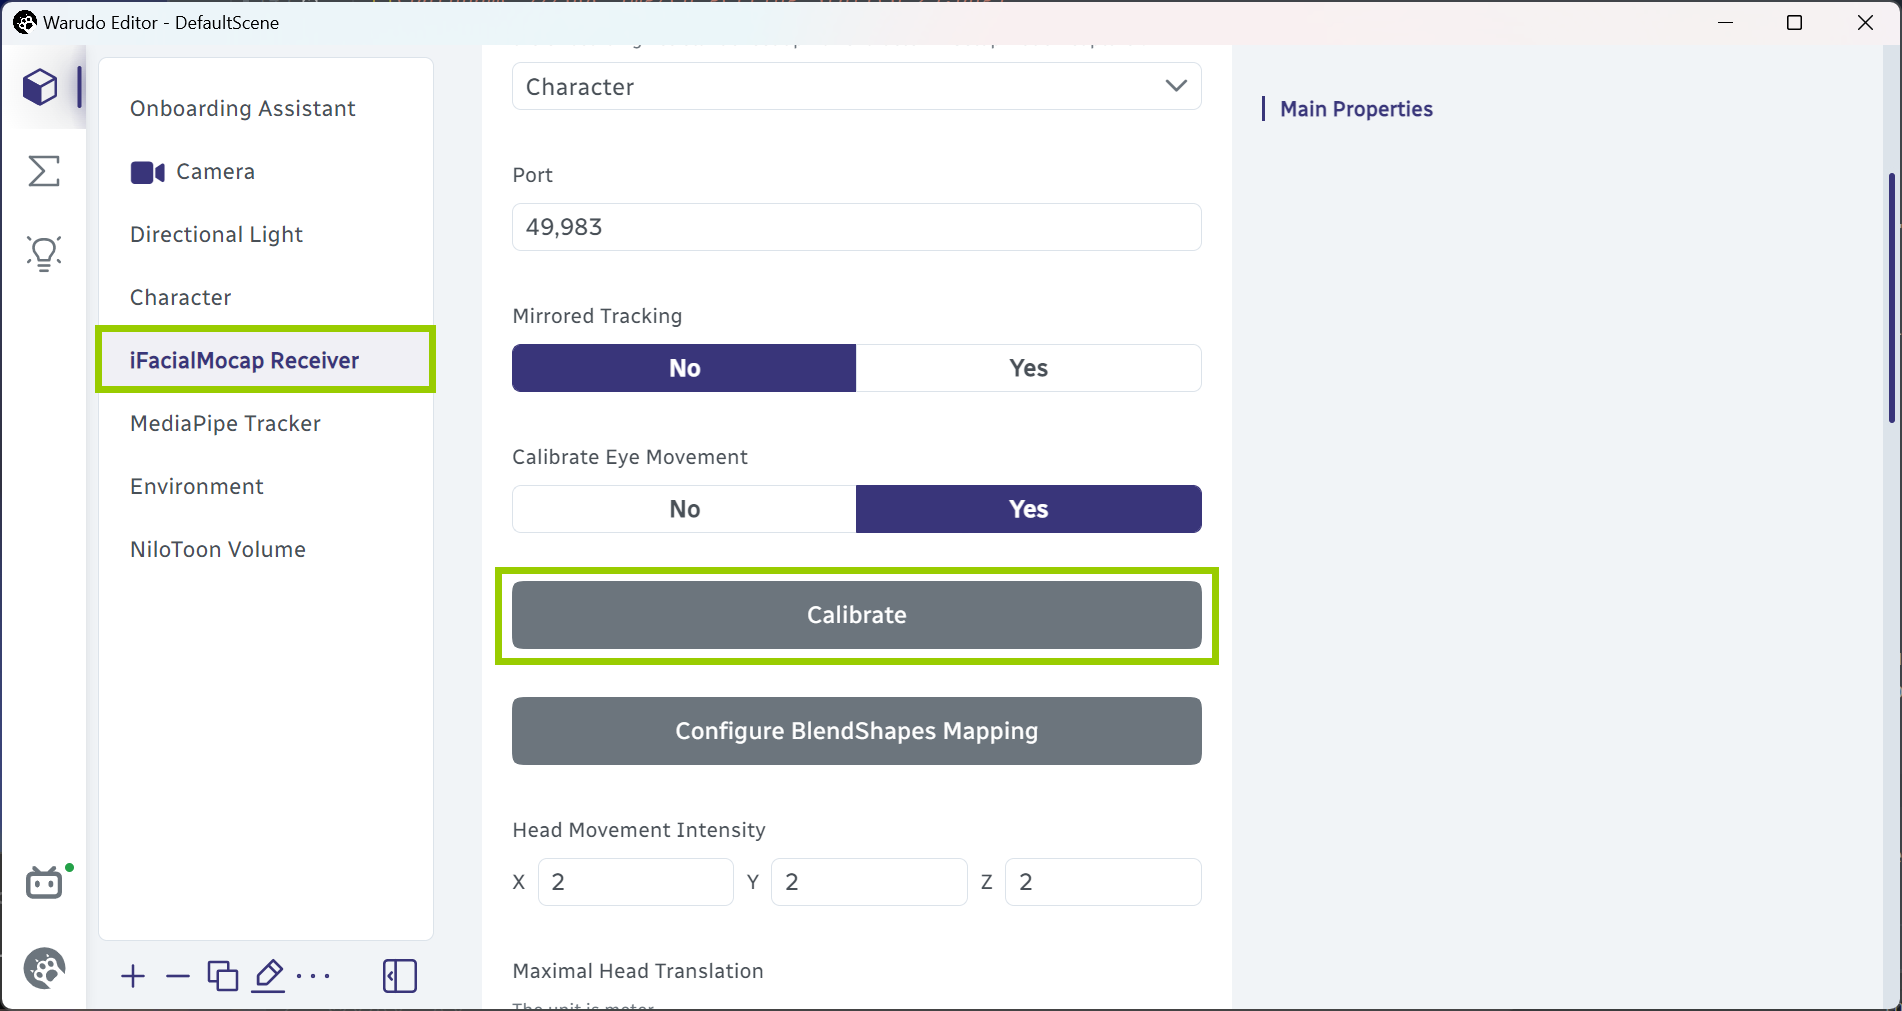
Calibrate iFacialMocap.
Since we are already here, how about we try to add a new asset? Click on Add Asset and select Prop:

Add asset.

Select "Prop".
The prop asset is added to the scene, but we haven't selected a model yet! Let's click on the Preview Gallery button next to the Source dropdown menu:
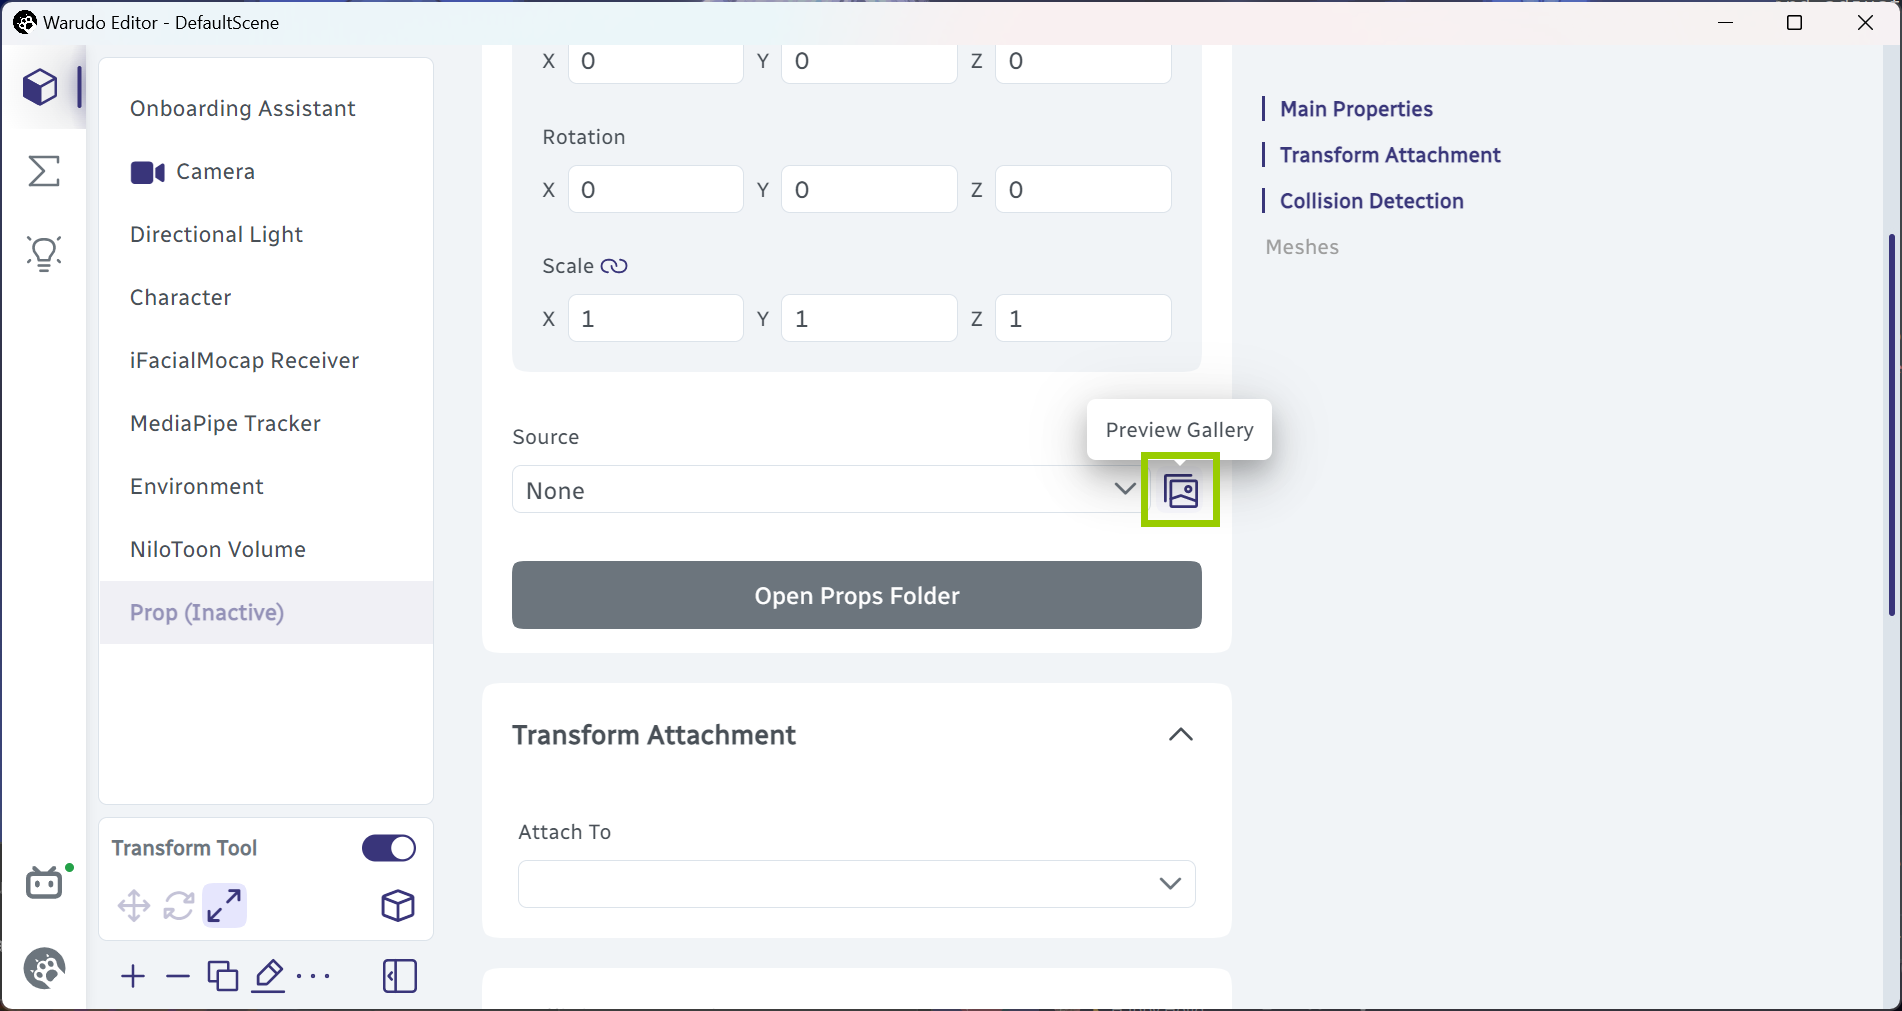
Preview gallery.
Let's select the Microphone prop. Then, click X (or anywhere outside the popup) to close the preview gallery:
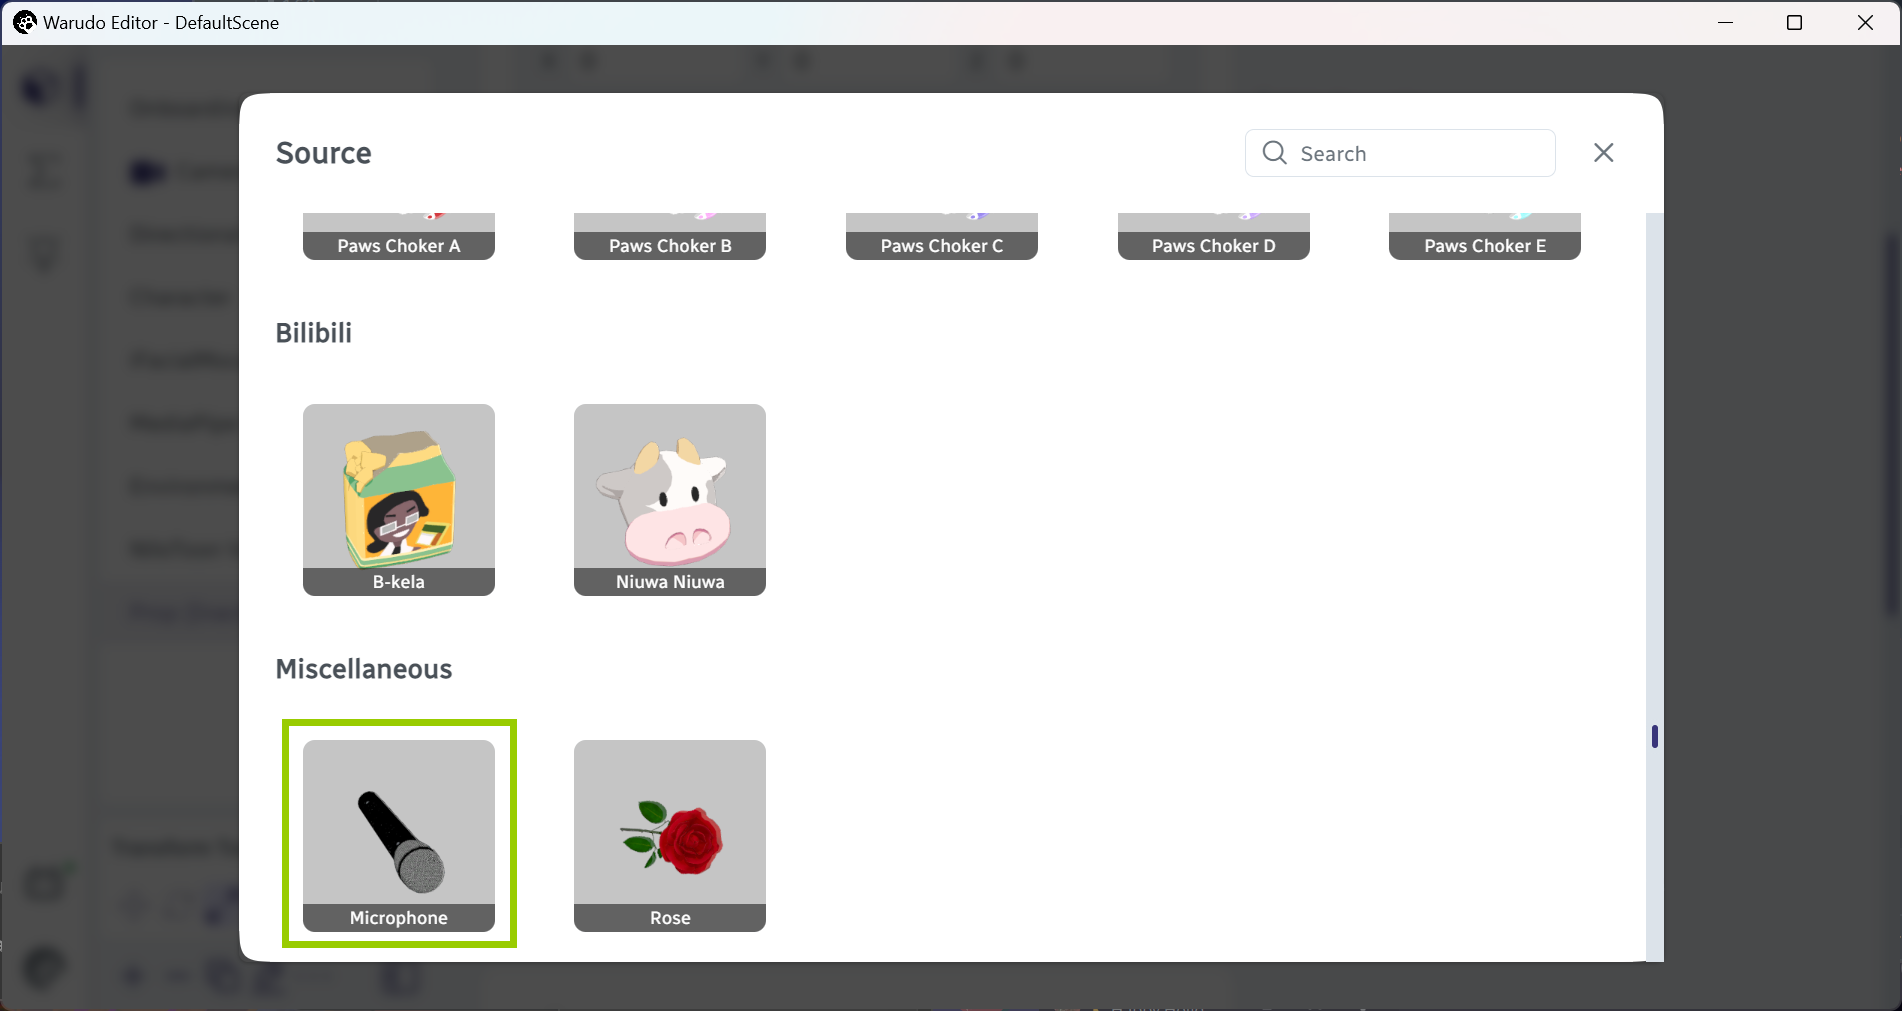
Select the microphone prop.
Hmm, where is our microphone? Zoom out a bit, and you should see it... sunk into the ground!

Oh noes.
That's not good! We want to attach it to our character's hand. In the Transform Attachment section, click on the Attach To dropdown menu and select Character:
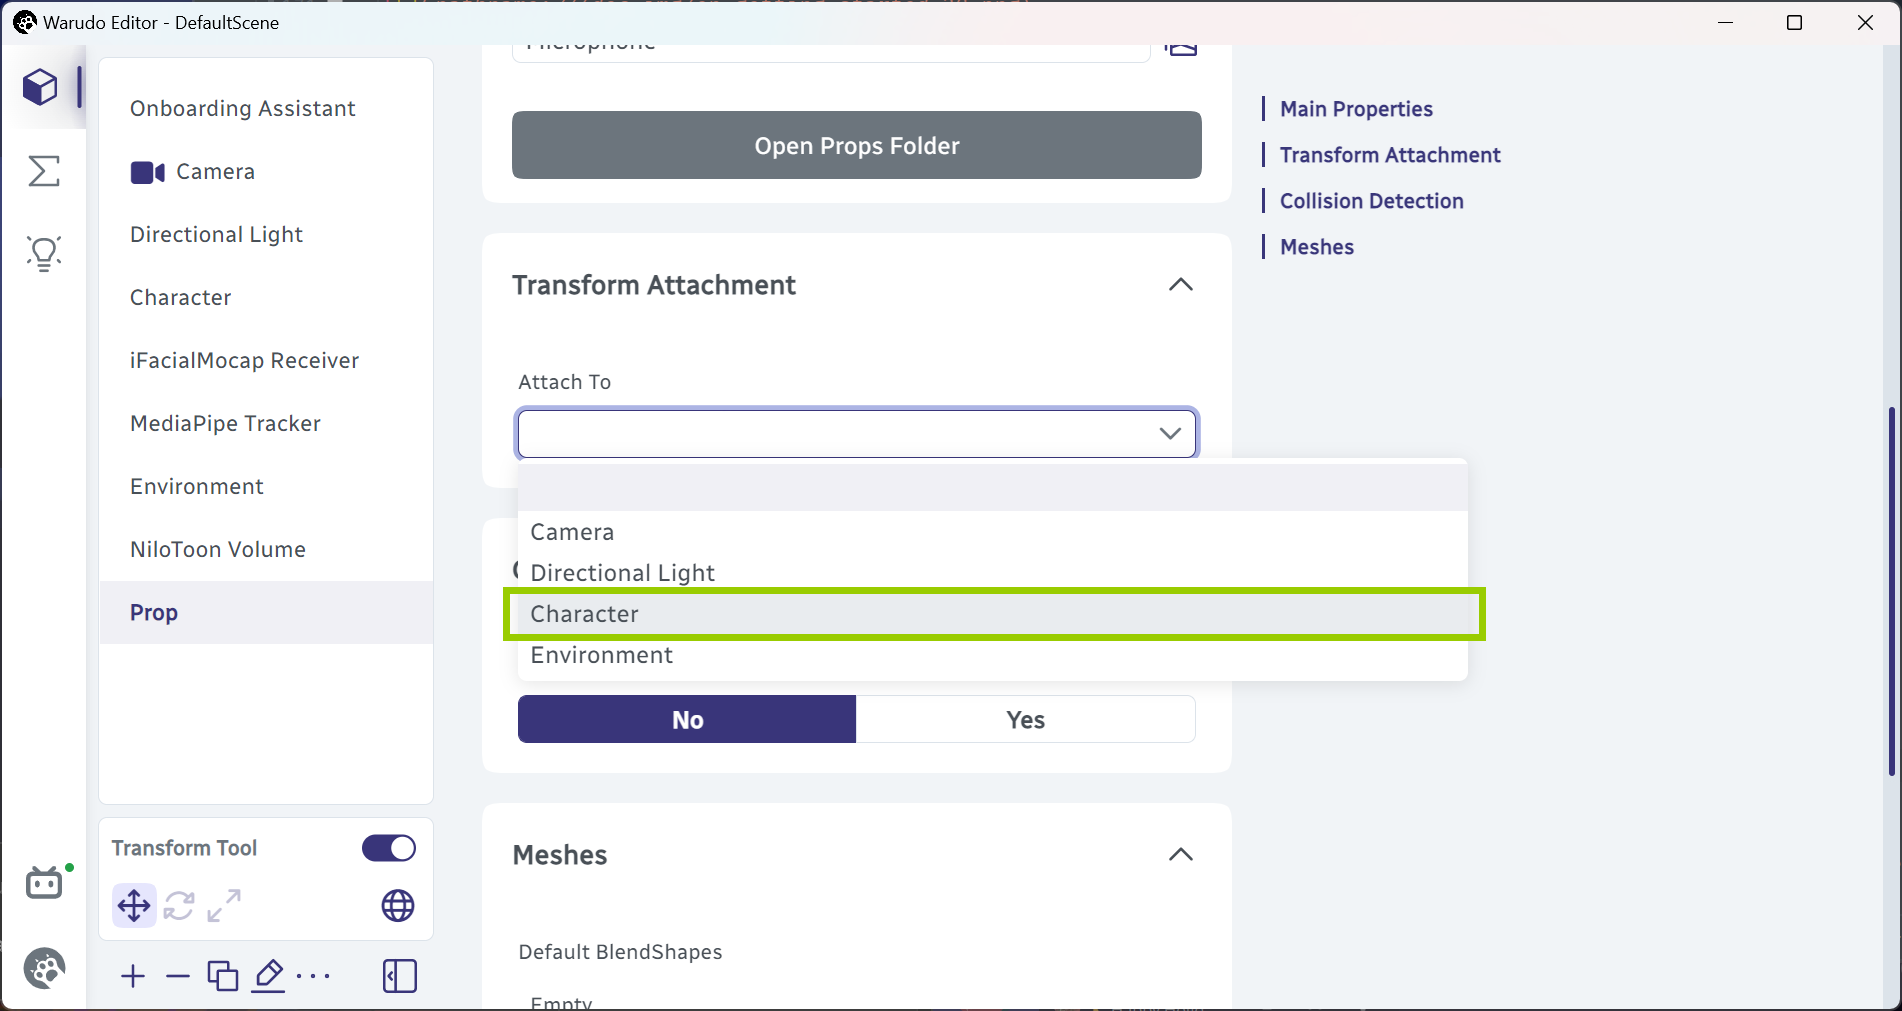
Attach to character.
The microphone is now attached to the character's hand! Now we can use the transform gizmo to adjust the attachment position:
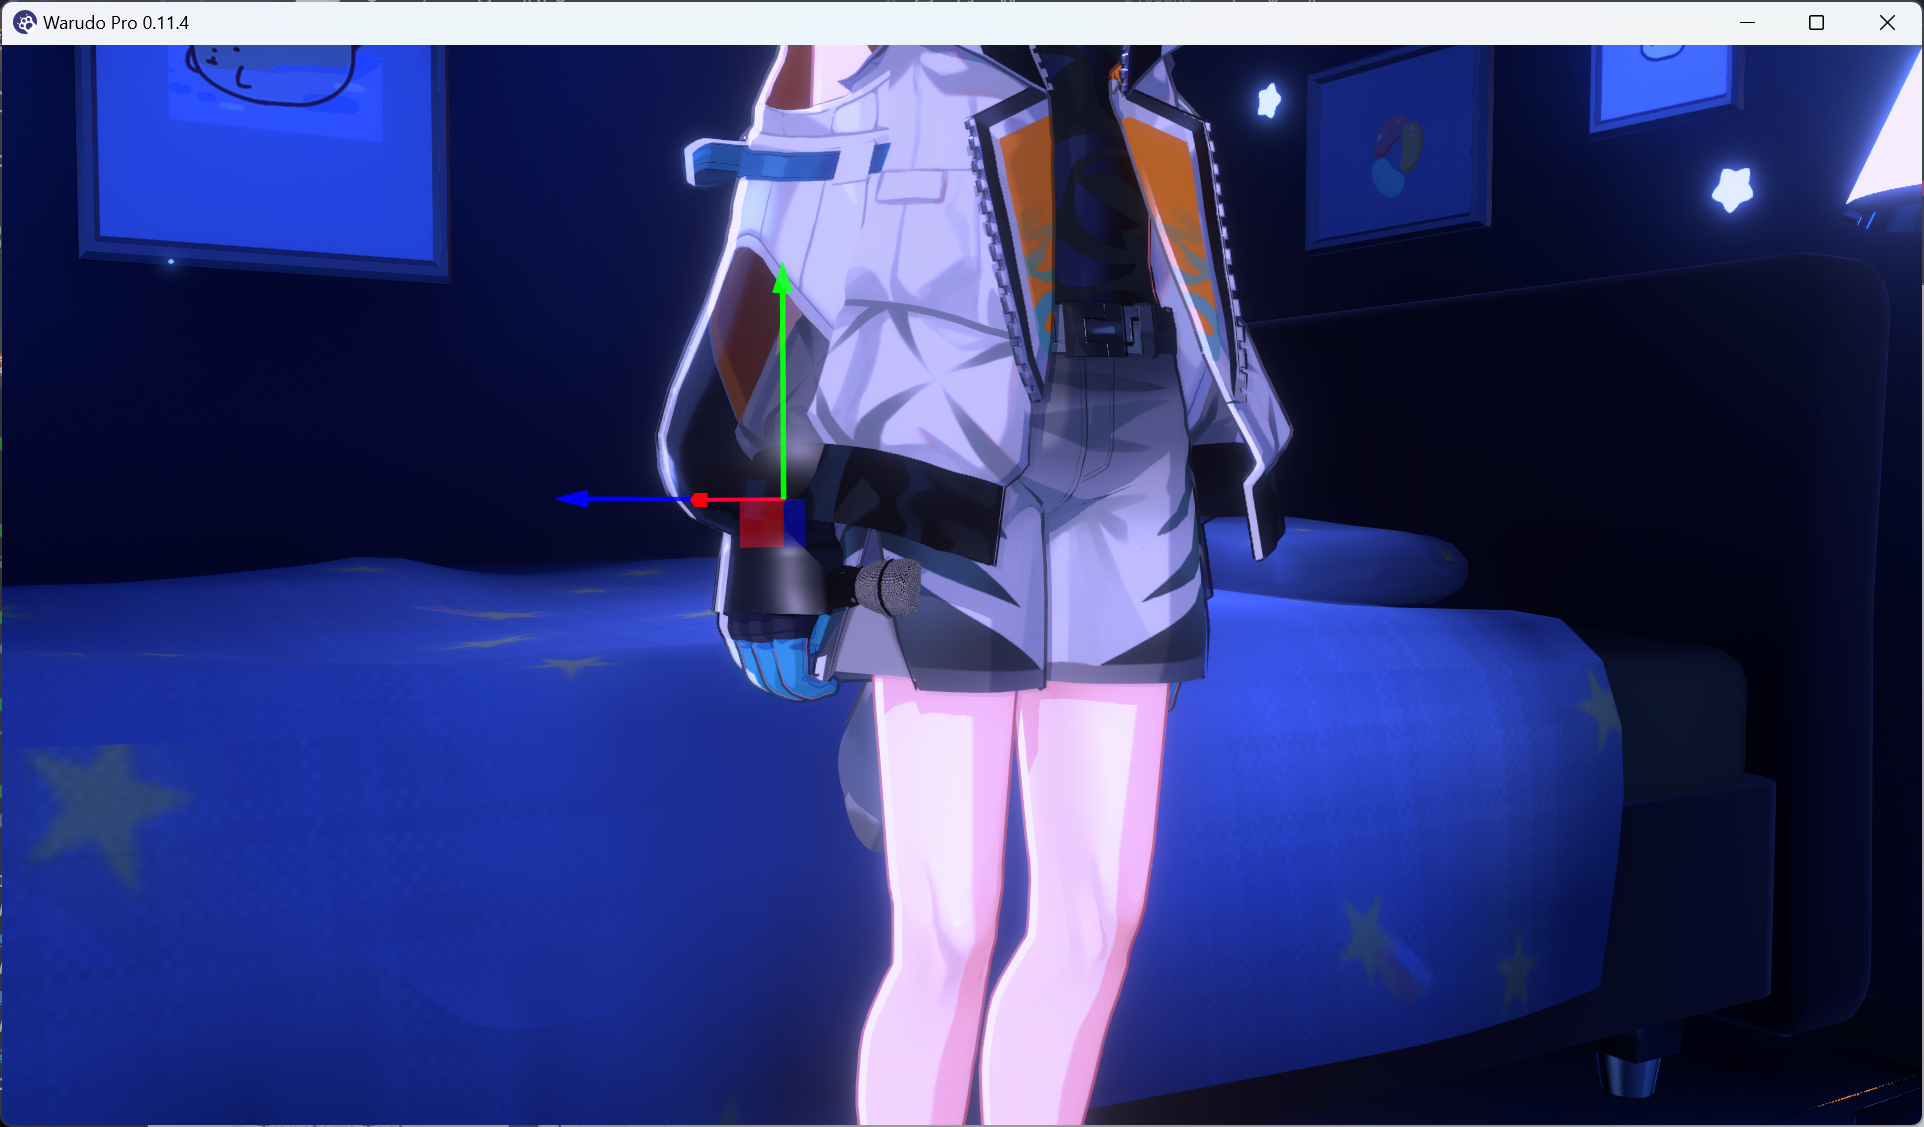
Microphone attached to character's hand.

Adjust attachment position.
If you have set up full-body tracking or hand tracking, you should be able to see your microphone moving with your hand!
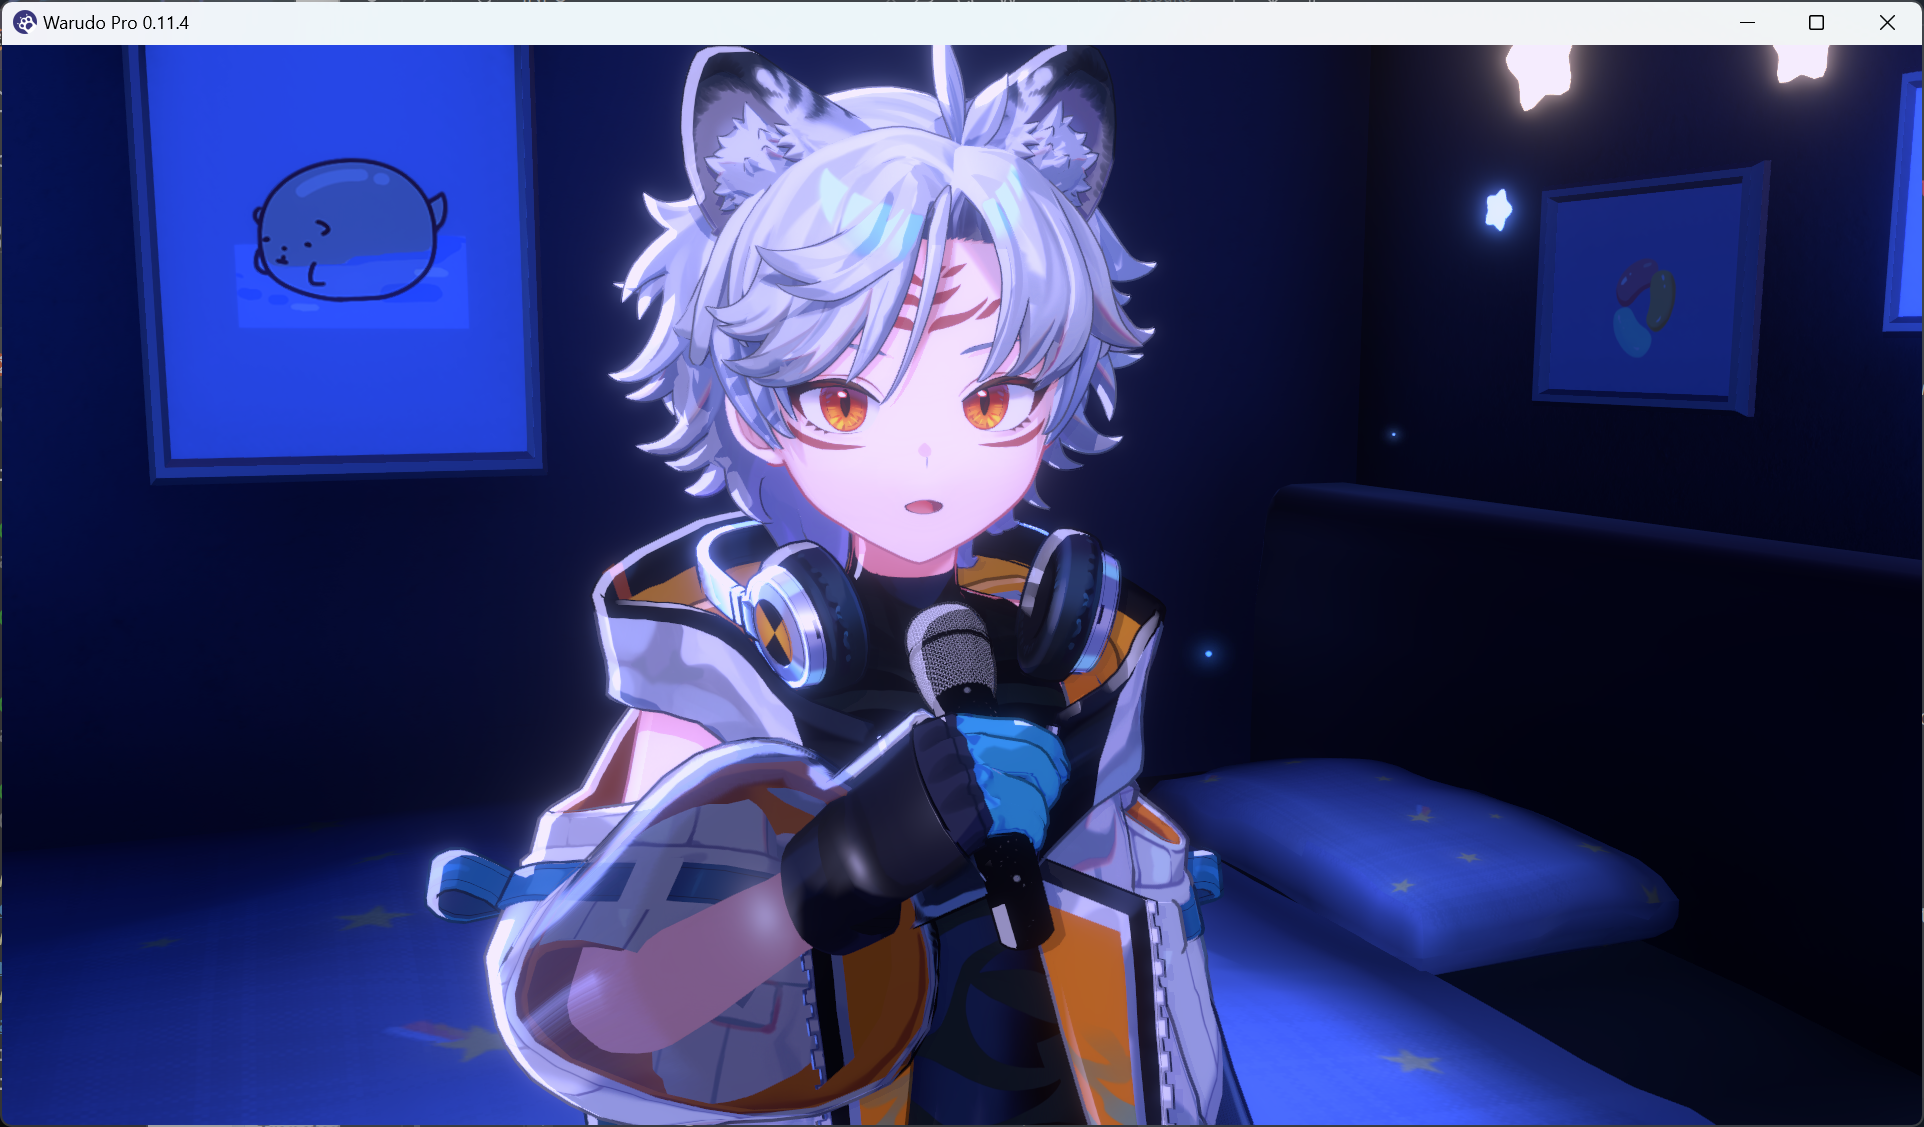
Microphone moving with hand.
As you can see, each type of asset comes with many options. For example, you can change Attach To Bone to attach the microphone to the character's left hand instead, or change Override Hand Pose to make the character hold the microphone with a different hand pose:
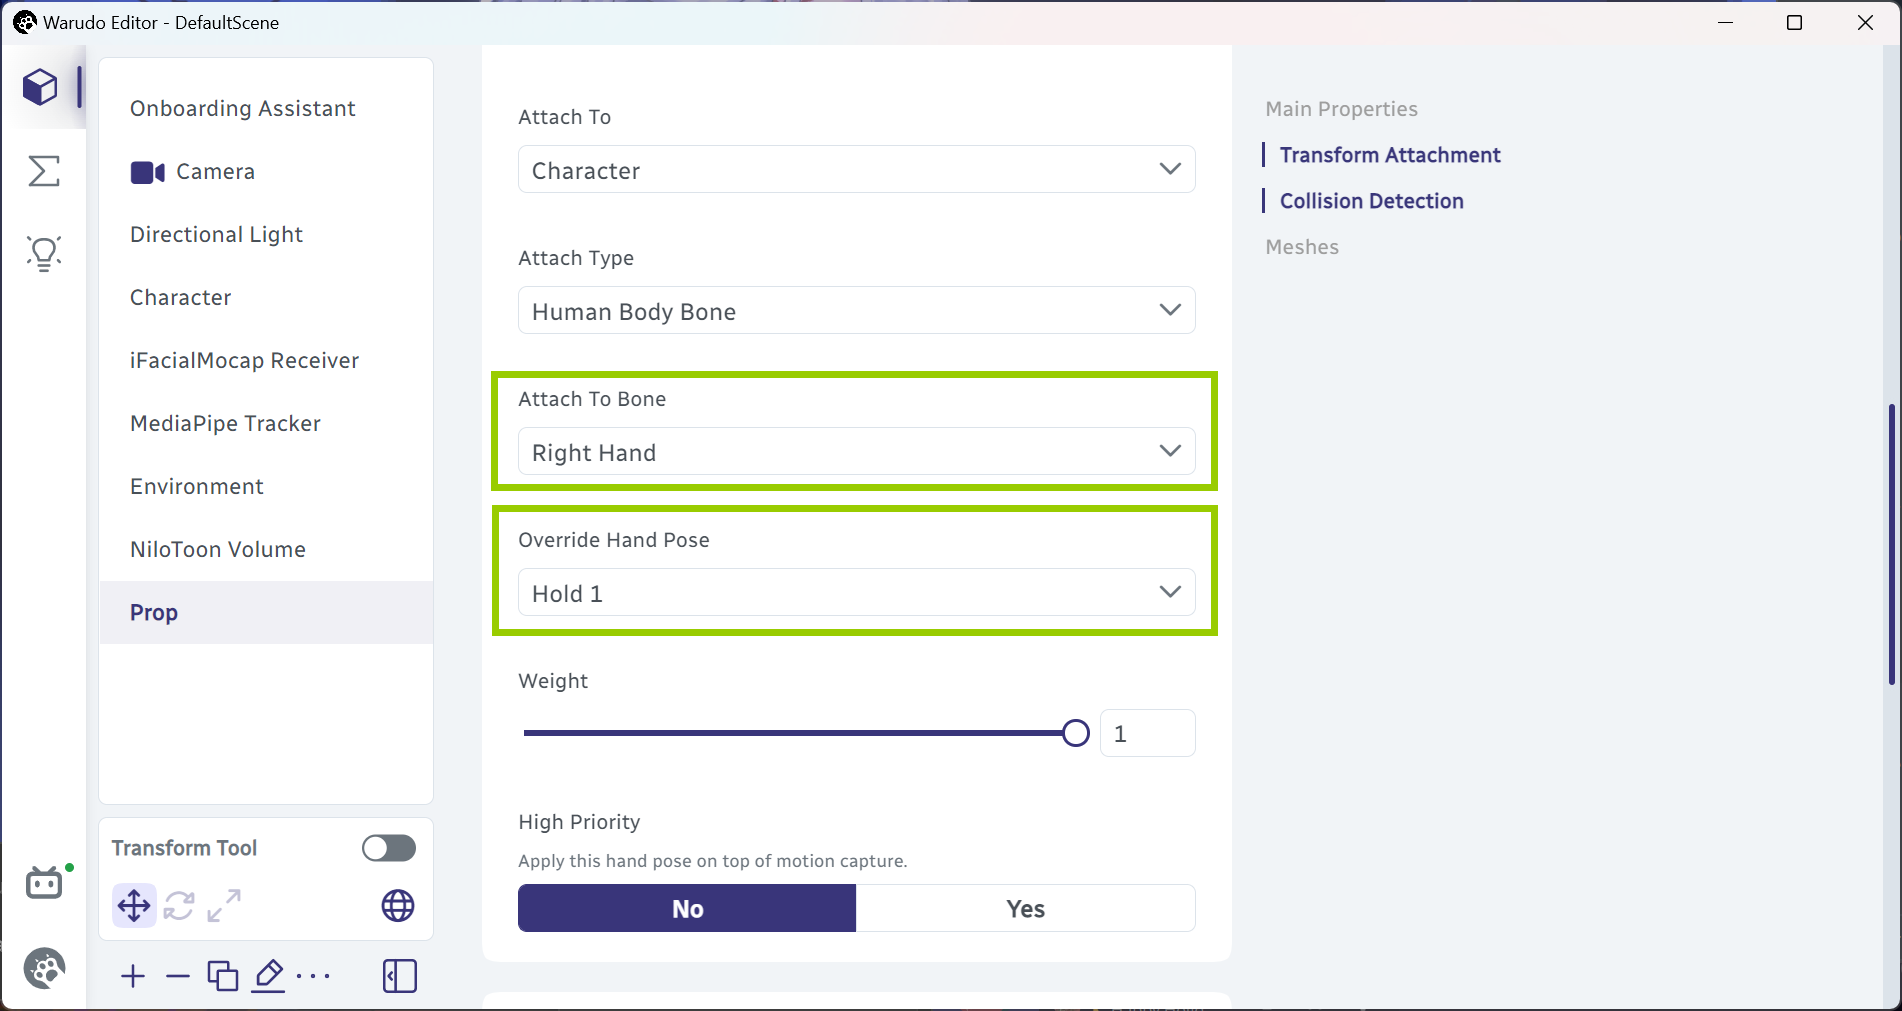
Adjust prop options.
The character asset is also highly customizable. For example, our character has stood next to the bed for a while. Let's make them sit on the bed! Click on the Character asset to select it, and click on the Preview Gallery button next to the Idle Animation dropdown menu:
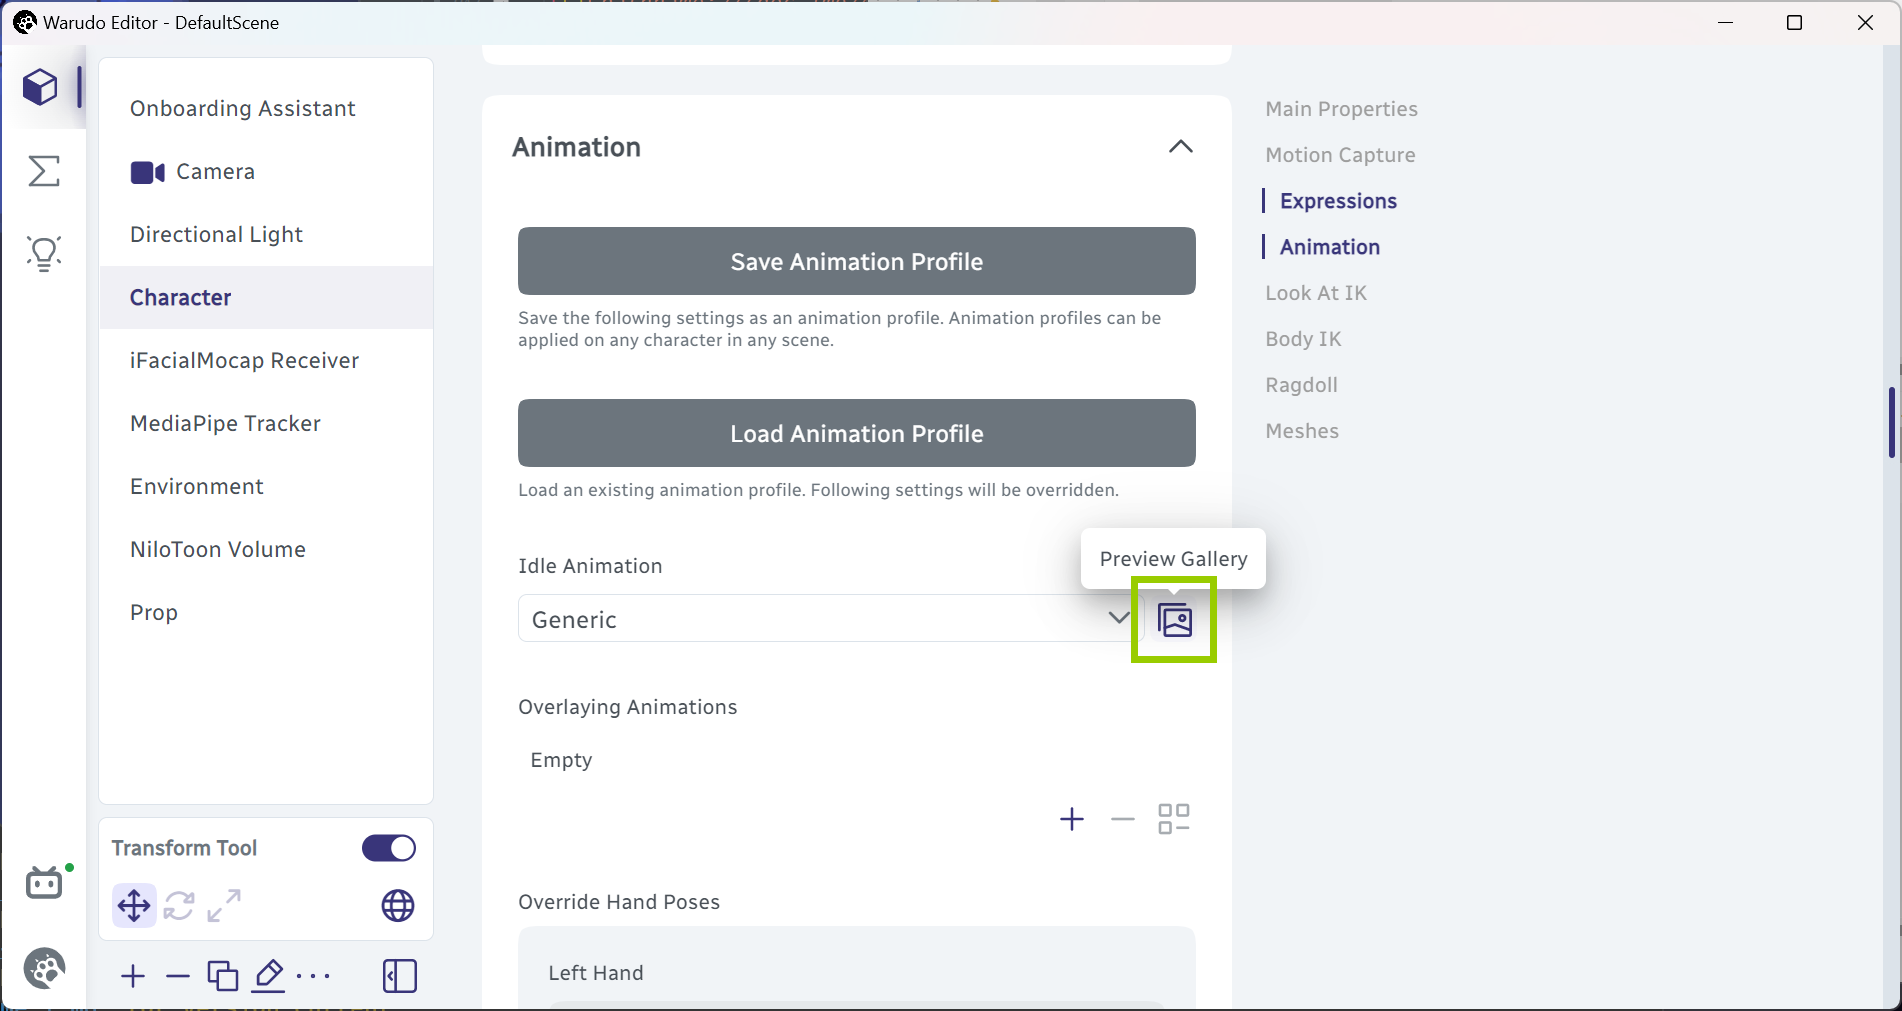
Select a character idle animation.
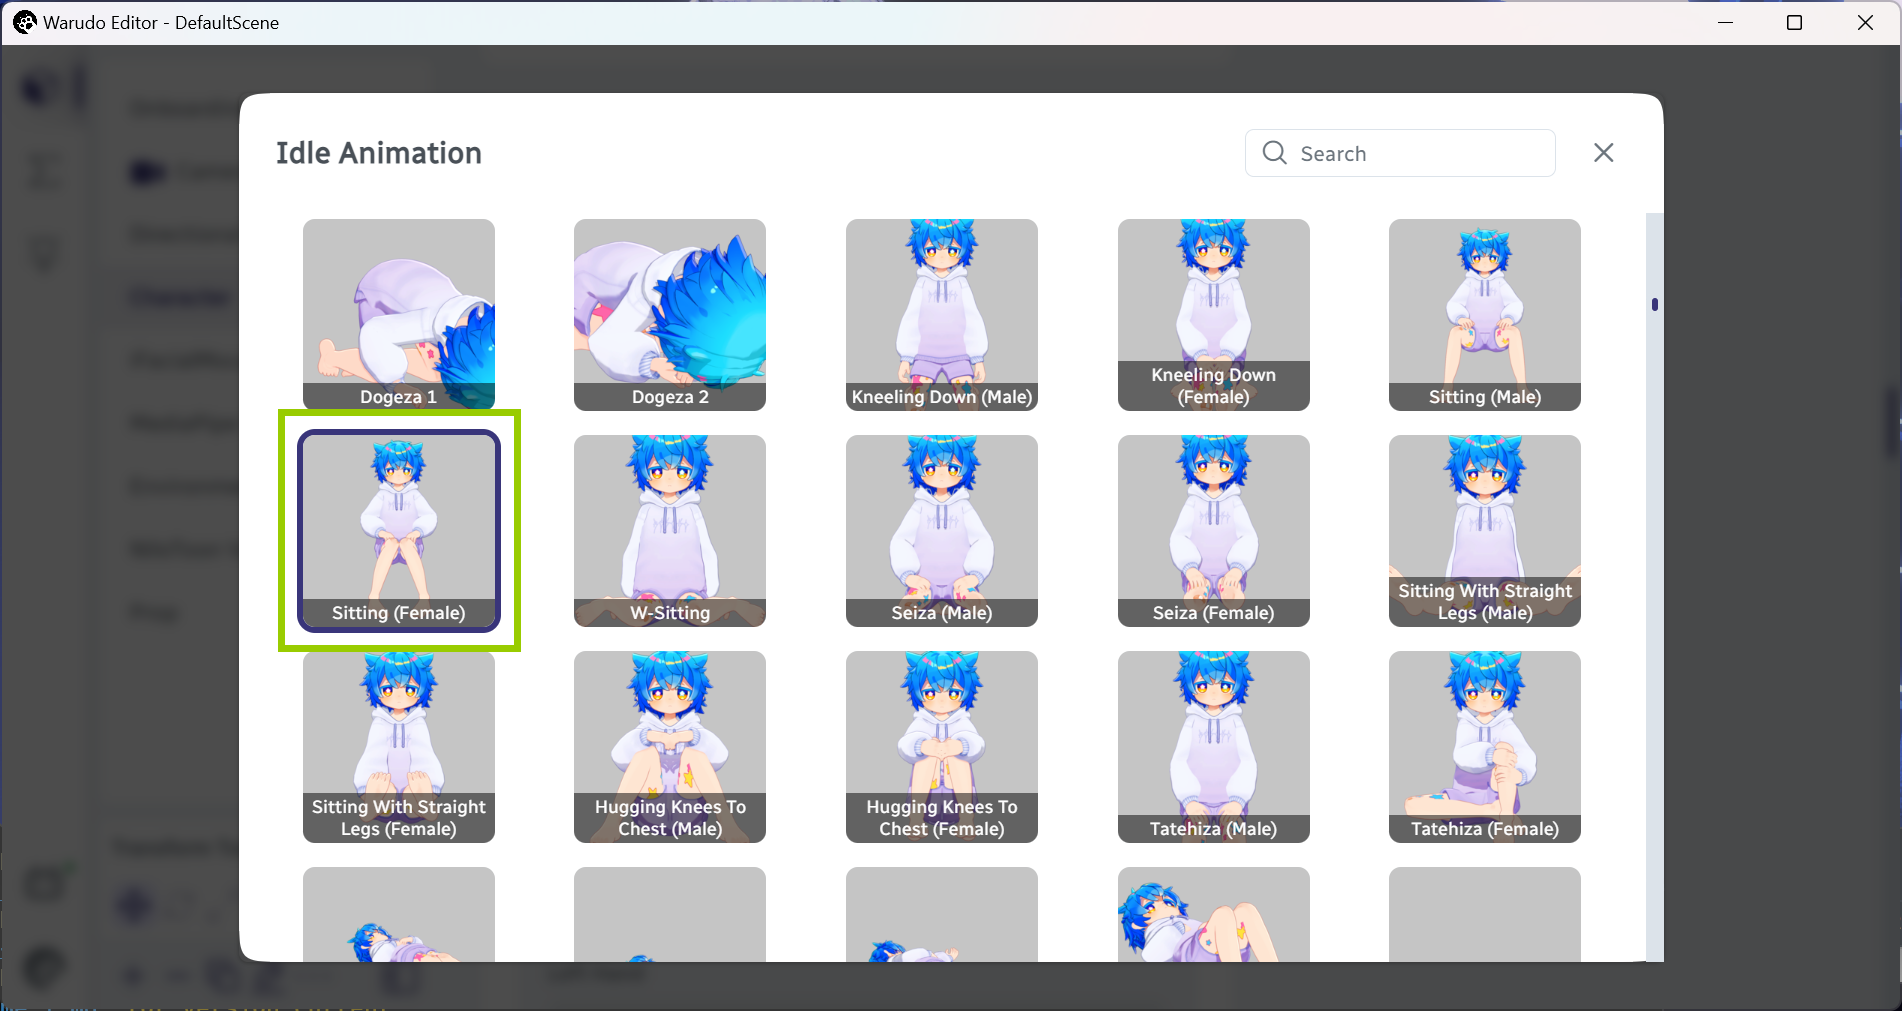
Select the "Sitting" idle animation.
Comfy!

Character sitting on the bed.
The best part is that Warudo's motion capture blends seamlessly with the idle animations! For example, if you raise your hand, the character will still raise their hand while sitting:

Character raises hand while sitting.
Q: Help! There are so many options in Warudo, and I don't know what they do!
A: It is easy to feel overwhelmed, but don't worry, you don't need to understand all of them. Many options are for advanced users and are not necessary for day-to-day usage.
If you are new to Warudo, just play around with the options and see what they do. You can always reset the options to their default values by clicking the Reset button when hovering on them. The later sections of this handbook will explore each type of asset and their options in detail with examples.
Finally, let's try to add a Screen asset. Click on Add Asset and select Screen:

Add screen asset.
The screen asset is used to display images and videos, but it can also capture your windows/monitors just like OBS Studio! In the following example, I have selected Window for the Content Type option and Warudo Editor for the Window option, and moved the screen to behind the character:

Screen usage example.
If the screen is too bright, you can adjust the Tint option to a gray color to make it darker.
Blueprints Tab
Now you are familiar with assets, let's take a look at the Blueprints tab. Click on the sigma icon to switch to the blueprints tab:
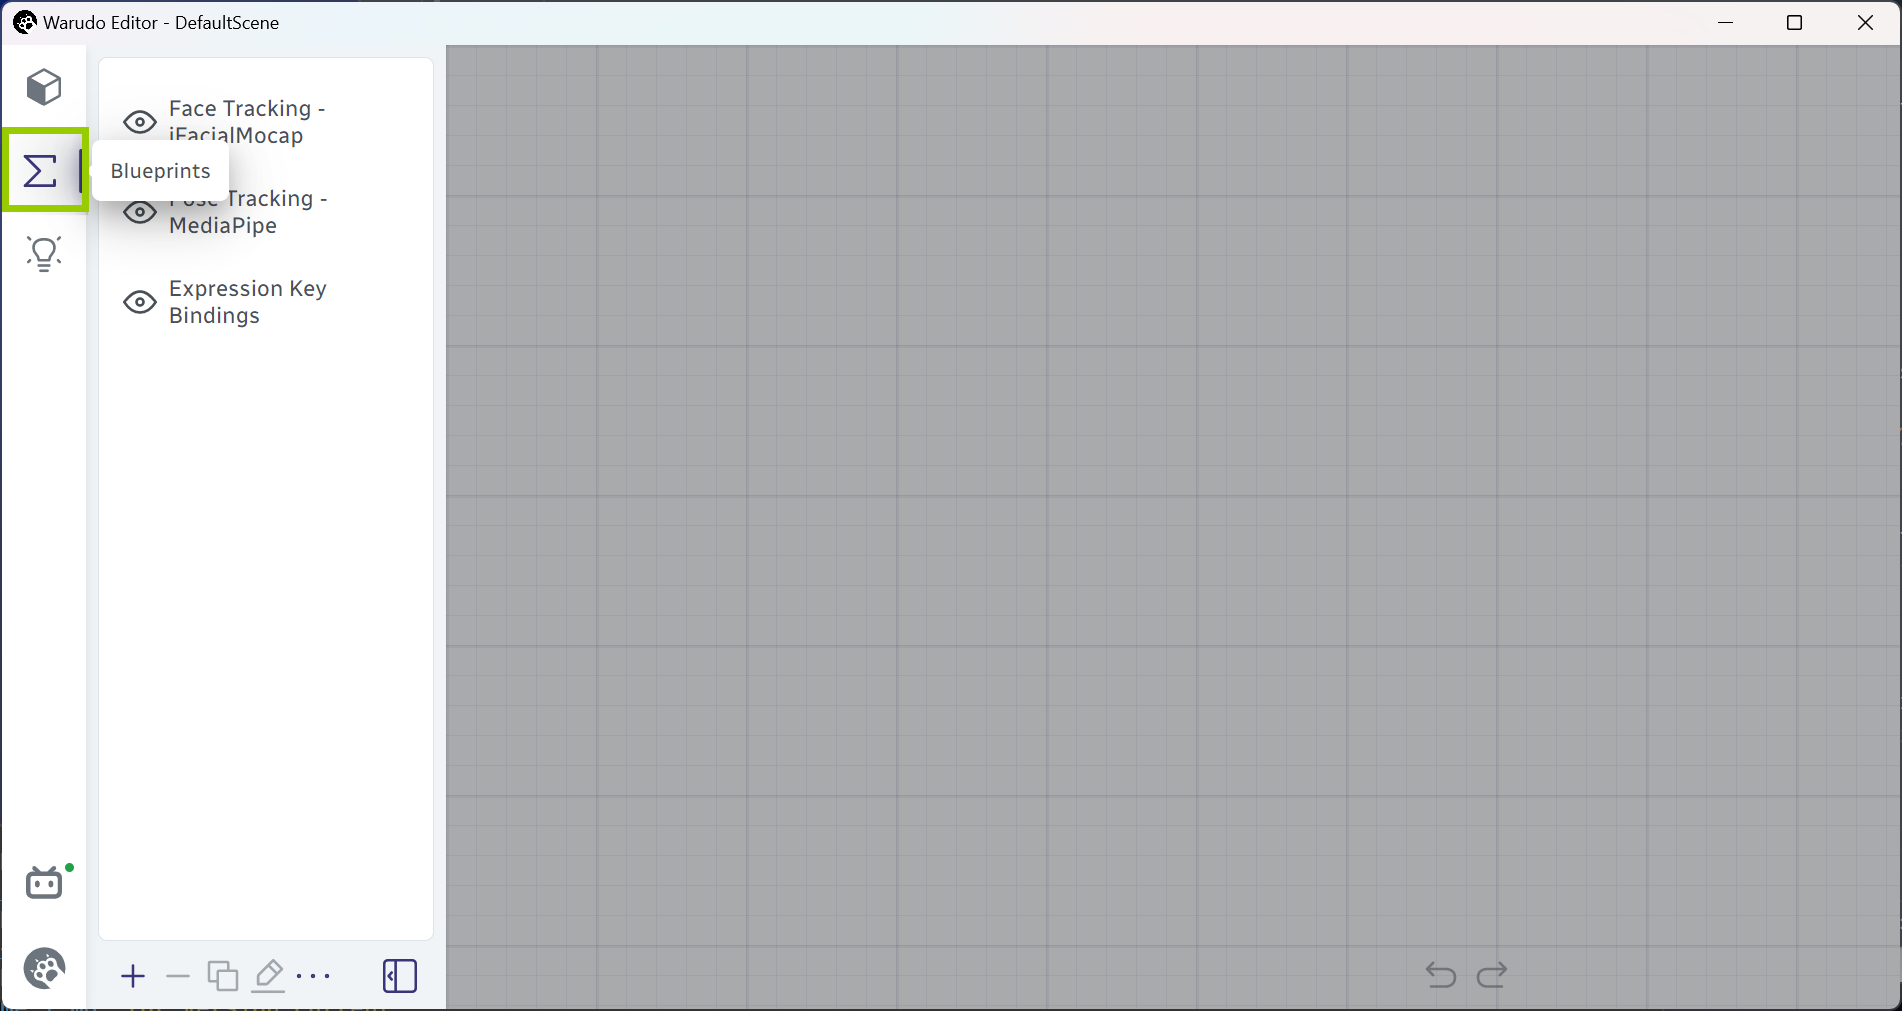
Switch to the blueprints tab.
But what is a blueprint? Essentially, blueprints are "what should happen when something happens." For example, "when I press the Space key, the character should wave their hand." Or, "when I receive a Twitch redeem, a prop should be thrown at my character."
Our scene already has a few blueprints. For example, the Expression Key Bindings blueprint implements the hotkeys for switching between expressions. Let's click on it to select it:
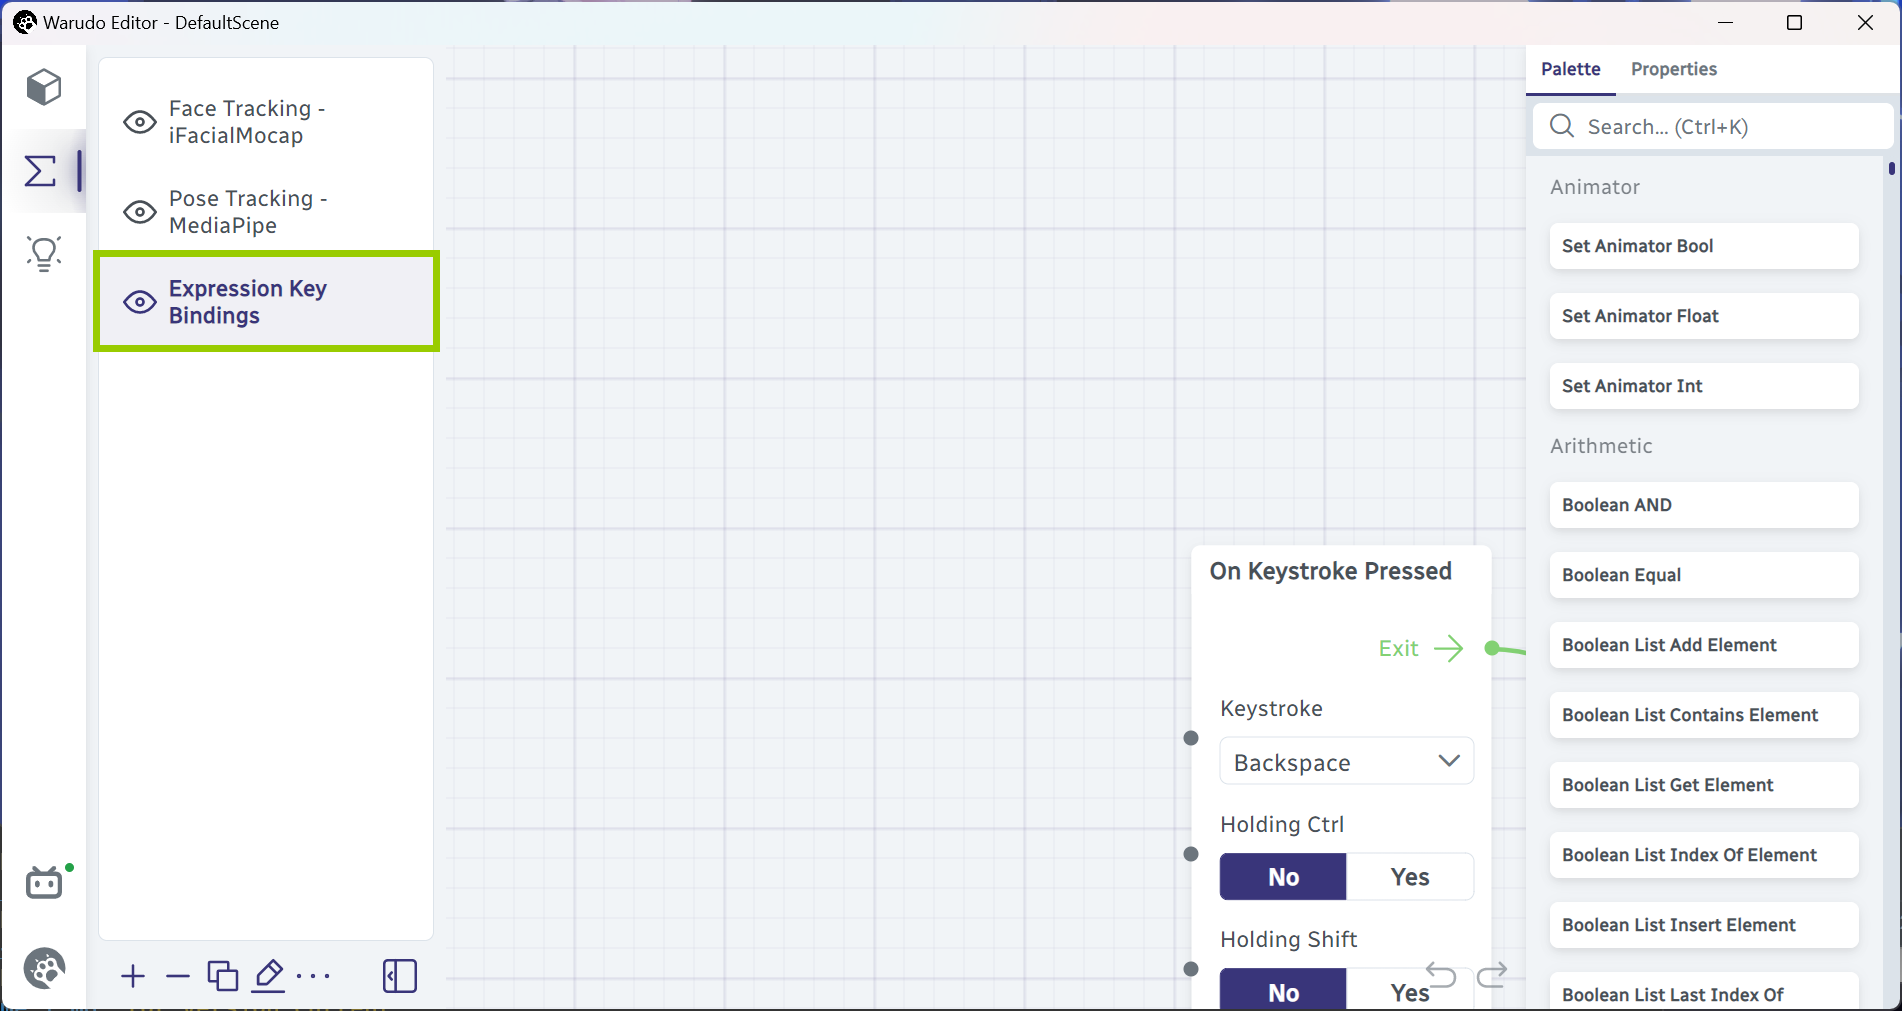
Select the expression key bindings blueprint.
Use Mouse Wheel to zoom in and out, and Mouse LMB to pan the view. Pan to the right until you see these two nodes:

Zoom out and pan to the right.
The two nodes right here are essentially saying: "when Alt+1 is pressed, the character asset Character should switch to the Joy expression." Let's try it out! Press Alt+1 on your keyboard, and you should see your character switch to the Joy expression:

Character switches to the "Joy" expression.
Similarly, the two nodes below are saying: "when Alt+Backspace is pressed, the character asset Character should exit all expressions." Press Alt+Backspace to try it out.

Character exits all expressions.
Let's go back to the two nodes that switch to the Joy expression. You can change the hotkey by changing the Keystroke option and other options; for example, in the following, I have changed the hotkey to Ctrl+Shift+Q:

Change hotkey.
You can also make more things happen when the hotkey is pressed. How about playing a sound effect? Type play sound in the search bar and drag the Play Sound node to the right of the Toggle Character Expression node:

Locate the "Play Sound" node.
Click on the green dot next to the Exit output of the Toggle Character Expression node and drag it to the green dot next to the Enter input of the Play Sound node:

Drag the "Play Sound" node to the right of the "Toggle Character Expression" node.
This connects the two nodes together. Now, click on the Source dropdown menu and select a sound effect you like. I have selected the Punch Light 01 sound effect.

Select a sound effect.
You can click Open Sounds Folder and put in your own sound effects!
Now, when you press Ctrl+Shift+Q (or the hotkey you assigned), your character should switch to the Joy expression, and you should hear a sound effect!
Let's implement something new. For example, let's play an emote animation on the character when we press Space. Pan to an empty area and try to add the following nodes yourself and connect them together as shown. Select the character asset in the Character dropdown menu, and select Energetic for the Animation option:
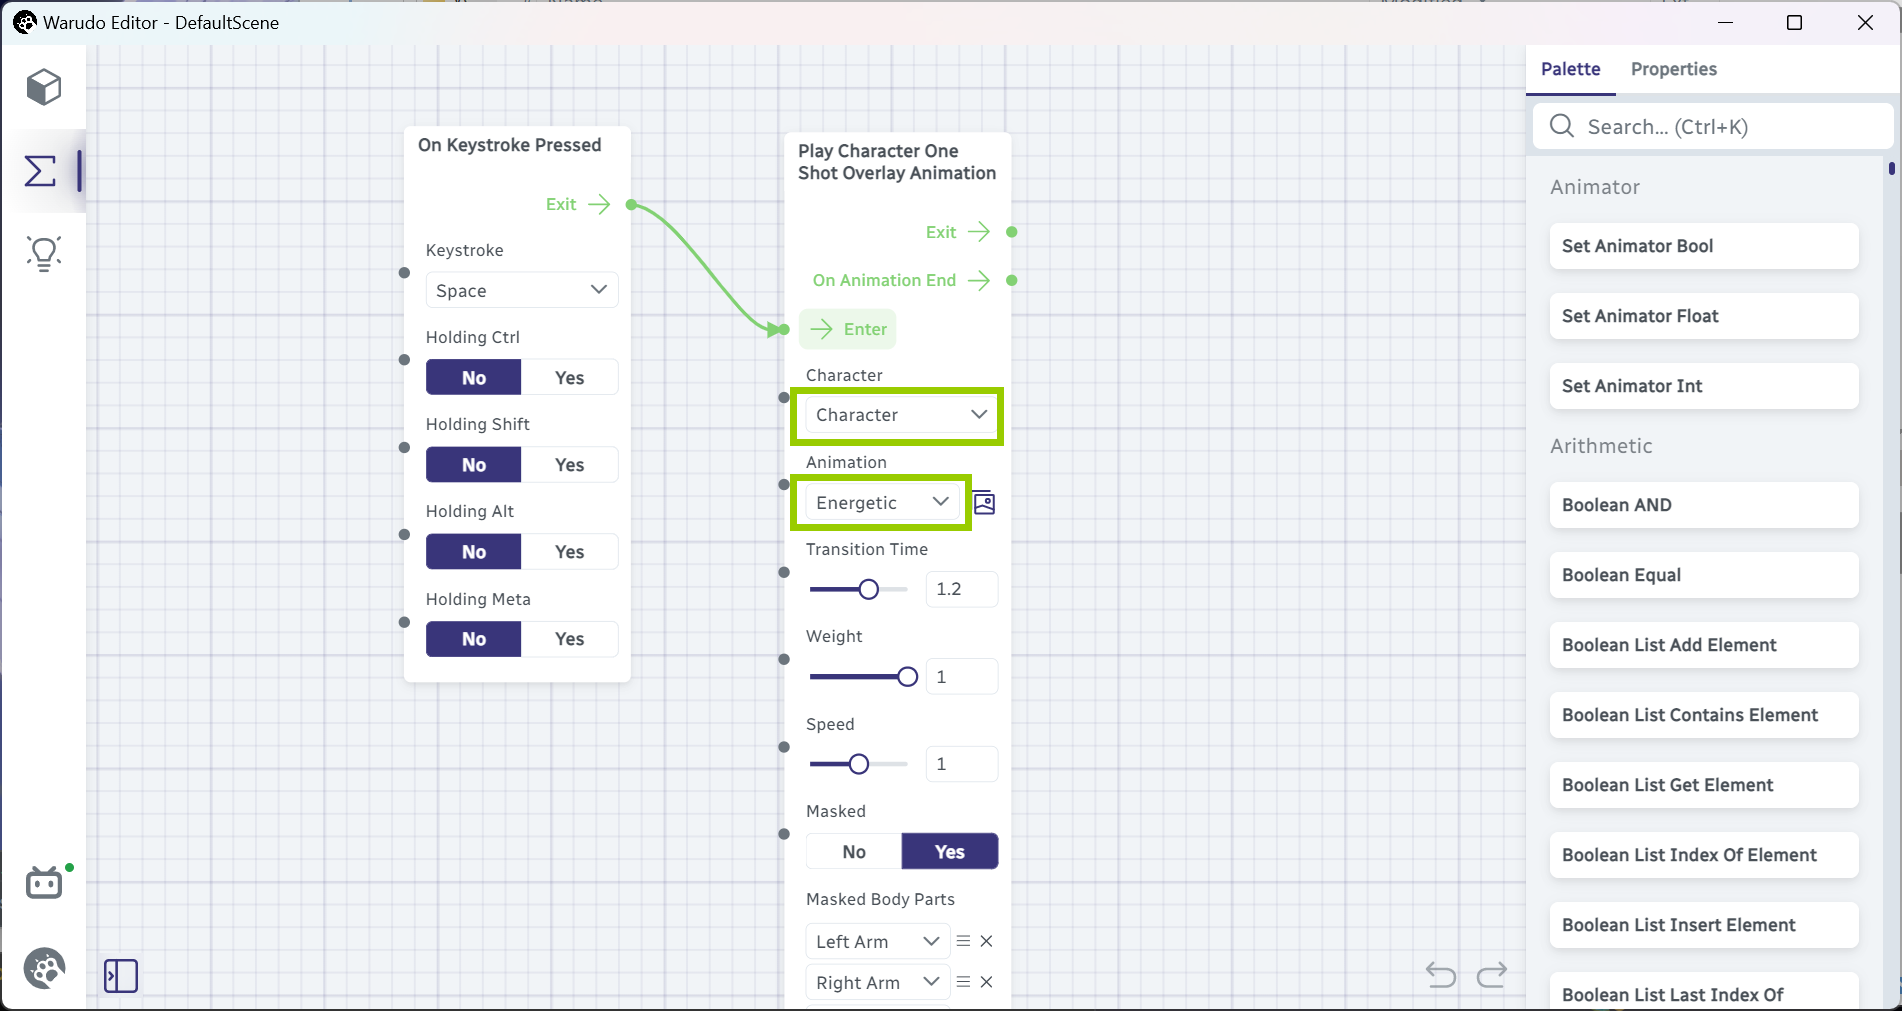
Add nodes to play an emote animation.
If your character is currently sitting, you may want to mask the animation to only play on the upper body. To do so, click on Mask Upper Body on the Play Character One Shot Overlay Animation node:

Mask the animation to only play on the upper body.
Now, when you press Space, your character should play the Energetic emote animation!
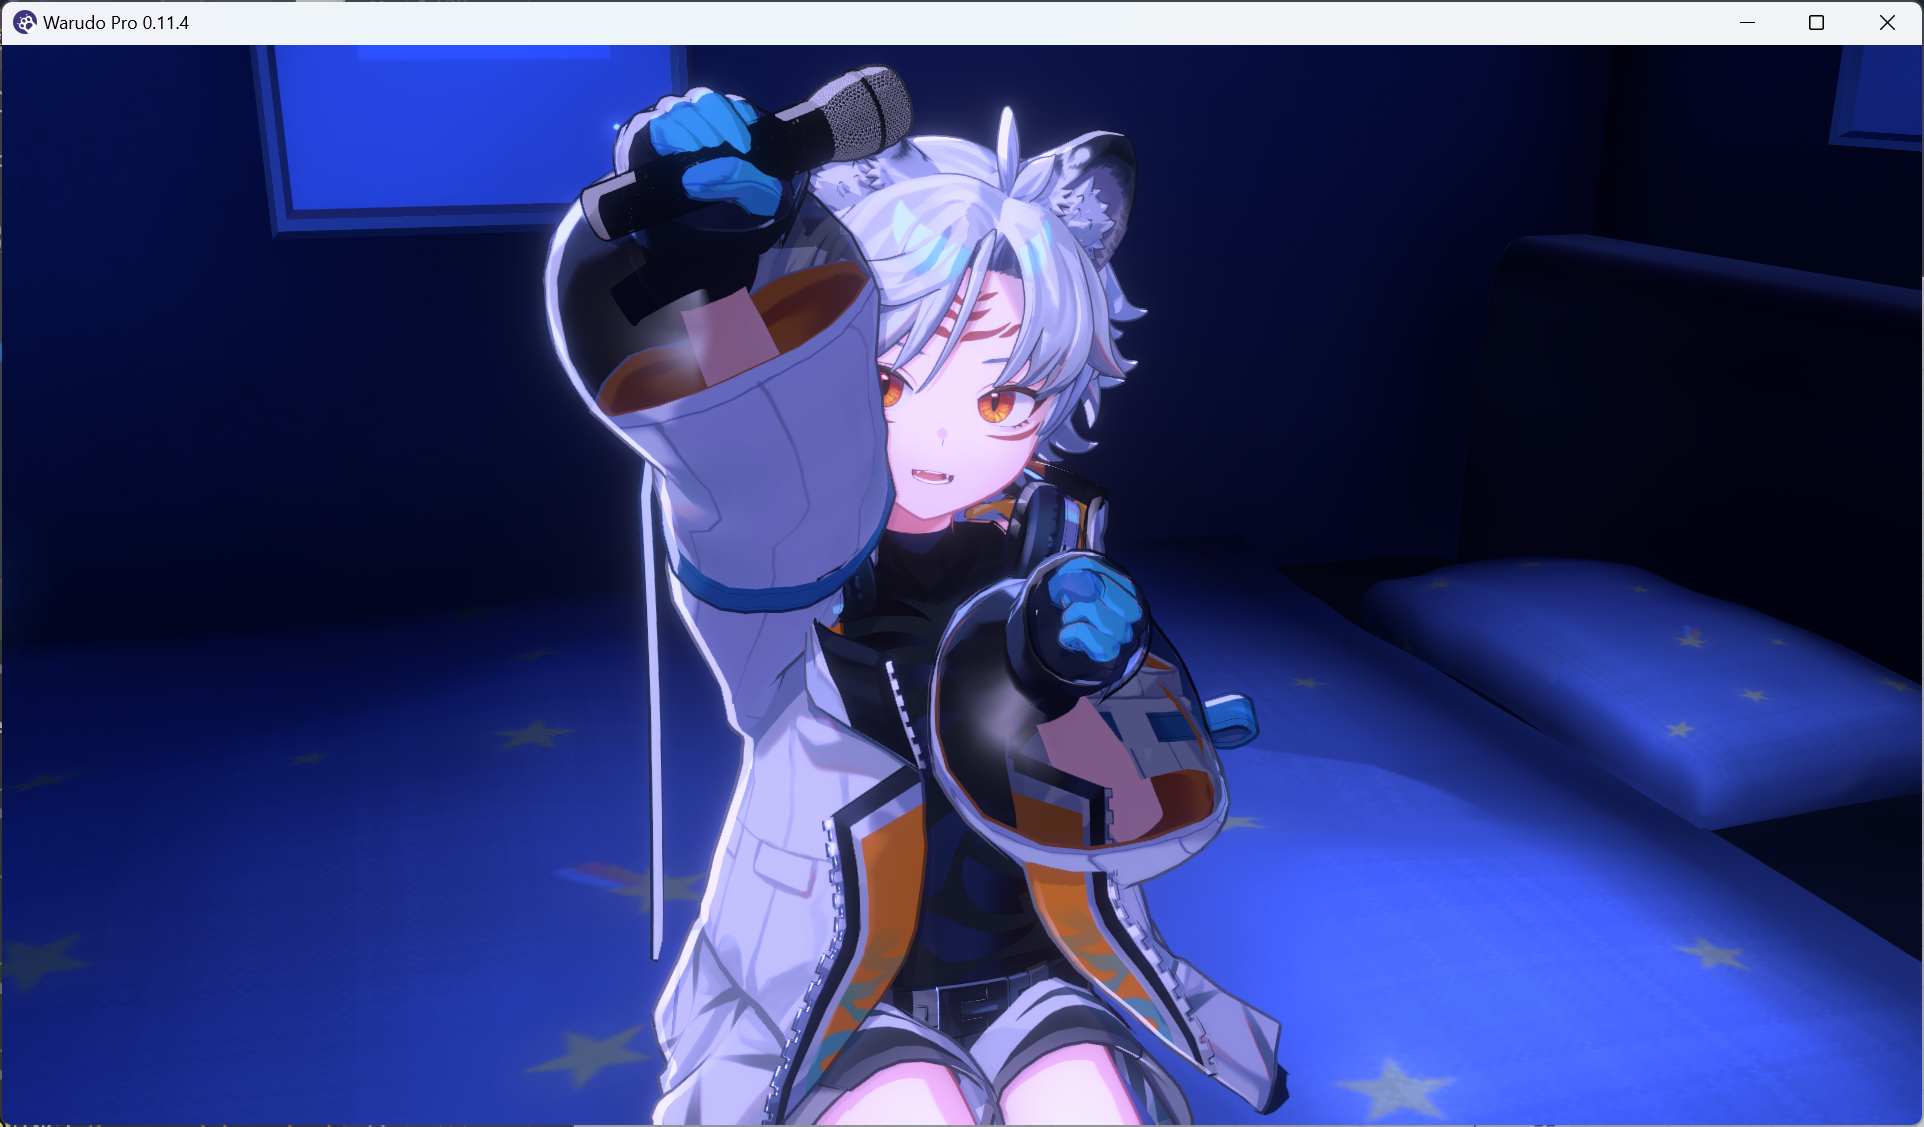
Character plays the "Energetic" emote animation.
That's our brief introduction to blueprints! Hopefully it offers you a glimpse of what blueprints can do. Blueprints are a very powerful feature, but even without touching them at all, you can still do a lot of things with Warudo. Once you are familiar with the rest of the features, we recommend reading the blueprint tutorial to learn more about blueprints.
You can use Mouse RMB to drag a selection box to select multiple nodes. To remove a node, select it and press Delete.
You may have noticed there is a blueprint for face tracking and a blueprint for pose tracking. These blueprints were automatically generated by the onboarding assistant and can be customized to your liking. For beginners though, they could look intimidating, so we recommend leaving them alone for now.
Interaction Setup
VTubing isn't fun if you can't interact with your viewers! Warudo offers a wide range of interaction features, but the quickest way to get started is to use our onboarding assistant. Select the Onboarding Assistant asset, and click on Interaction Setup → Get Started:

Interaction setup.
You will be asked to select a streaming platform:
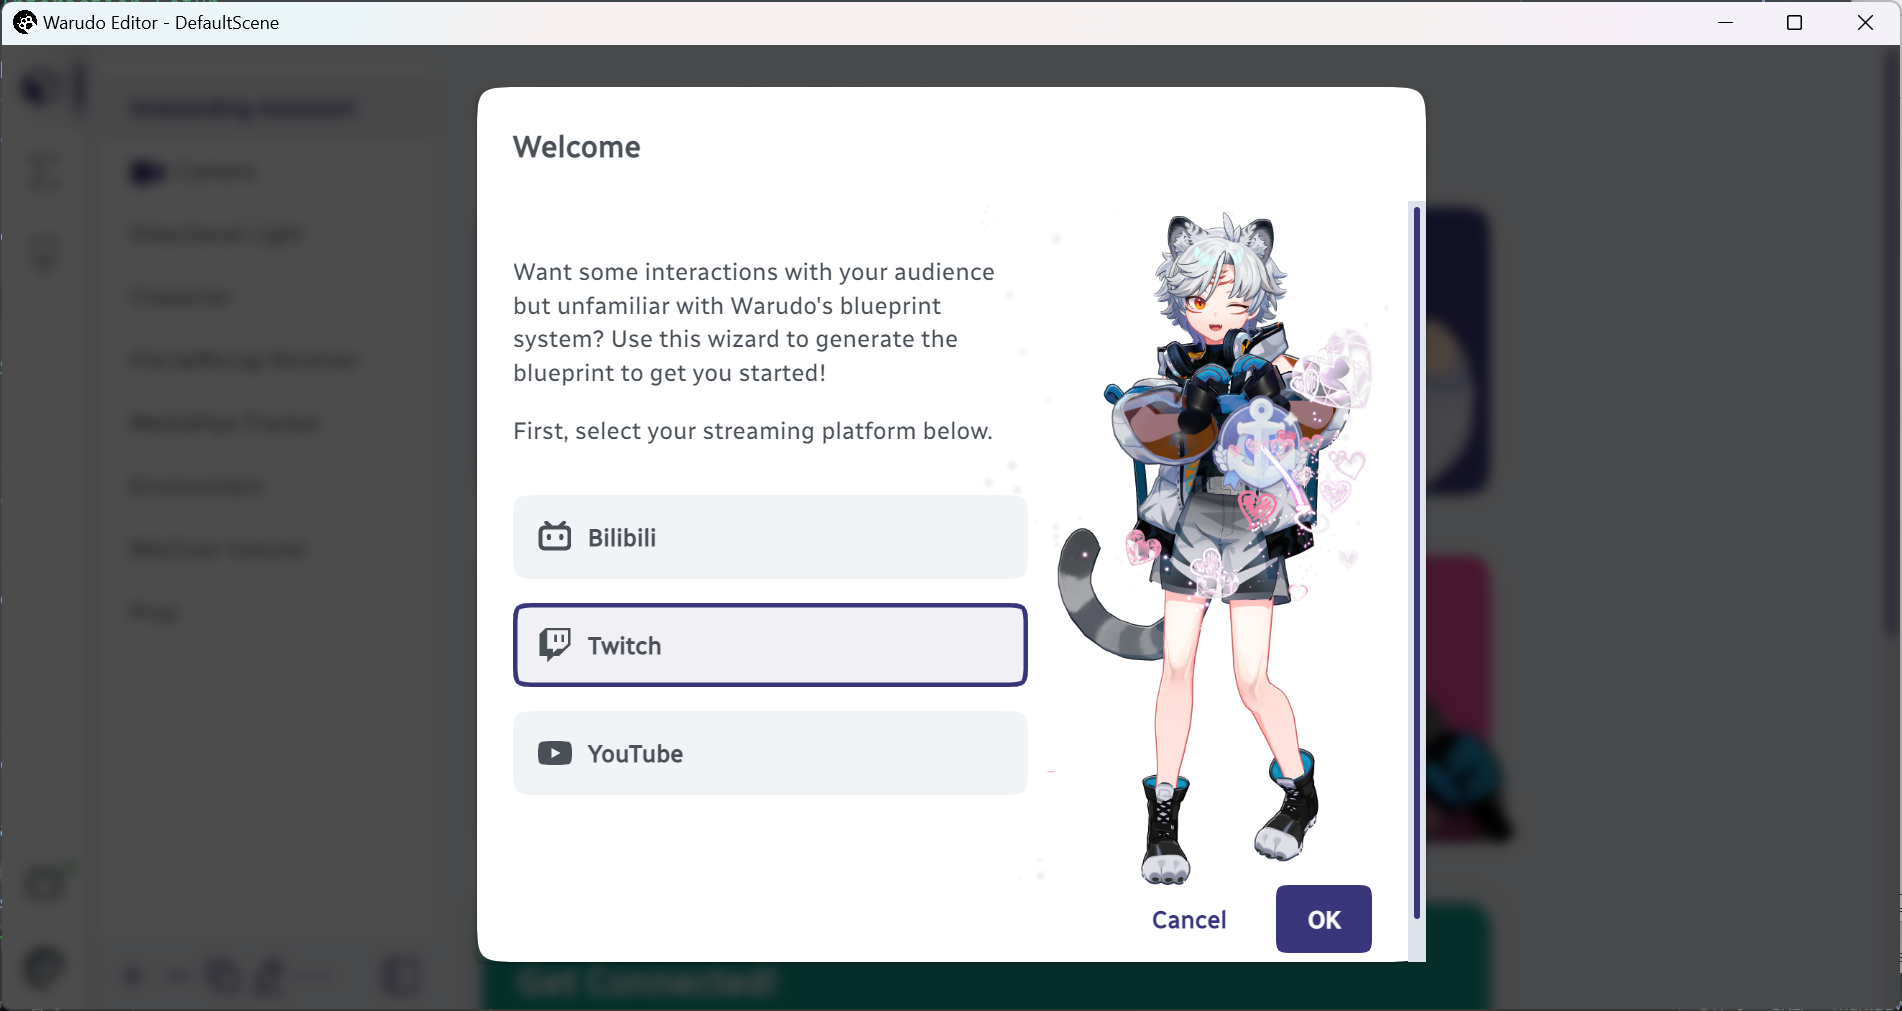
Select a streaming platform.
Follow the instructions to set up the streaming platform integration. For example, in the following, I am setting the Launching Liquid interaction to trigger when I receive a Twitch redeem called "Water":
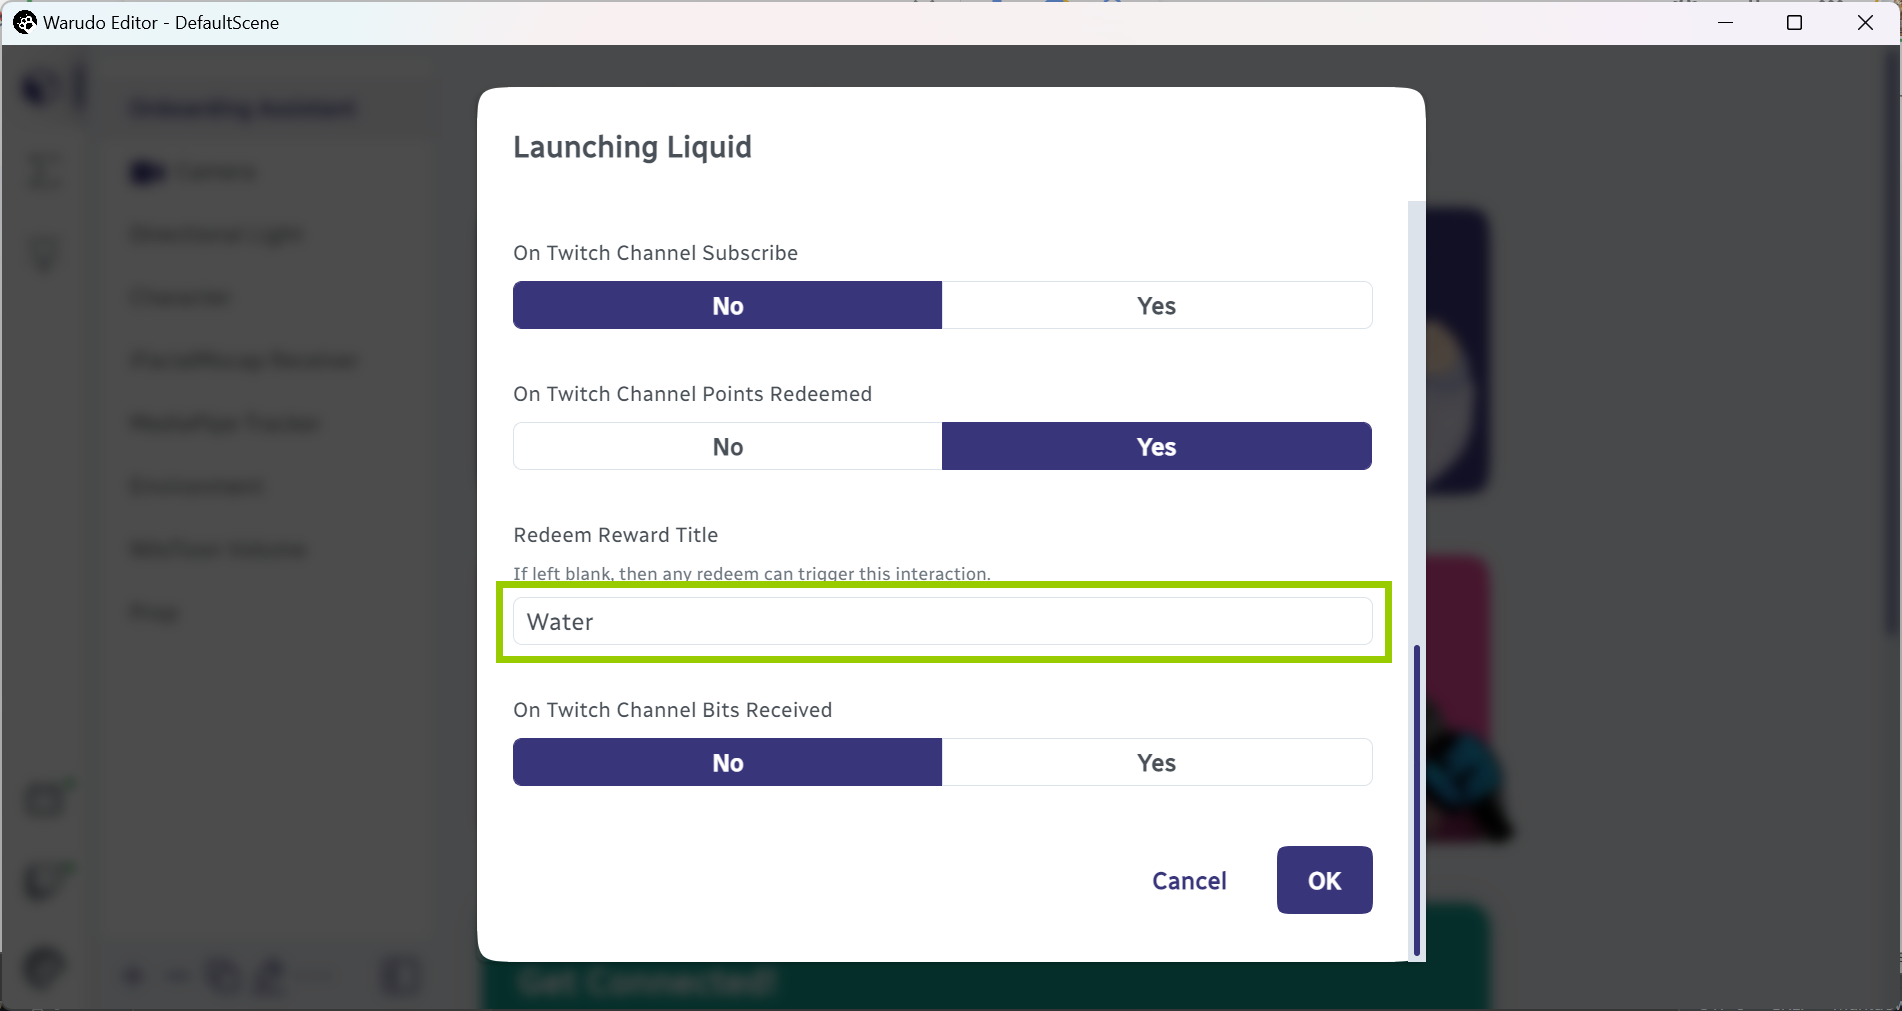
Set up integration.
When you are done, you will notice a new blueprint has been added to the blueprints tab. Remember what we said about blueprints? They are "what should happen when something happens." In this case, the blueprint should contain the logic for launching liquid at our character when we receive a Twitch redeem called "Water." Click on the blueprint to select it, and locate the Launch Liquid At Character node:
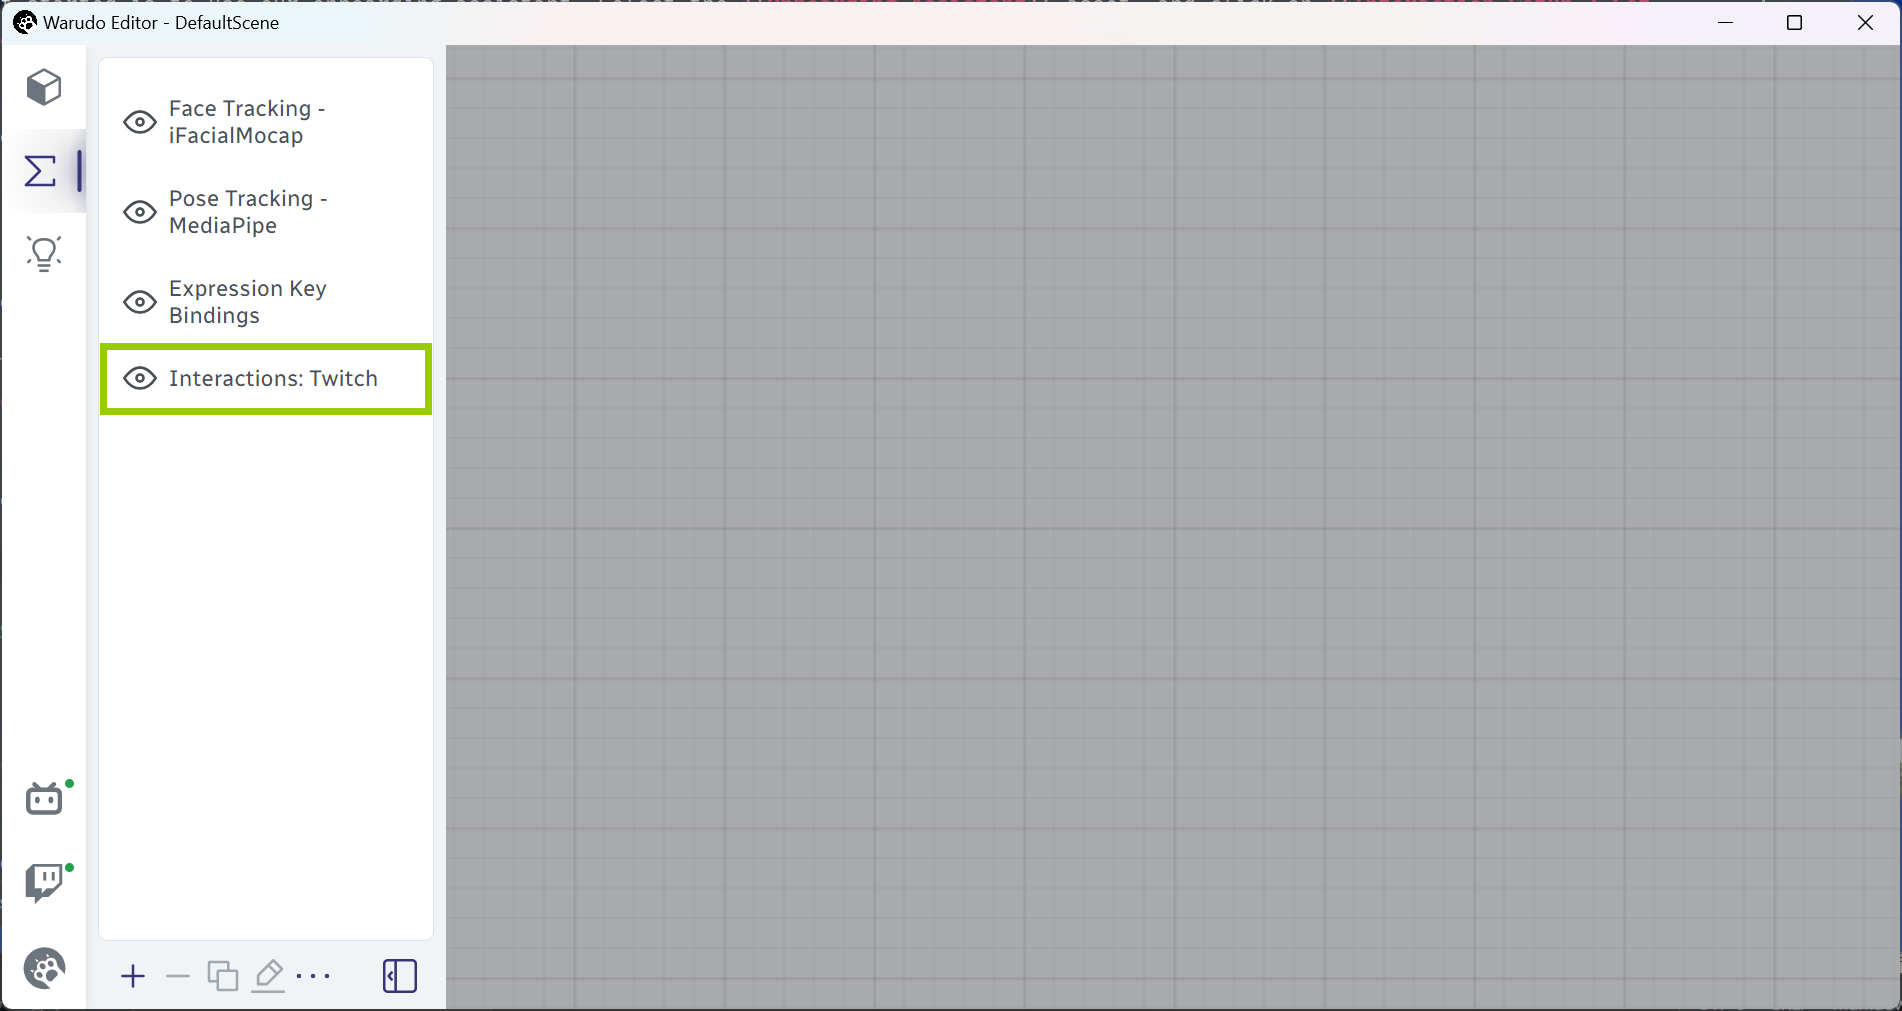
A new blueprint has been added.

Locate the "Launch Liquid At Character" node.
Indeed, the nodes above are essentially saying: "when we receive a Twitch redeem, if the redeem title is 'Water', then launch liquid at the character asset 'Character'." You can click the "Enter" button on the Launch Liquid At Character node to test it out:
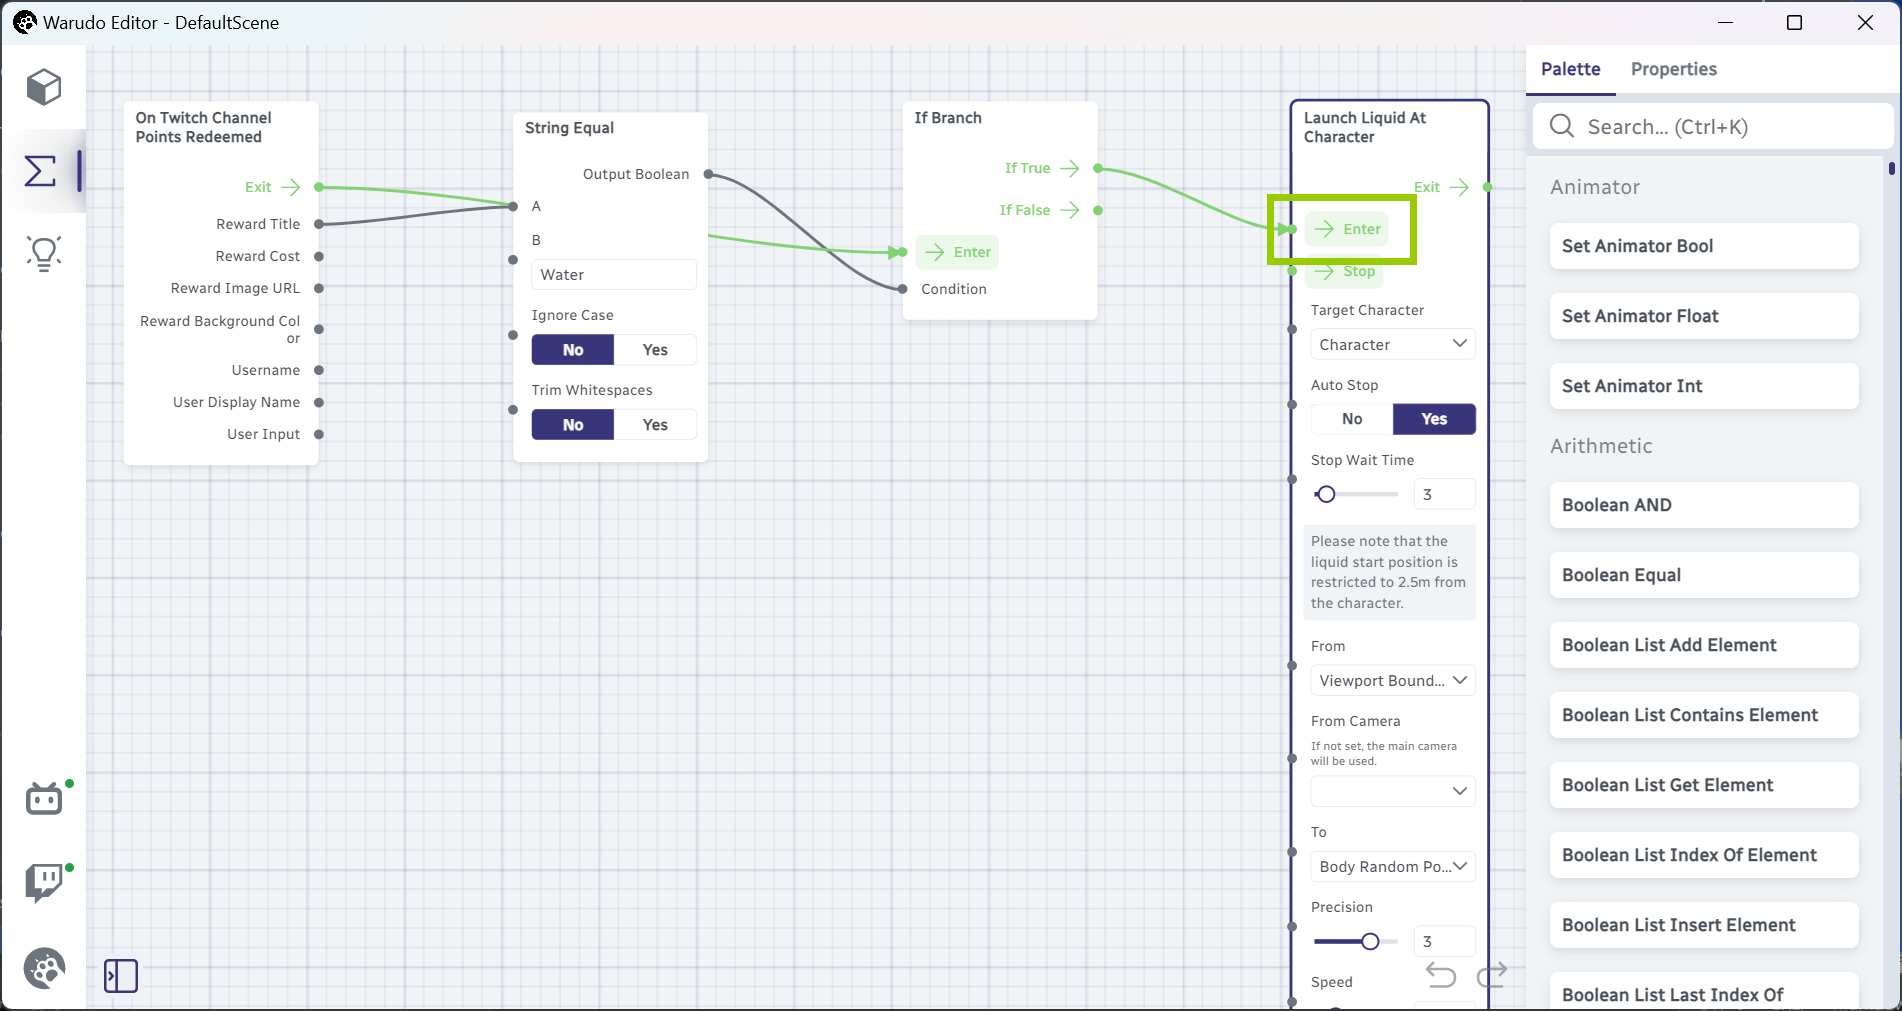
Test the interaction.

It works!
Outputting to OBS Studio / Streamlabs
It's time to put Warudo into your favorite streaming software! There are four ways to do so:
- Virtual camera: Warudo can output as a virtual camera. This is useful for collab streams on VDO.Ninja or you want to use your VTubing avatar on Discord/Zoom. To use this method, go to Settings → Output and enable Virtual Camera Output.
- NDI: Warudo can output as an NDI source. To use this method, go to Settings → Output and enable NDI Output. Note that audio output is not supported.
- Spout: Warudo can output as a Spout source. To use this method, go to Settings → Output and enable Spout Output. This is by default already enabled.
- Window/Game capture: You can also use window/game capture in OBS Studio or Streamlabs to capture the Warudo window. We do not recommend this method, as it takes up significantly more CPU/GPU resources than the other methods.
We recommend using the Spout method, as it has zero latency and best performance. Furthermore, it hides the transform gizmos, so you can move/rotate characters or props during a stream without showing the gizmos to the audience! To set up Spout output, follow these steps:
- OBS Studio: Install the Spout2 Plugin for OBS Studio first, then add a Spout2 Capture source, and select Warudo as the sender.
- Streamlabs: Add a Spout2 source, and select Warudo as the sender.
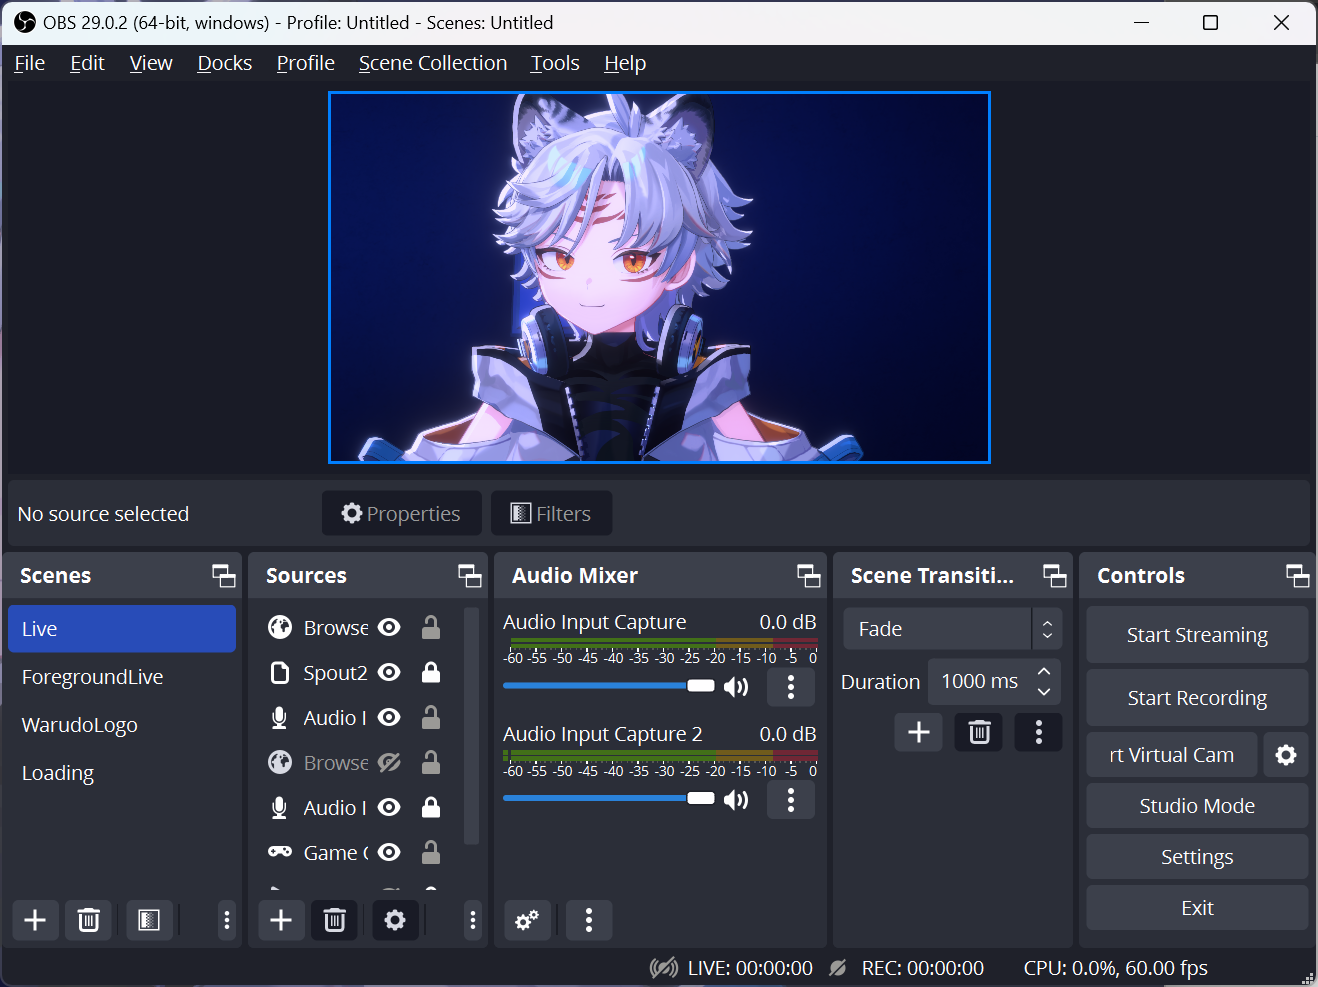
Spout output to OBS Studio.
All output methods support transparency output. To enable transparent background, simply go to the camera asset and enable Basic Properties → Transparent Background.
Saving and Loading Scenes
Now that you have set up your scene, remember to save it! Unlike other software, Warudo does not automatically save your scene, so that you can experiment with different settings without worrying about messing up your scene. Click on the Warudo icon, and select Save Scene:
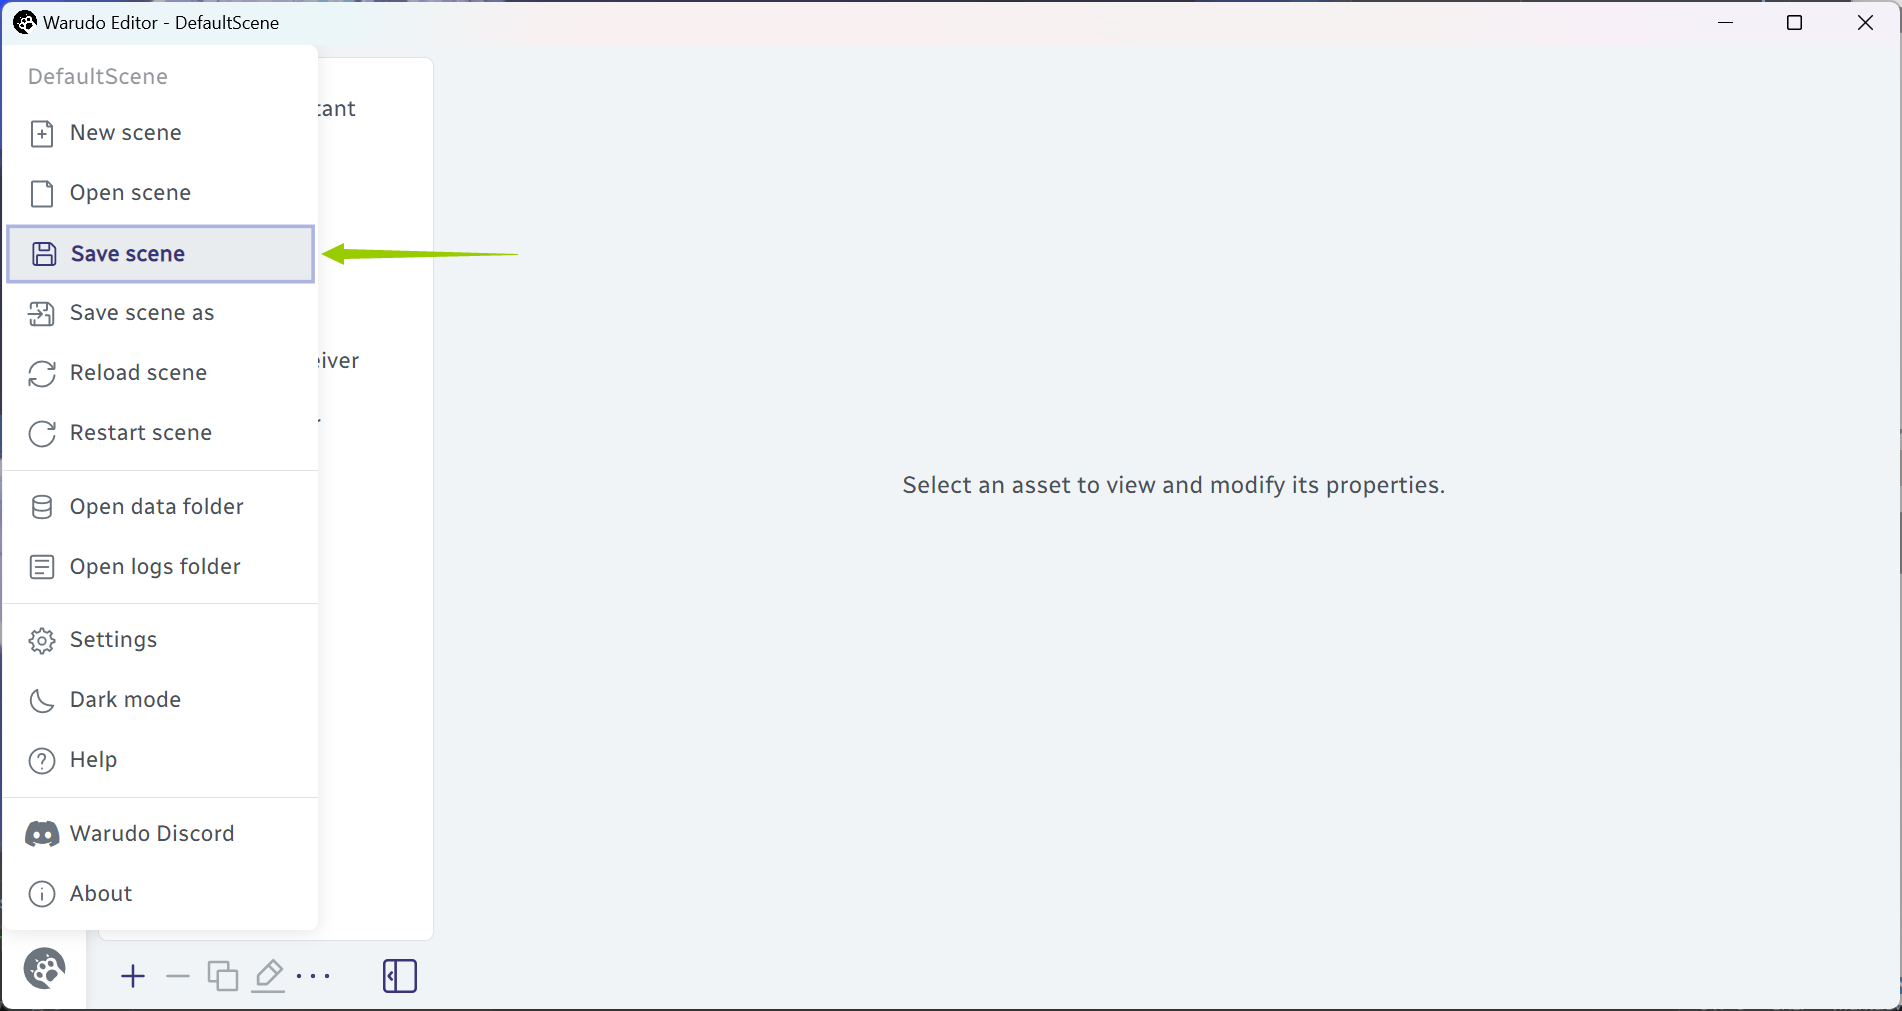
Save scene.
You can also save the scene as a new file by selecting Save Scene As. To load a scene, select Open Scene.

Open scene.
Finally, you can use Reload Scene and Restart Scene to reload and restart the scene respectively. Reload Scene resets the scene state and abandons all changes made to the scene since the last save, while Restart Scene only resets the scene state but keeps the changes made to the scene.
"Resetting the scene state" means resetting physics, temporary objects, etc. in the scene. For example, if you have somehow spawned 1,000 thrown props in the scene, using Reload Scene or Restart Scene will remove all of them, since they are not part of the scene file.
Summary
Congratulations! You have now learned the basics of Warudo. We recommend reading the rest of the handbook to learn more about Warudo's features. If you have any questions, please join our Discord, and we will be happy to help you out!
Authors