Camera
Cameras are used to control the view of the scene. You can add up to 8 cameras in a single scene!
Setup
By default, your scene should already have a camera. To add a new camera, use the Add Asset menu. You will notice the main window still shows the scene from the original camera; this is because the main camera is still the original camera. To switch the main camera, you can do either of the following:
- Click the camera icon in front of the camera name to set the camera as the main camera.
- Press Tab to switch to the next camera in the scene, or Ctrl+Tab to switch to the previous camera in the scene.
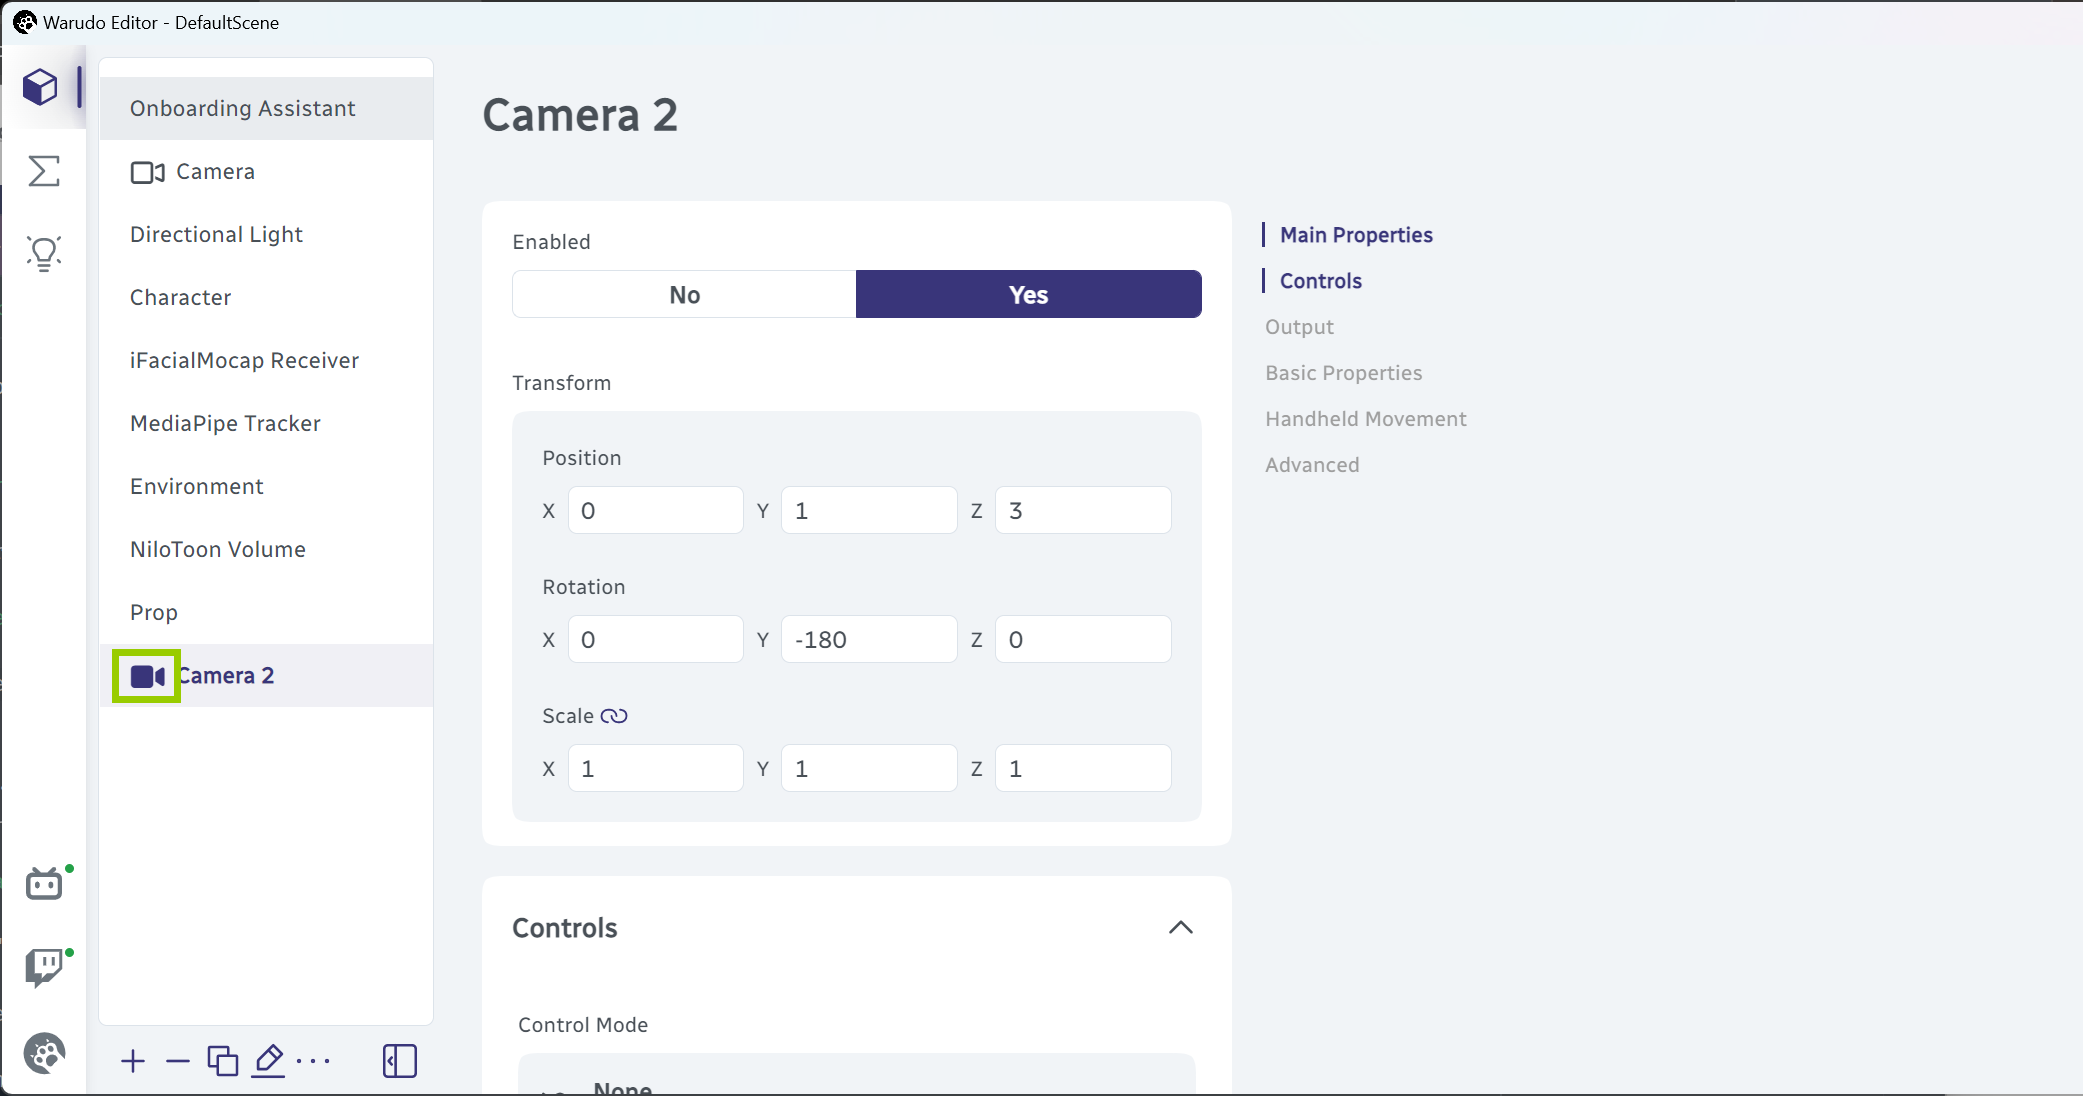
The solid camera icon in front of the camera name indicates that this camera is the main camera.
The camera is by default set to Free Look mode. You can set Control Mode to Orbit Character to make the camera orbit around the character. You can also set Control Mode to None to fix the camera in place.
To make the camera orbit around a different character, set the Focus Character to the character you would like to focus on.
To increase or decrease the camera's movement speed, you can adjust the Control Sensitivity.
Output
By default, Warudo's NDI/Spout/virtual camera output the main window's view (you can enable/disable them in Menu → Settings). You can also enable NDI/Spout/Virtual Camera Output on each camera individually. This allows you to show the scene from multiple cameras at the same time.
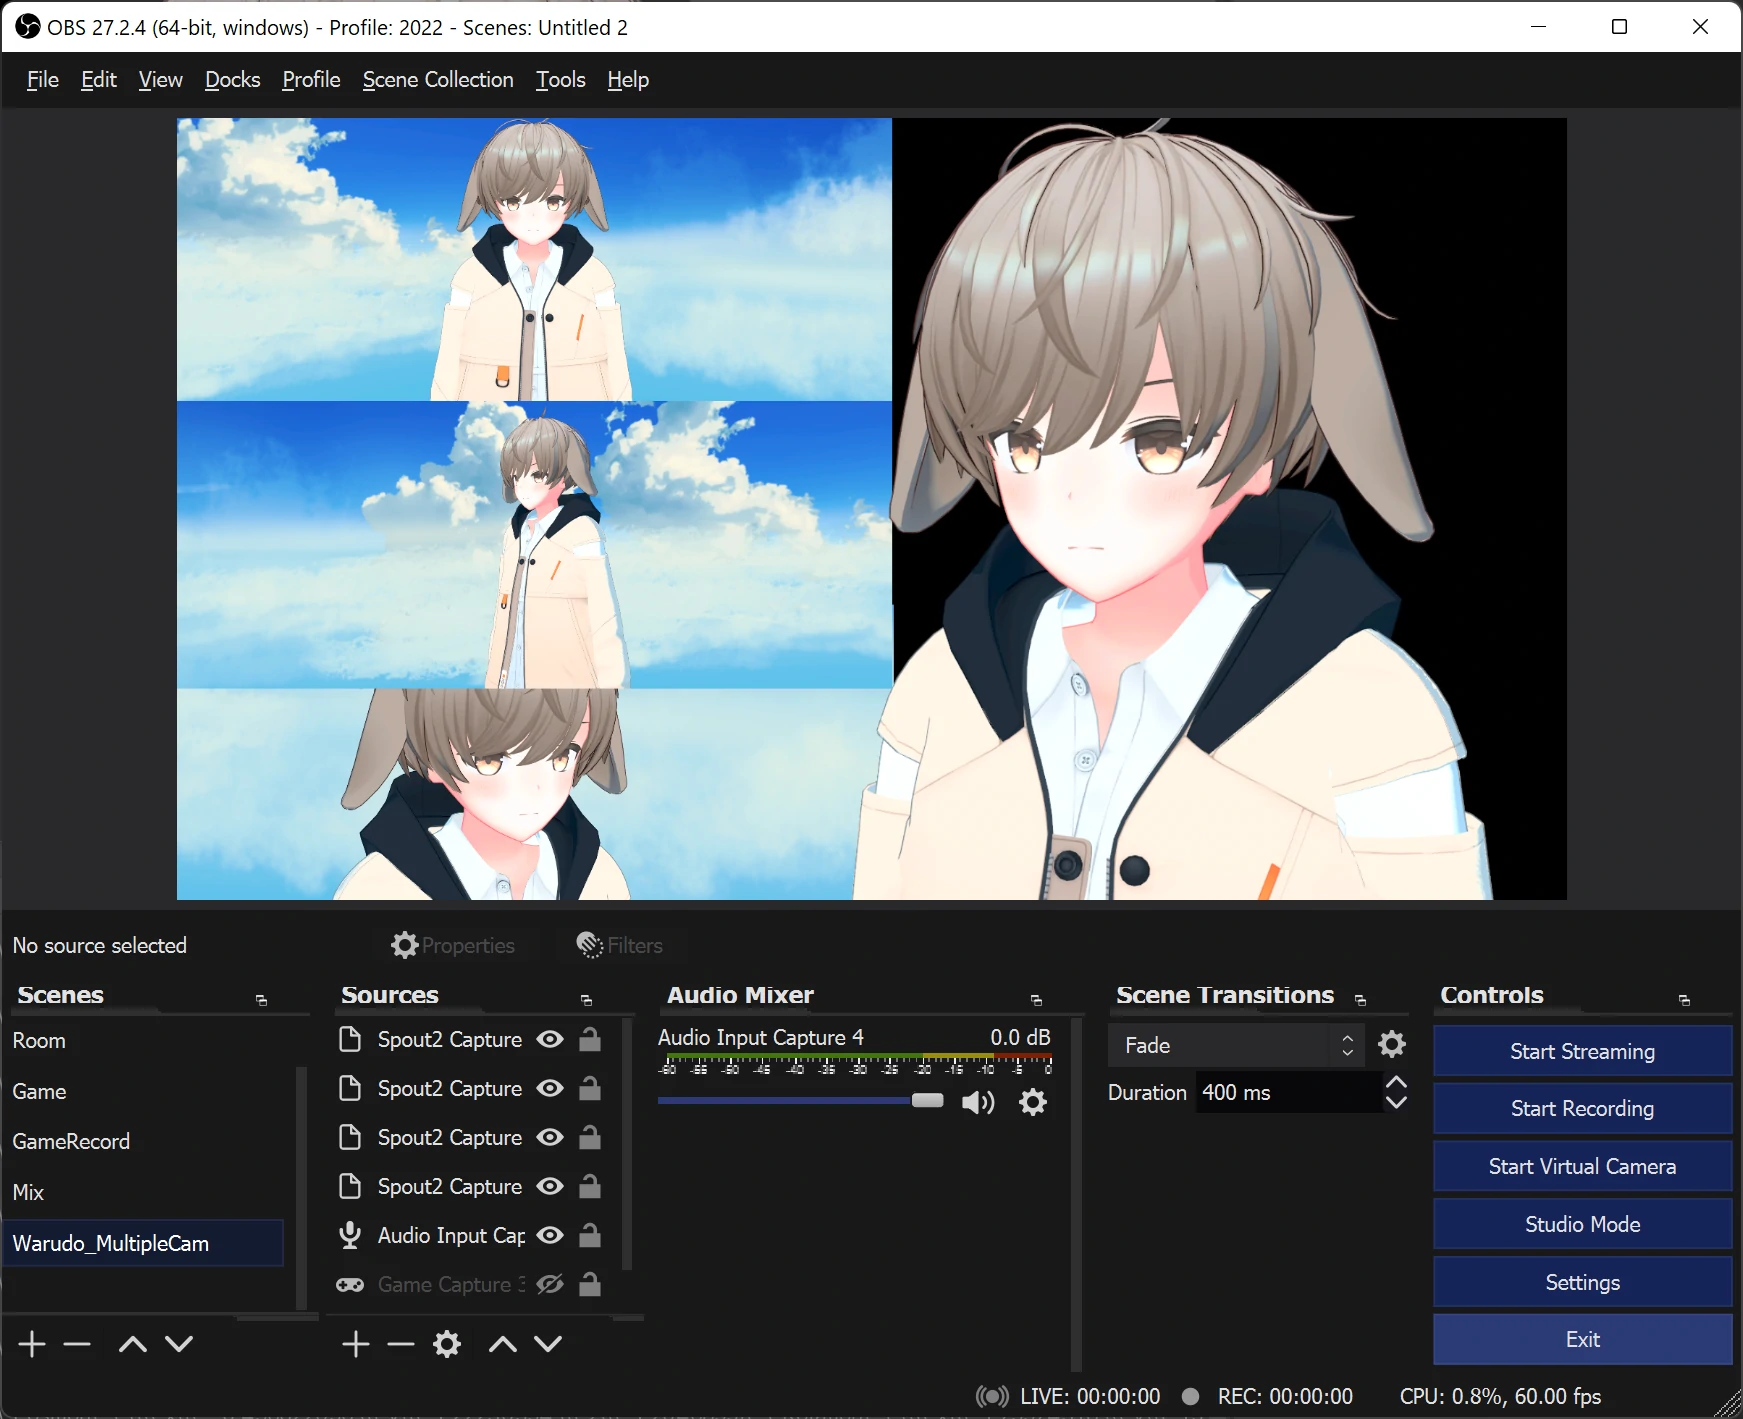
By enabling Spout/NDI/virtual camera output on cameras, you can show the scene from multiple cameras at the same time.
To output Spout to OBS, install the obs-spout2-plugin and add a Spout2 Capture source. To output NDI to OBS, install the obs-ndi plugin and add an NDI™ Source.
You should use NDI if you need to output Warudo to another device within the same network and use Spout if you only need to output to another application on the same PC (such as OBS). Spout is recommended for its lower resource usage and latency.
All output methods support transparency output. To enable transparent background, simply enable Basic Properties → Transparent Background.
When using Spout output in OBS, set the Composite Mode in the Spout2 Capture properties to Premultiplied Alpha to enable transparency.

When using virtual camera output in OBS, set the Video Format in the Video Capture Device properties to ARGB to enable transparency.

You can also take a screenshot of this camera's view by clicking the Screenshot button.
To set up a shortcut key for taking screenshots, use the Take Screenshot node in blueprints.
Basic Properties
You can set a Chroma Key for the camera, so that the background of the scene will be replaced with a color. If you want the background to be transparent, you can either set the Chroma Key Color to (0, 0, 0, 0) or simply enable Transparent Background.
Even when Chroma Key or Transparent Background is enabled, the environment in the scene will still be visible.
The camera can be configured to render characters/props/environment or not. For example, if you turn off Render Environment, the environment no longer shows up in the camera's view, but the environment's lighting on the characters/props will still be visible. This is especially useful if you need a transparent background but still want to use the environment's lighting; instead of turning off the environment, you can simply turn off Render Environment in the camera.
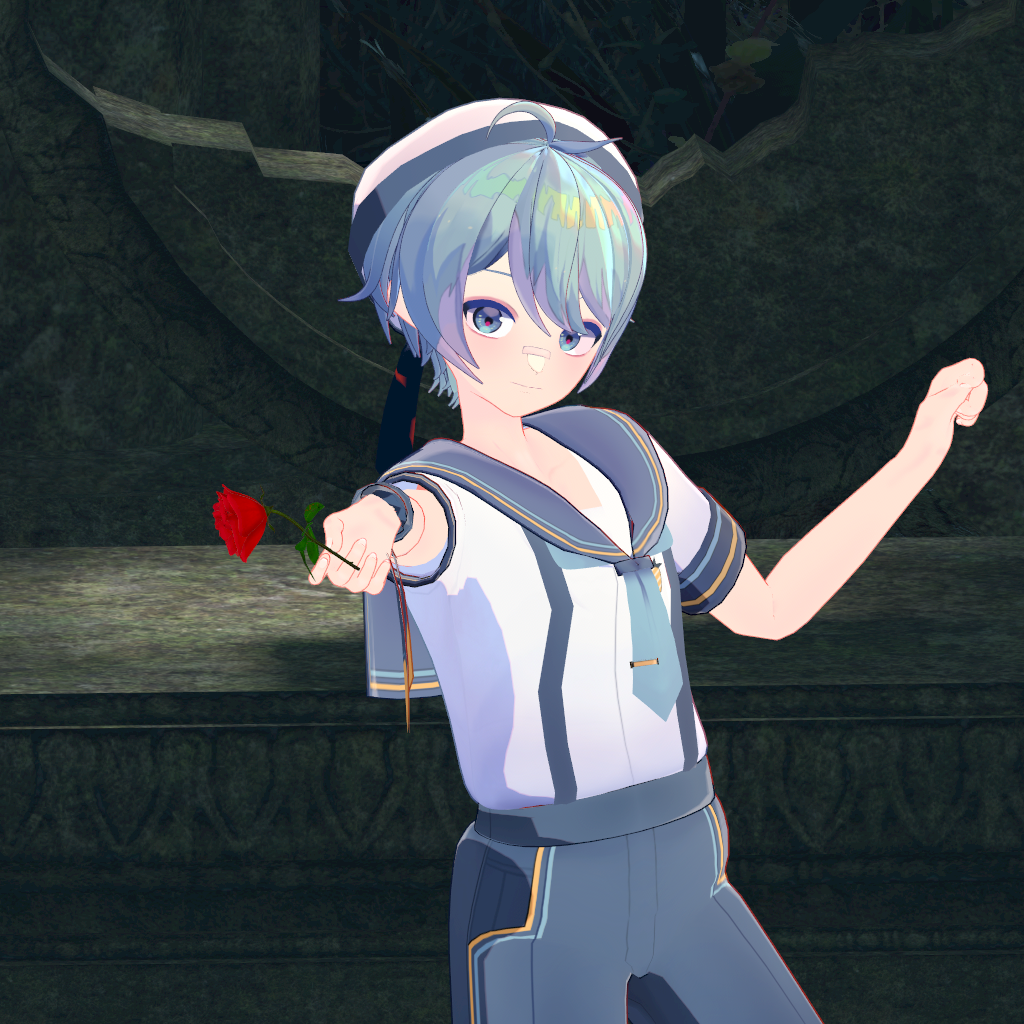
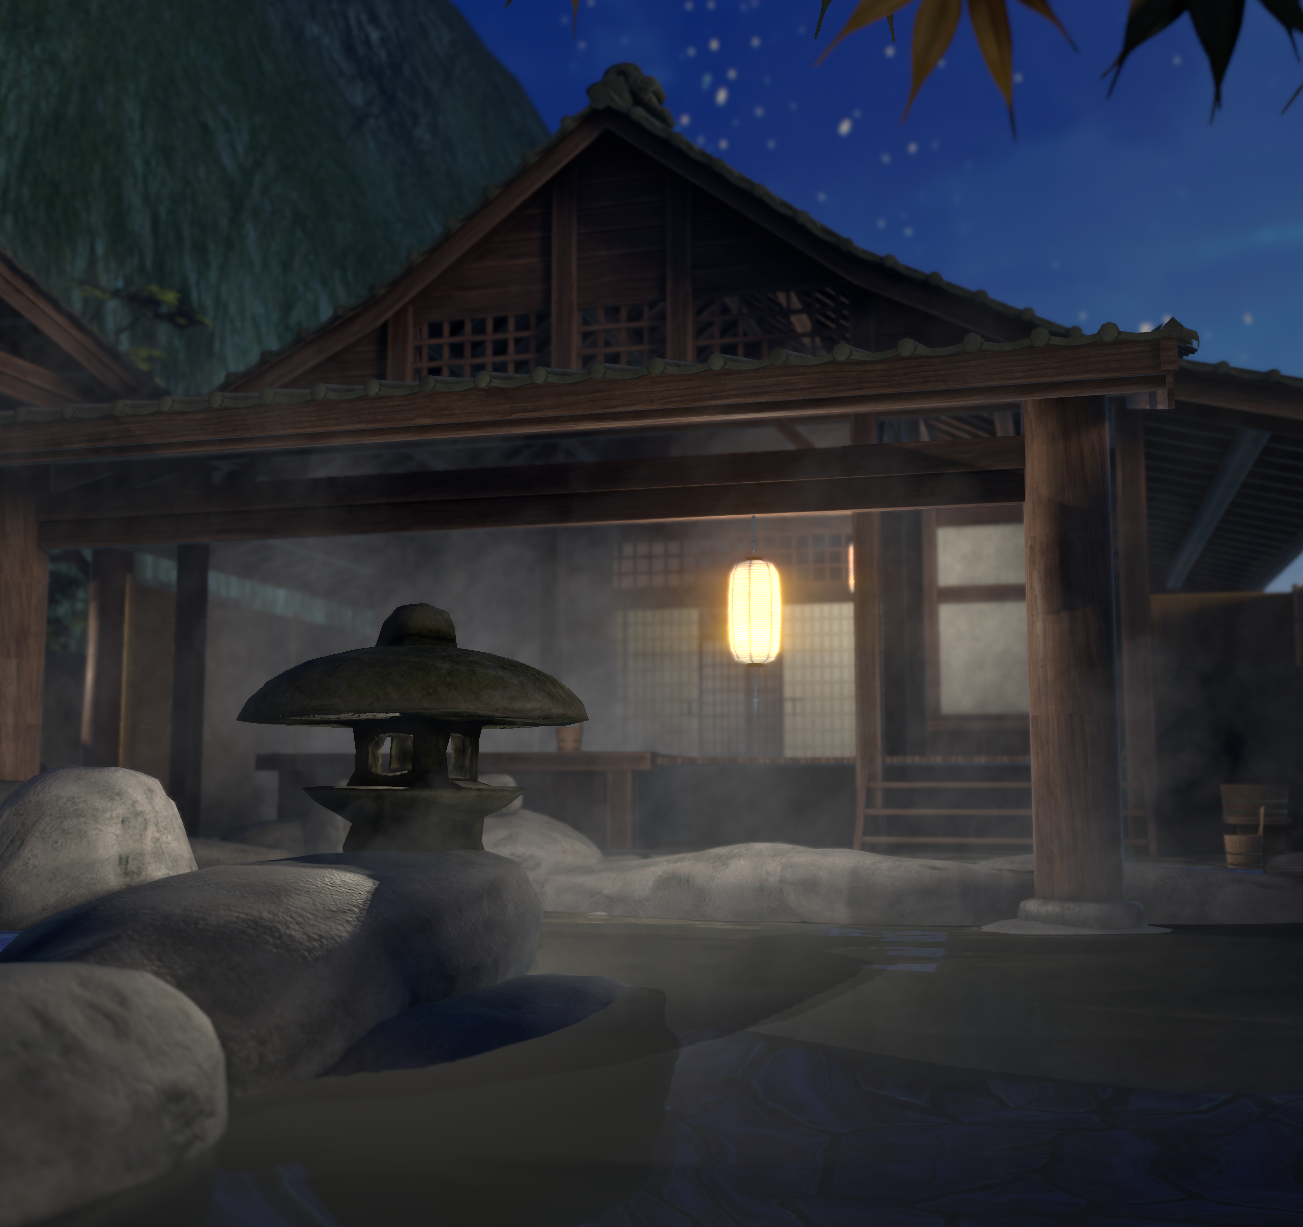
Another useful parameter is Field Of View, which controls how wide can the camera see. The larger the value, the wider the camera's view. Orthographic Projection is useful if you want to make the view look as flat as possible.

Orthographic projection disabled.
Orthographic projection enabled.
Handheld Movement
If you want to simulate the camera being held by a person, you can enable Handheld Movement. This will add a slight shake to the camera's movement. Adjust the Intensity and Speed to control the strength and speed of the shake.
Post Processing Effects
Note that the following post processing effects are not available when Universal RP is enabled in Warudo Pro. Instead, you should use the Post Processing Volume asset.
Tonemapping & Color Grading
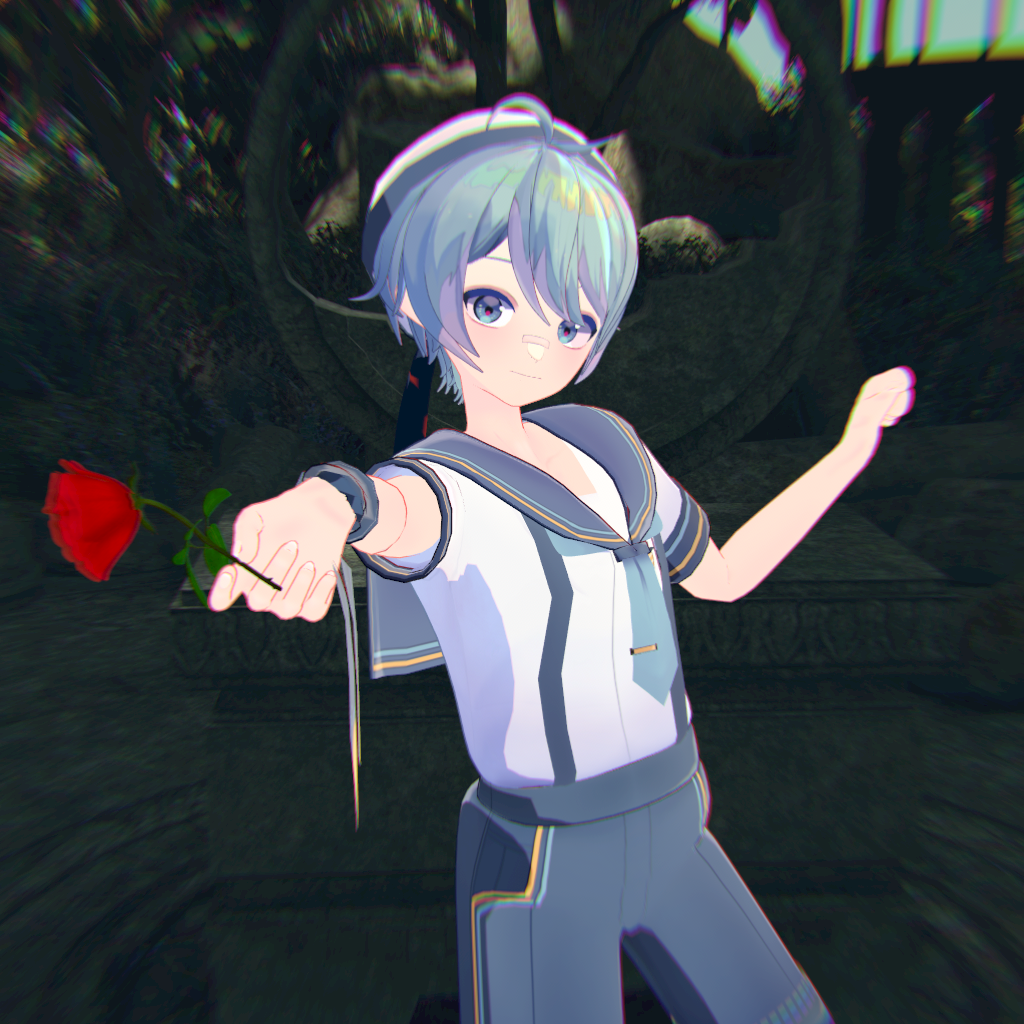
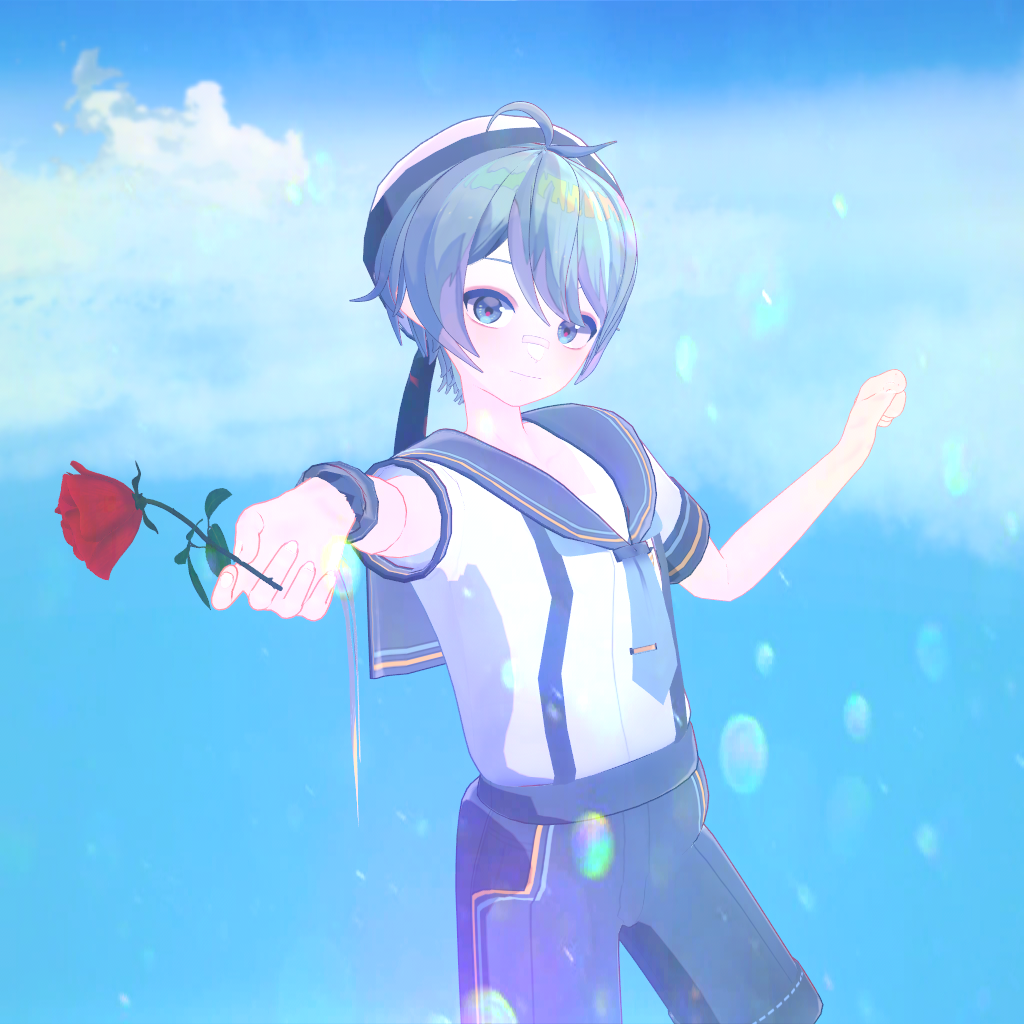
Setting a LUT Texture can completely change the atmosphere of the scene.
LUT disabled.
LUT enabled.
Warudo has over 200 built-in LUT textures. Pick one that suits your scene!
You can also enable ACES Tonemapping. ACES is a color management system that is widely used in the film industry. It can make the environment look more realistic, but it may not work well with anime-style characters with vibrant colors.
Finally, Vibrance, Contrast, Brightness, Tint can be used to adjust the color of the scene to your liking.
Note that Warudo by default sets Vibrance, Contrast, Brightness to 1, 1.02, and 1.05 respectively, which makes the scene look more vivid. If you want to preserve the original colors, you should set these values to 0, 1, and 1.
Bloom
The bloom effect creates a halo effect around the bright parts of the image. The Strength controls the intensity of the bloom effect, and the Threshold controls the lower limit of the brightness of the image that will emit a bloom effect.
Bloom disabled.
Bloom enabled.
Ambient Occlusion
Adds more shadow to the scene for a more realistic look. The Radius controls the radius of the shadow, and the Intensity controls the intensity of the shadow.
Ambient occlusion disabled.
Ambient occlusion enabled.
For anime-style character models (especially when the face mesh is not completely flat), enabling ambient occlusion is not recommended. If you want to enable ambient occlusion but your character's shadow looks strange, try to adjust the Max Radius Pixels value.
Anamorphic Flares
Provides the horizontal/vertical flare effect of a distorted lens. The Intensity controls the intensity of the flares, and the Threshold controls the lower limit of the brightness of the image that will emit a flare. If you want the flares to overflow more, you can increase the Spread value. The flares are by default horizontal, but you can enable Vertical Flares to make them vertical instead.
Anamorphic flares disabled.

Anamorphic flares enabled.
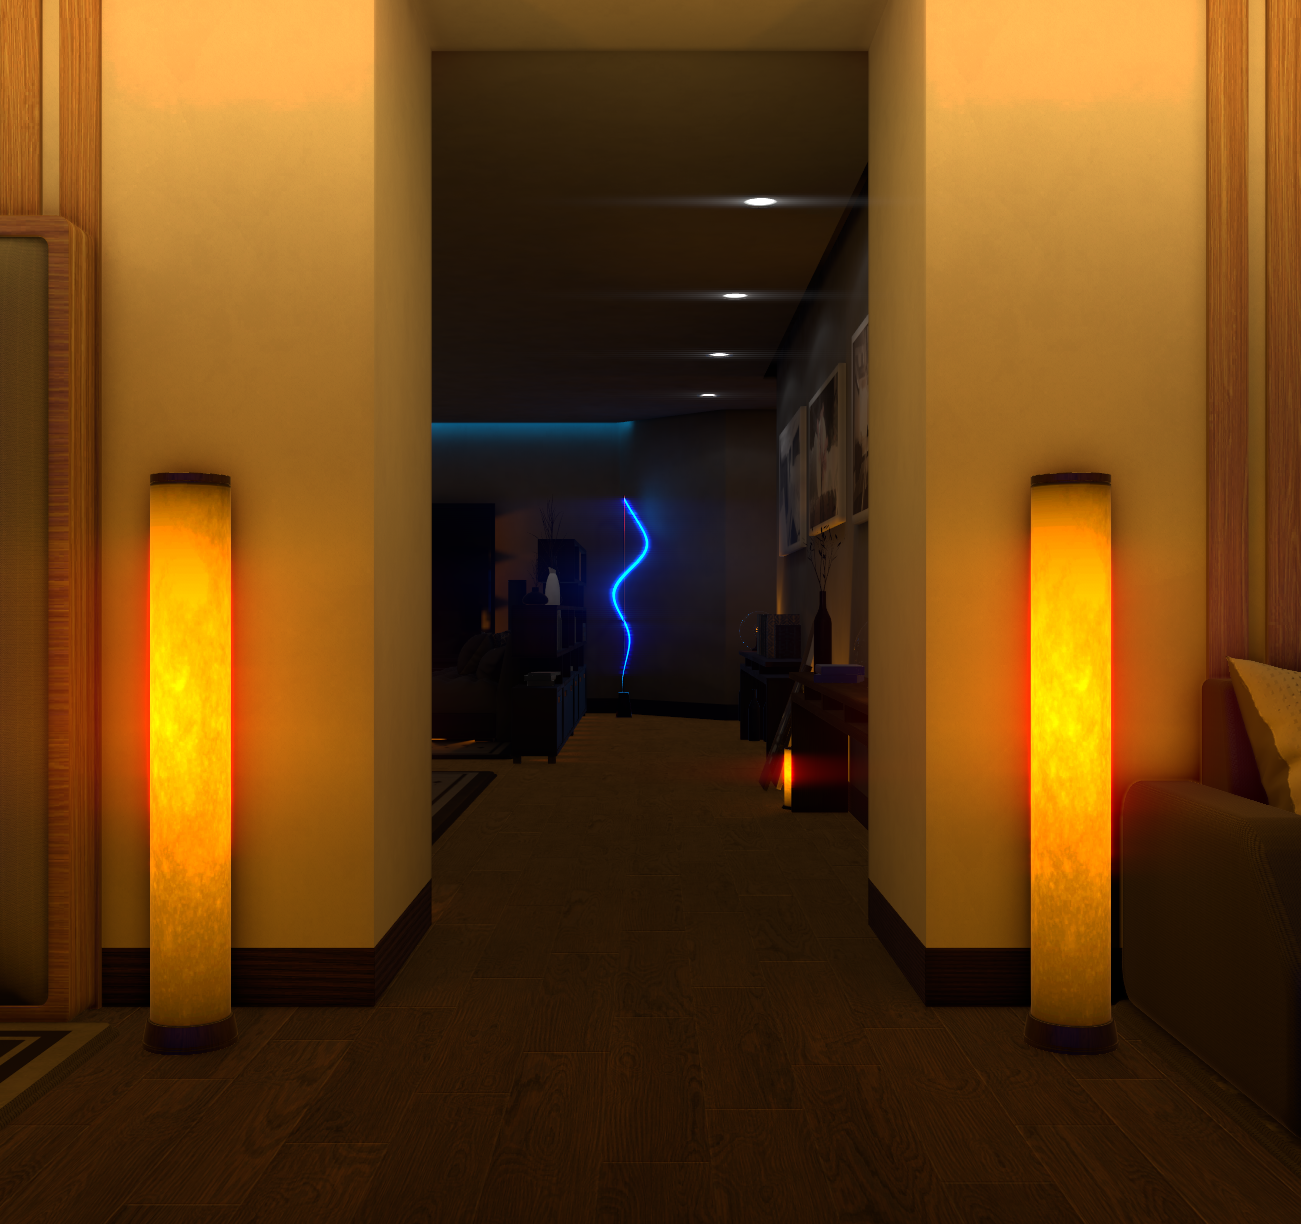
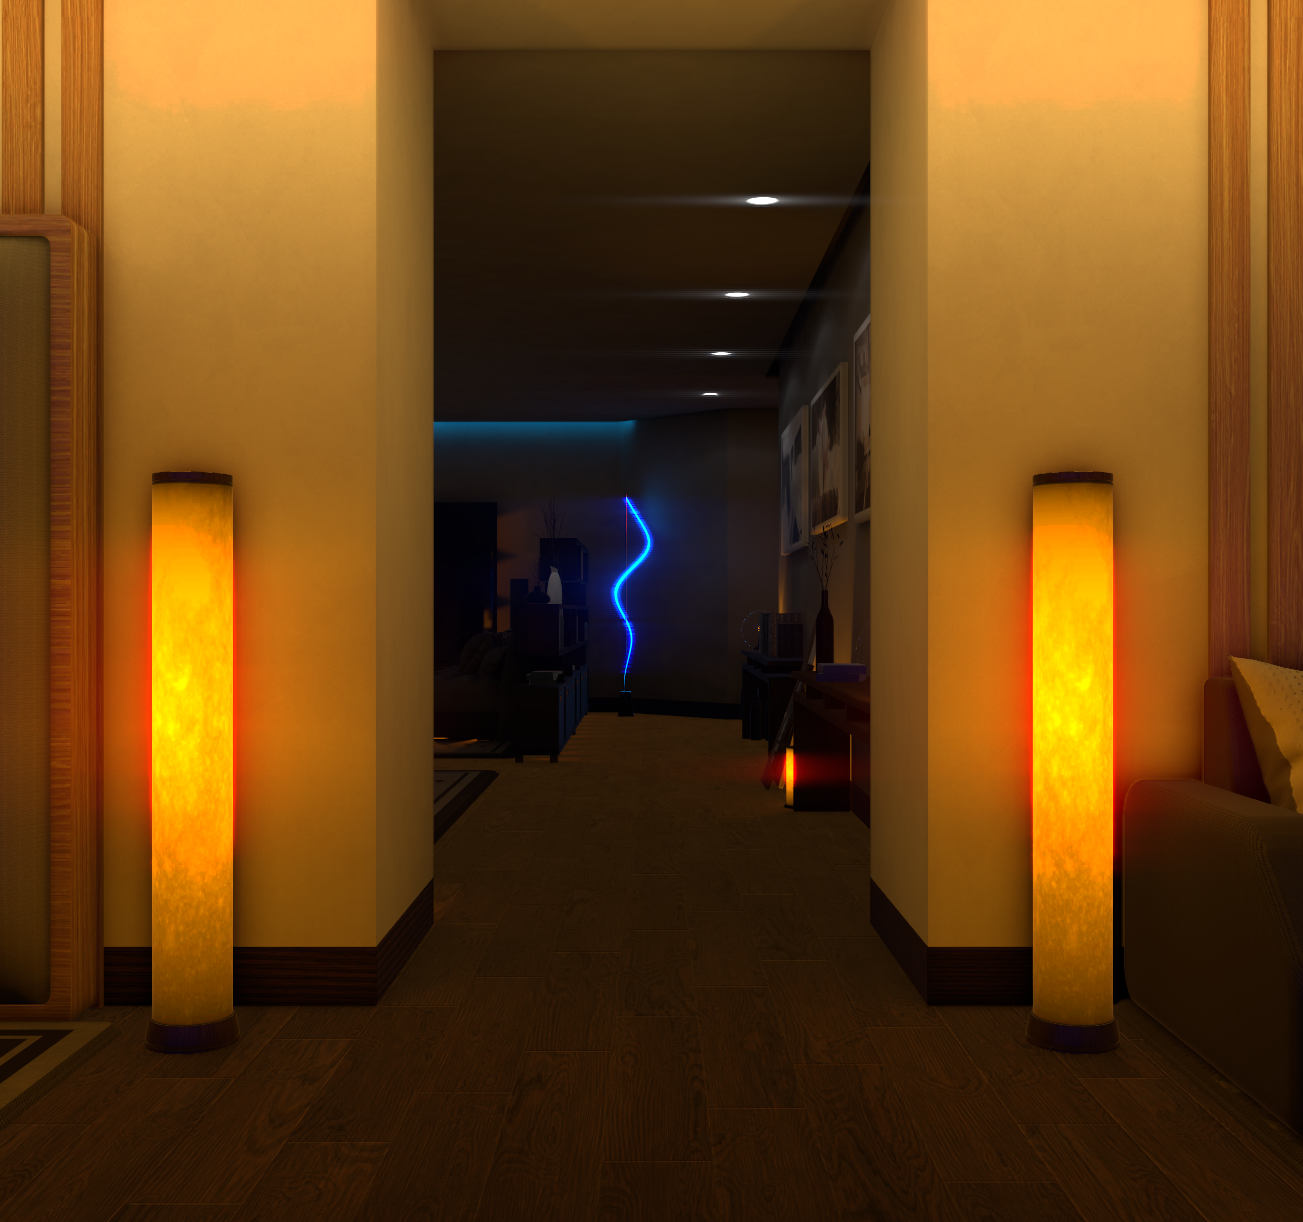
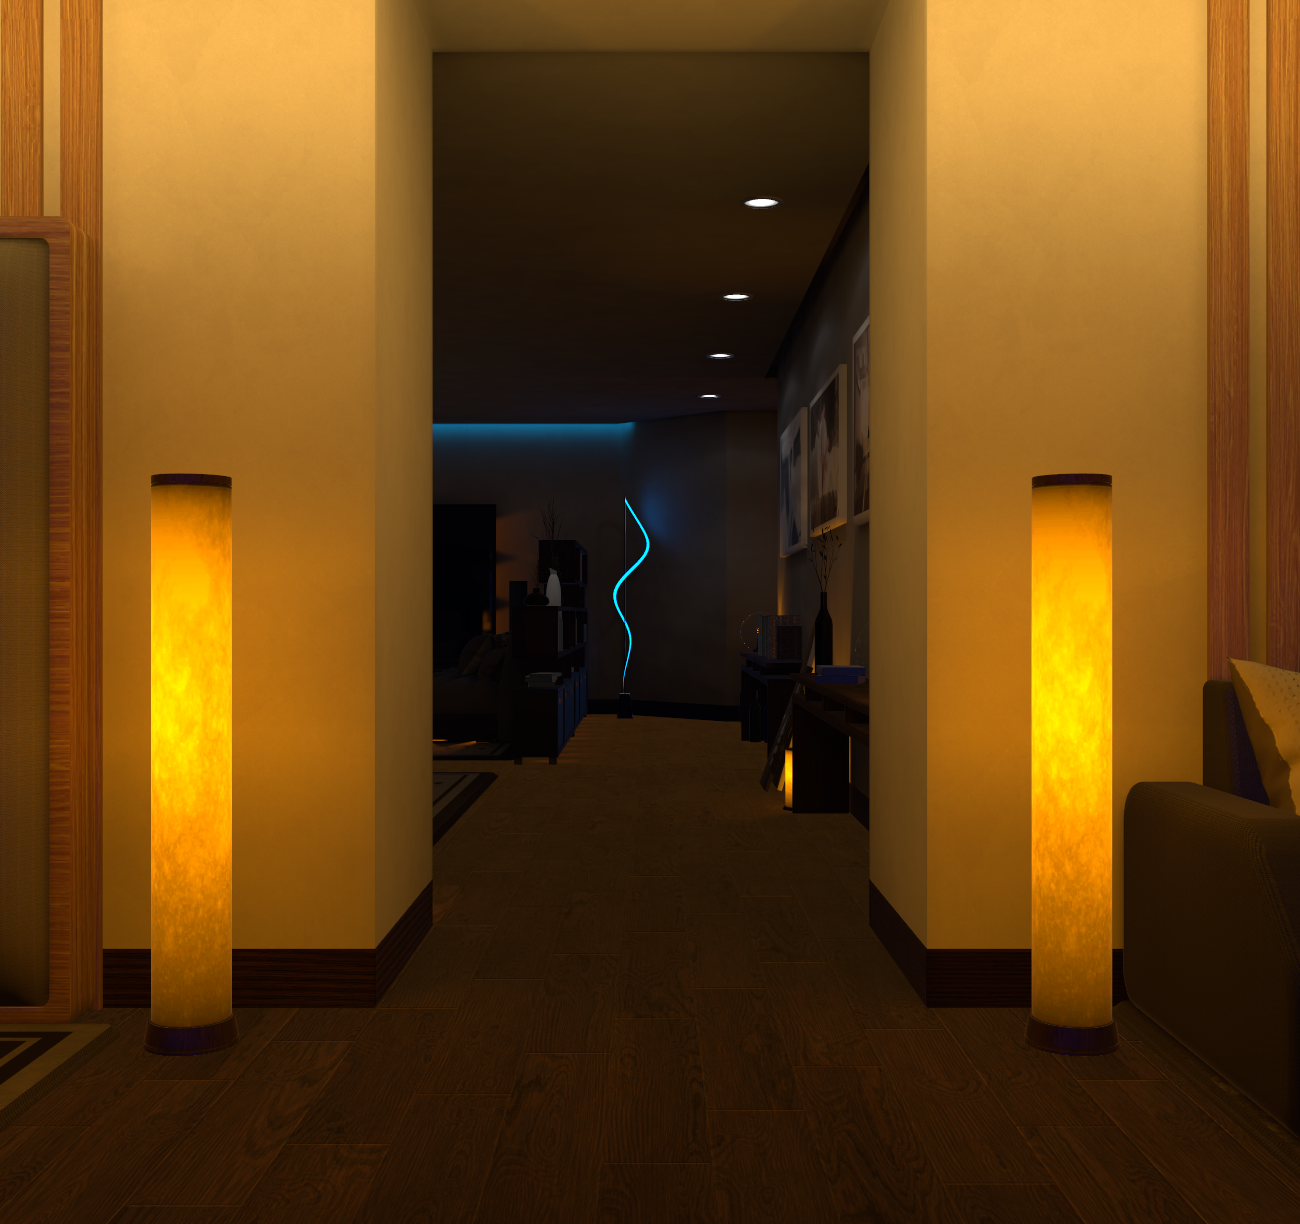
Depth Of Field
Blur objects that are not in focus. You can either set a specific Focus Distance, or enable Focus Character to automatically focus on the character selected in Controls → Focus Character.

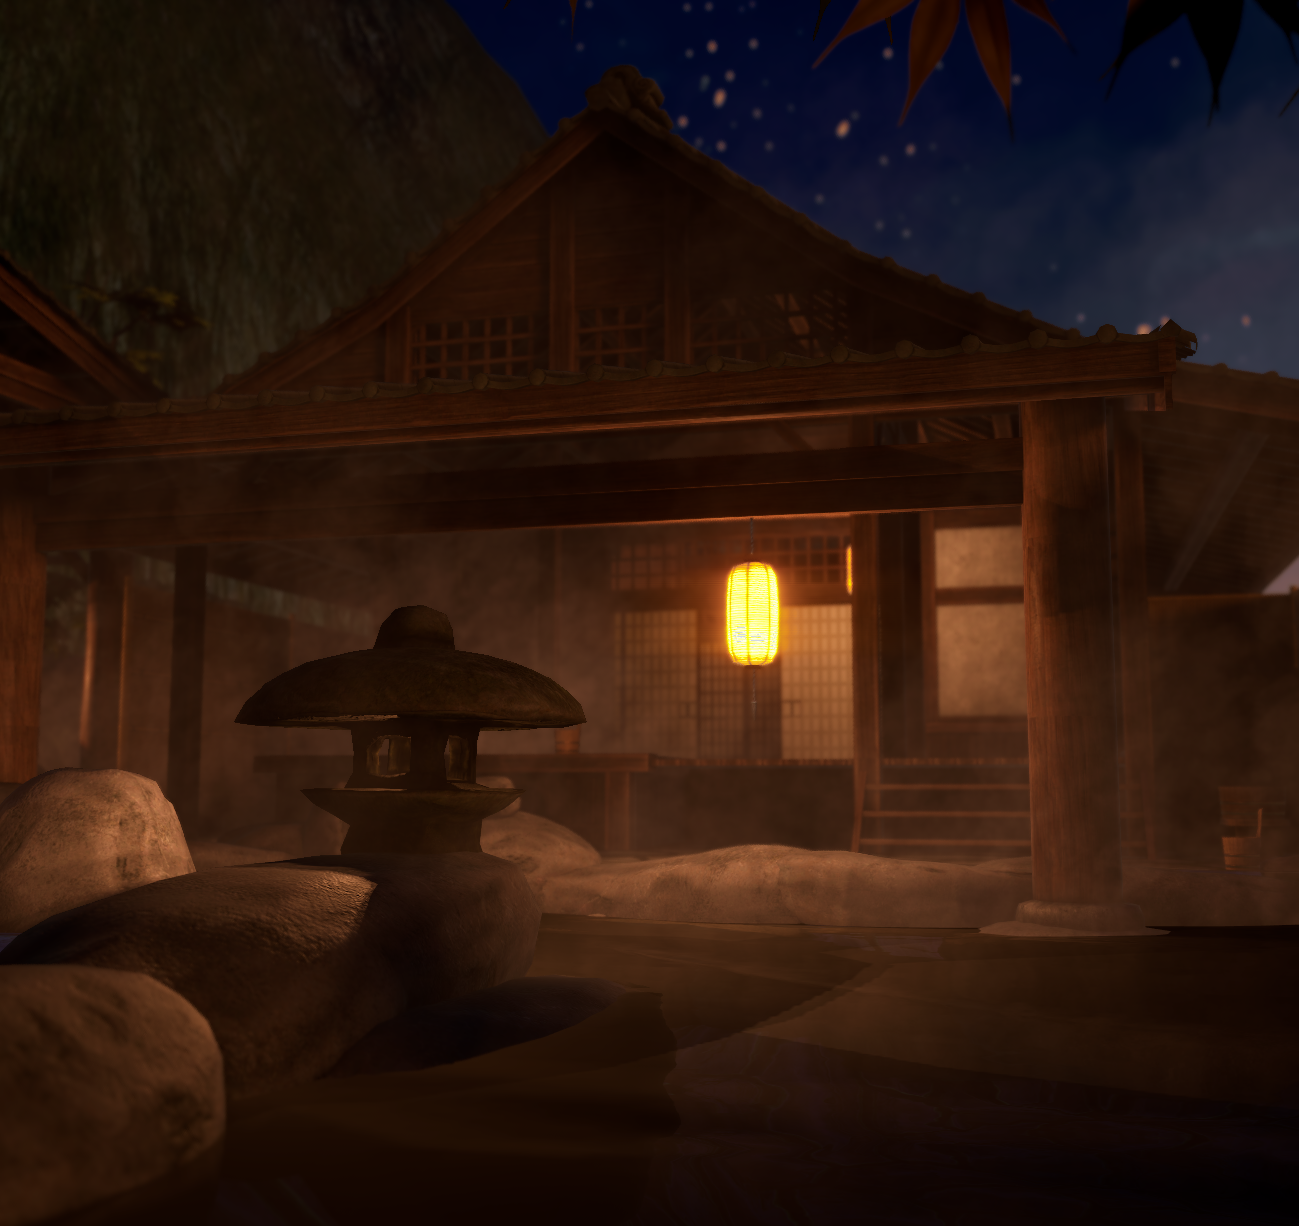
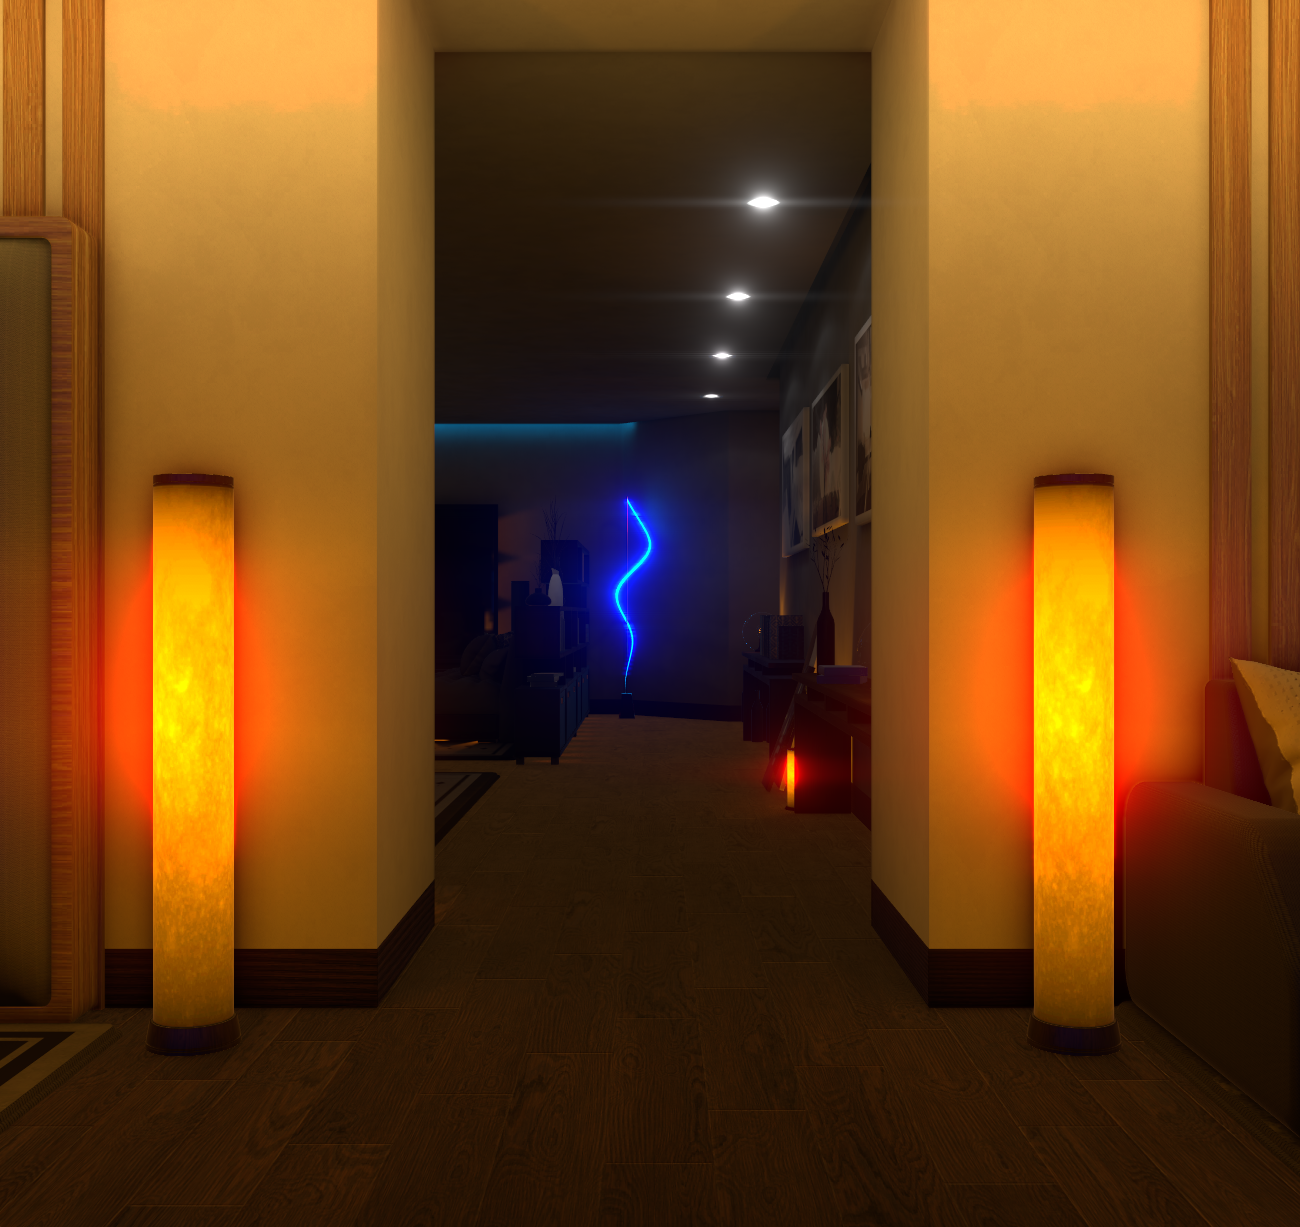
Depth of field disabled.
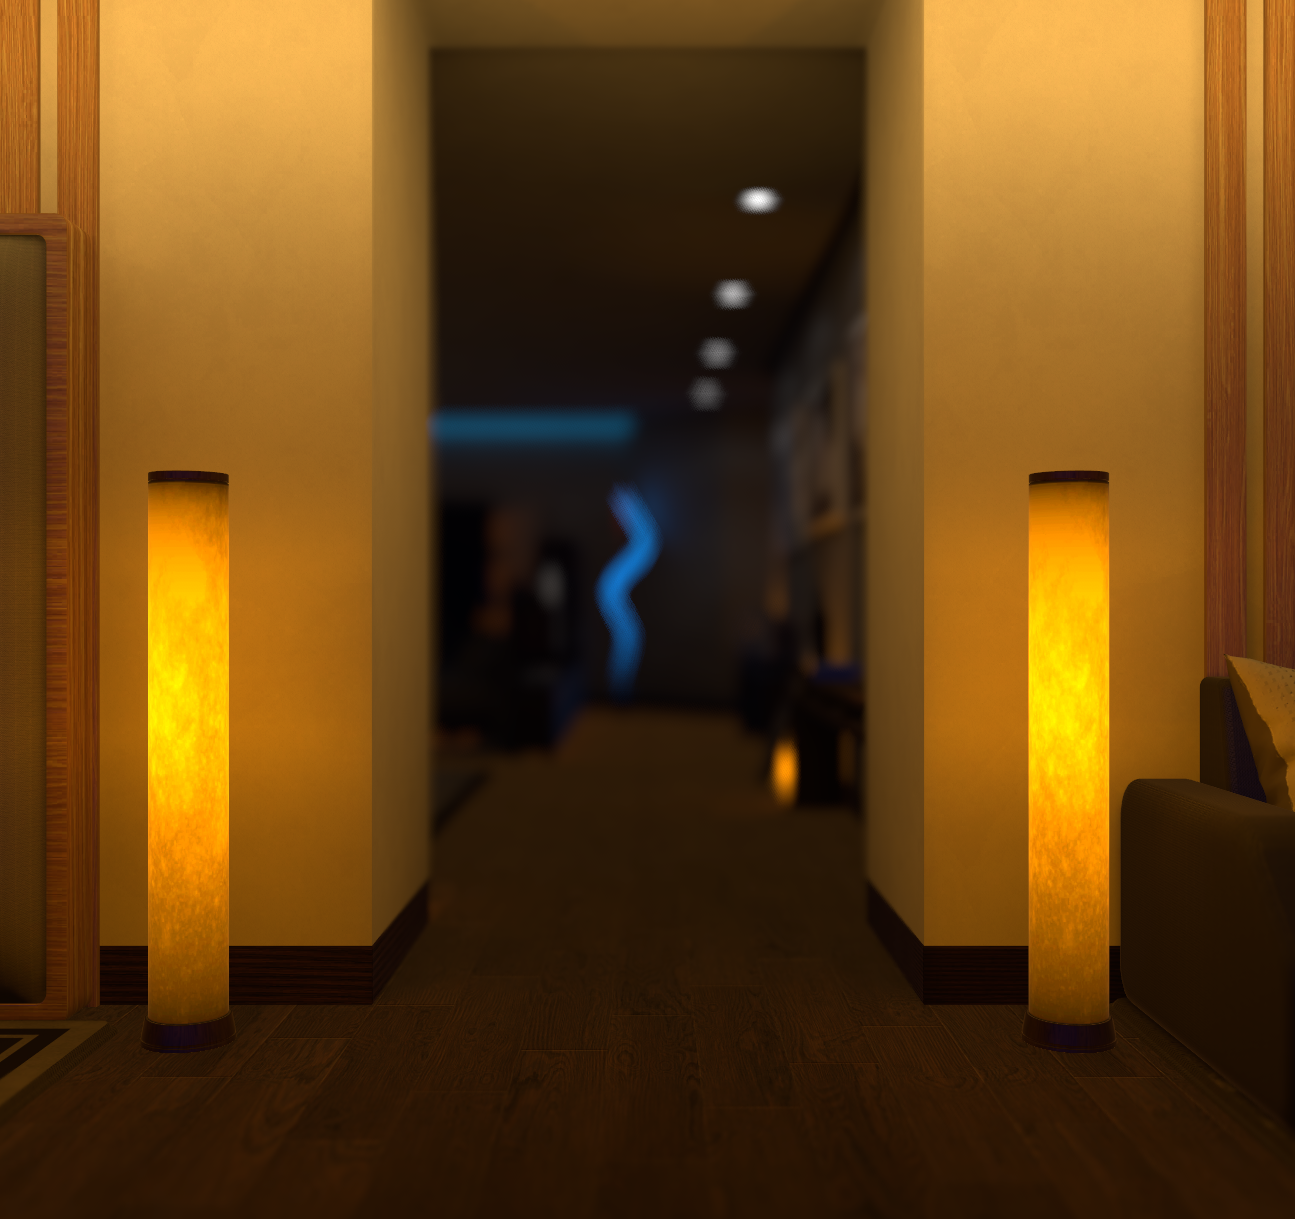
Depth of field with bokeh disabled.
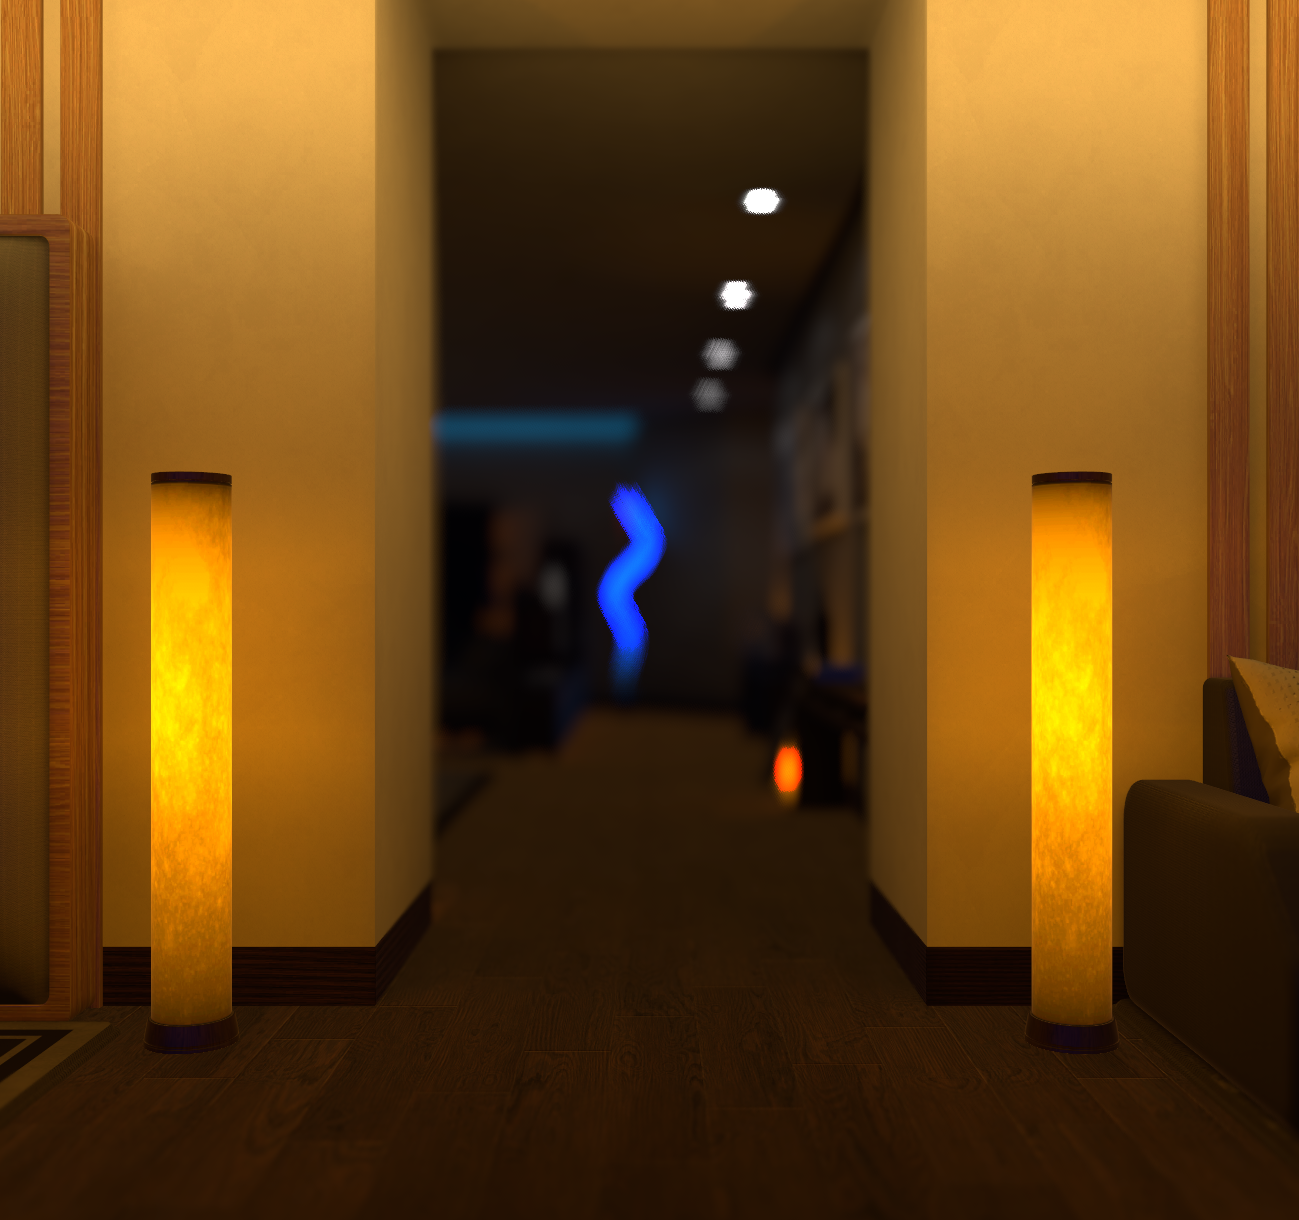
Depth of field with bokeh enabled.
Chromatic Aberration
Mimics the effect produced when a lens is unable to blend all colors to the same point. The Intensity controls the intensity of the effect.

Chromatic aberration disabled.
Chromatic aberration enabled.
Lens Dirt
Simulates dirt and specks on the lens. You need to select a Texture for the lens dirt first. The Intensity controls the intensity of the lens dirt, and the Threshold controls the lower limit of the brightness of the image that will emit a lens dirt effect.

Lens dirt disabled.
Lens dirt enabled.
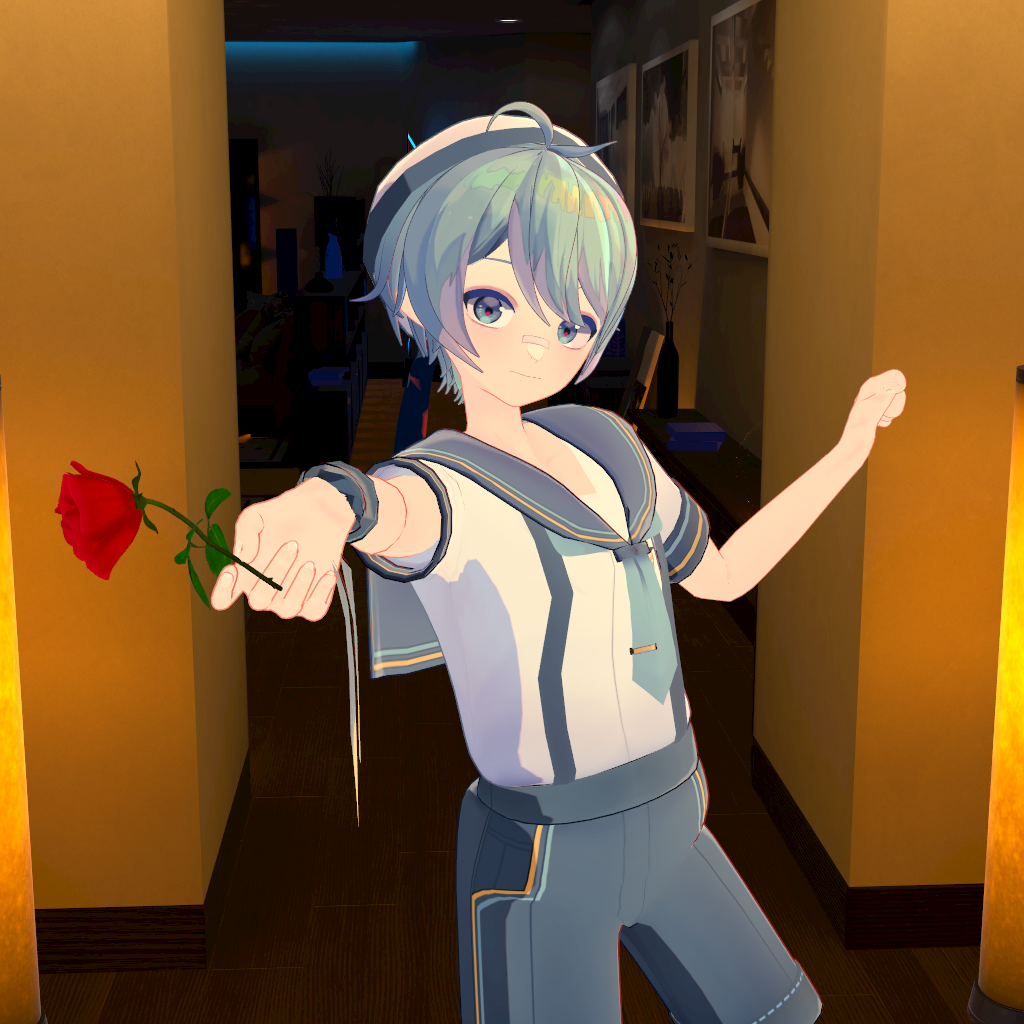
Vignetting
Makes the edges of the image darker.
Vignetting disabled.
Vignetting enabled.
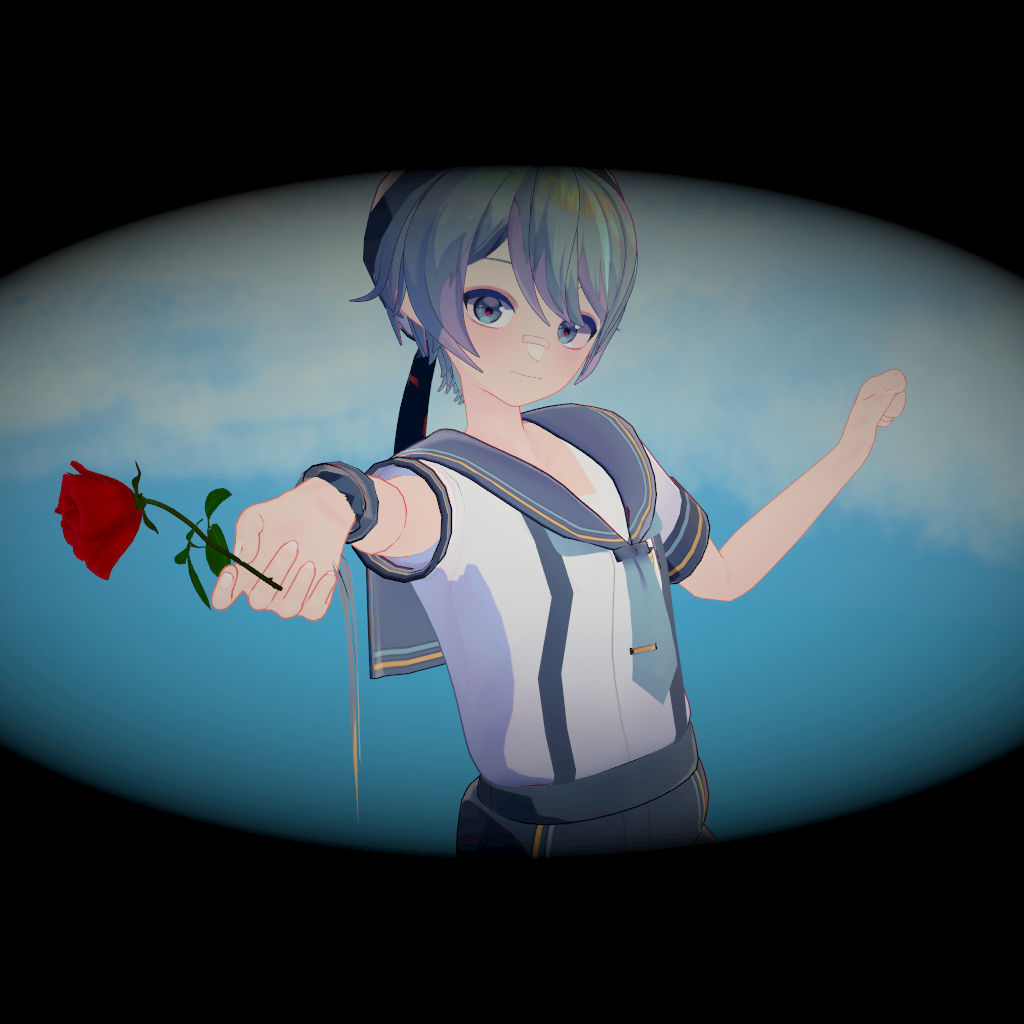
Vignetting enabled with blink.
Night Vision
Simulates the night vision goggles.
Night vision disabled.
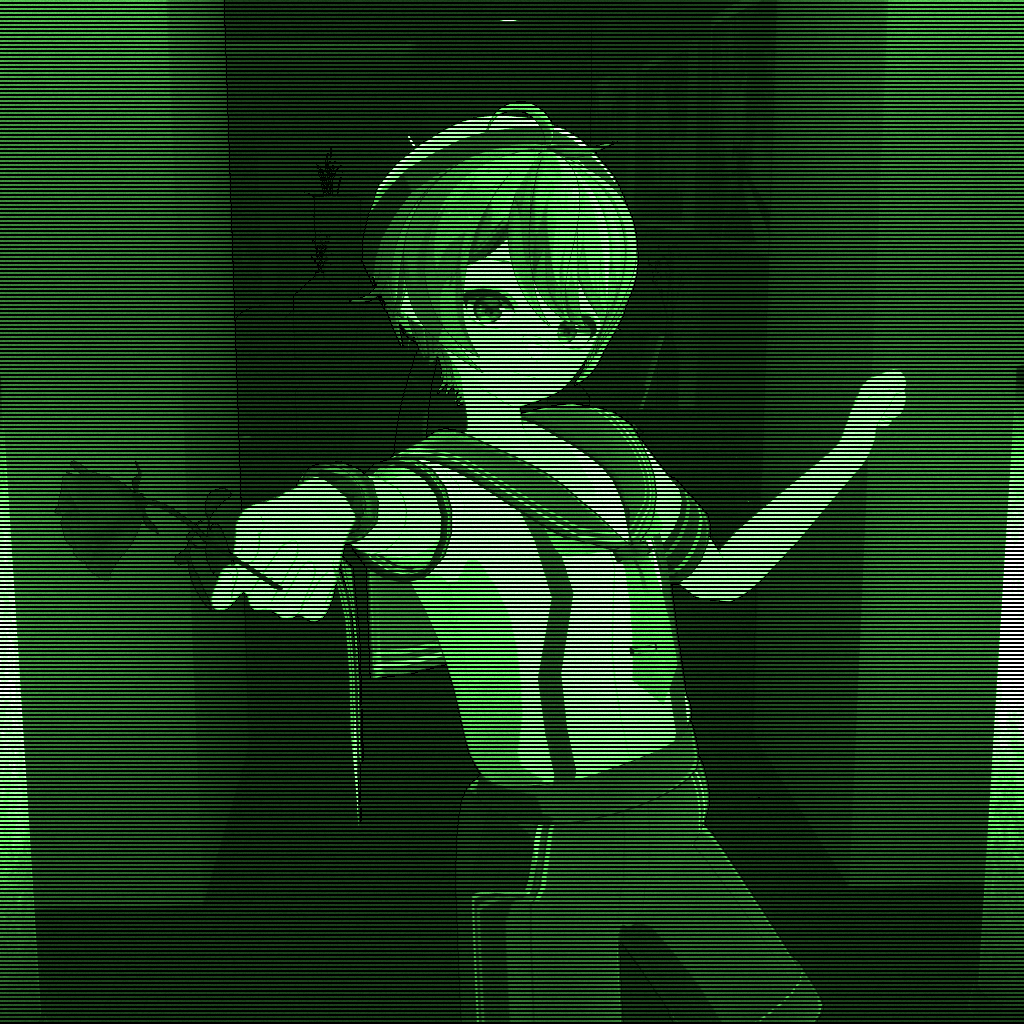
Night vision enabled.
Blur
Blur the image.

Blur disabled.

Blur enabled.
Pixelate
Add a mosaic effect to the image!
Pixelate disabled.
Pixelate enabled.
Authors