Post Processing Volume
This feature is only available in Warudo Pro. To add a post processing volume to the scene, you must have Universal RP enabled in Settings → URP.
The post processing volume asset is used to add post processing effects to the scene. It is similar to post processing effects on the camera, but a post processing volume affects the entire scene instead of just one camera.
A post processing volume asset is a wrapper around Unity's URP Volume, thus it has the same parameters. Below we provide a brief overview of the post processing effects available; you may refer to the Unity documentation for more details.
Setup
You can click Import From Environment to import the post processing settings from the environment (if any). Then, you can adjust the post processing settings as you like. Note that for a setting to take effect, you must enable it by checking the checkbox next to it. This allows you to selectively override the post processing settings from the environment.
Bloom
Bloom is a post processing effect that makes bright areas of the scene "glow."
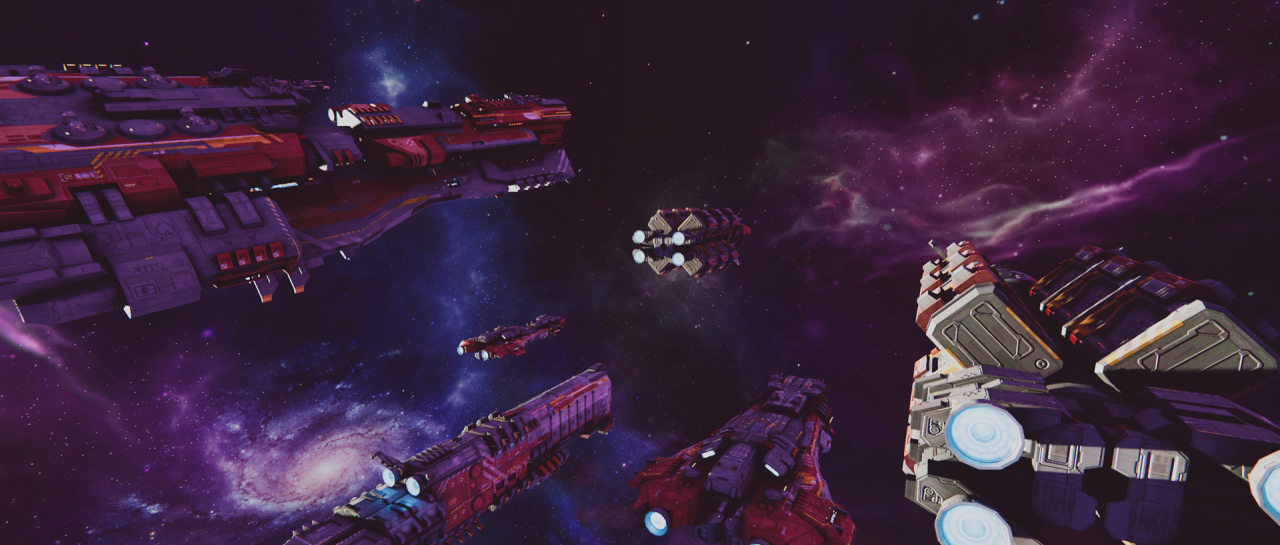
Bloom disabled.
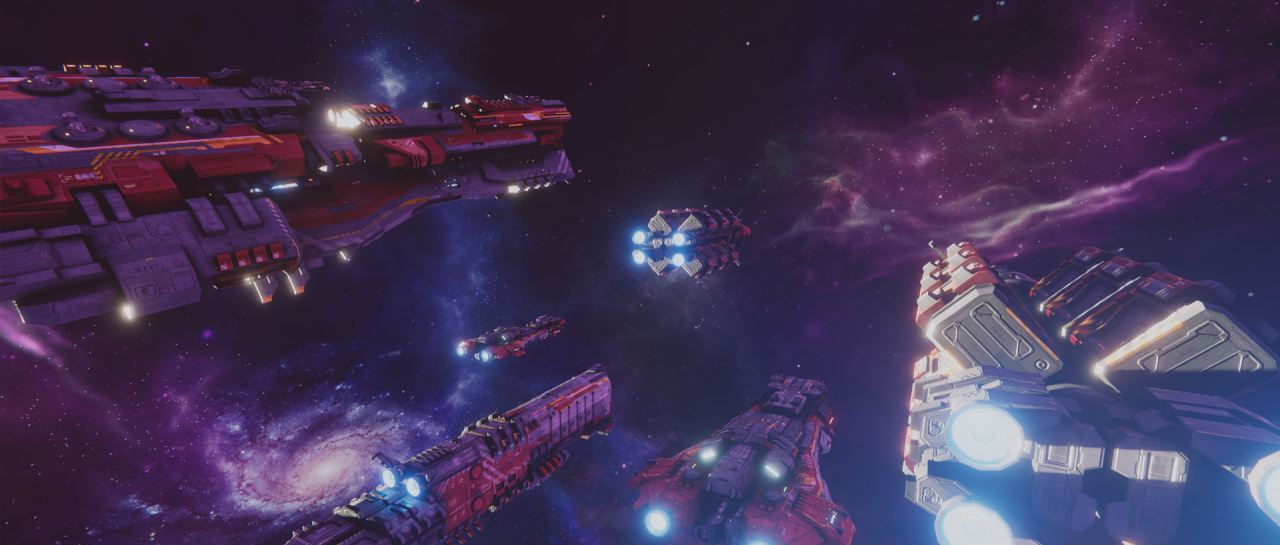
Bloom enabled.
If you are using NiloToon, it is recommended to use the NiloToon volume's bloom instead of this bloom effect. The NiloToon volume can separately apply bloom to the character and environment with different intensity and threshold values.
Channel Mixer
The channel mixer modifies the influence of each input color channel on the overall mix of the output channel. For example, if you increase the influence of the green channel on the overall mix of the red channel, all areas of the final image that are green (including neutral/monochrome) tint to a more reddish hue.
Chromatic Aberration
Mimics the effect produced when a lens is unable to blend all colors to the same point.
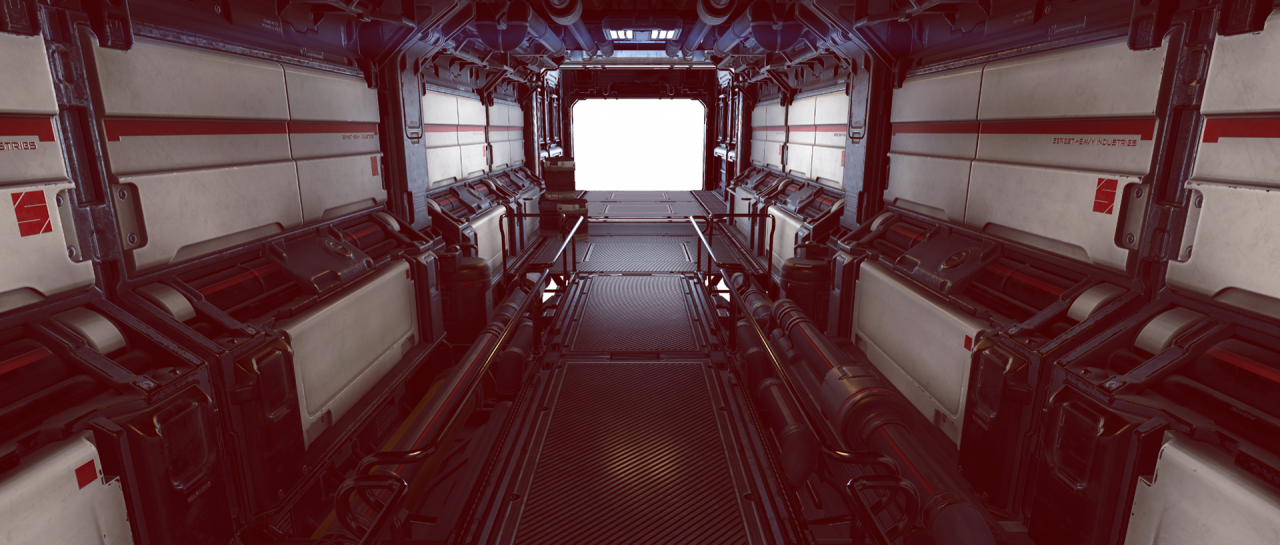
Chromatic aberration disabled.
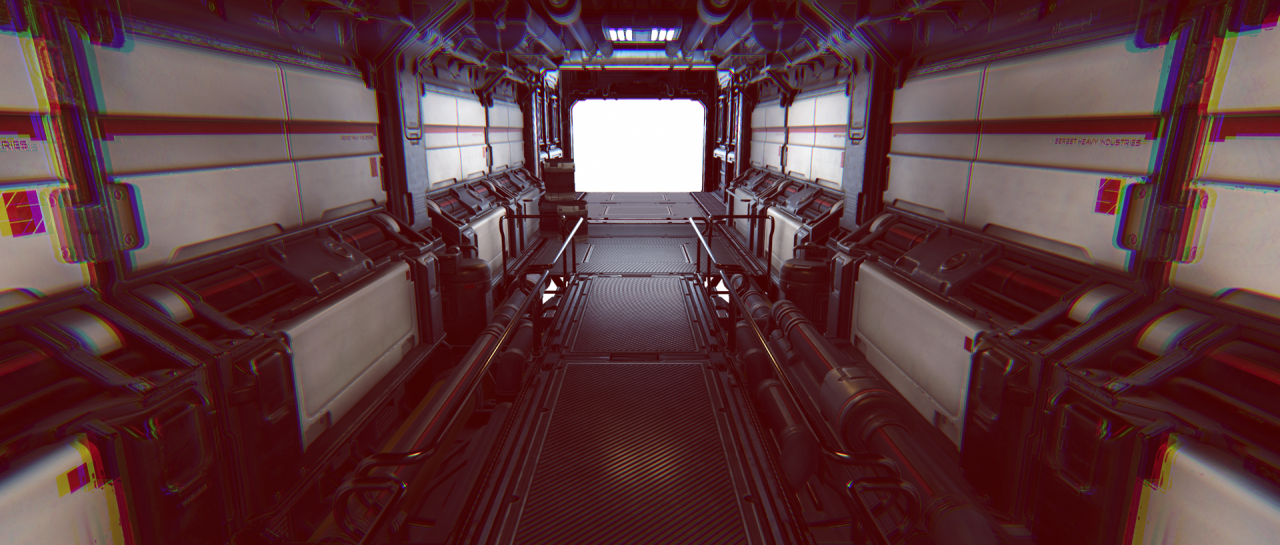
Chromatic aberration enabled.
Color Adjustments
Use this effect to tweak the overall tone, brightness, and contrast of the final rendered image.
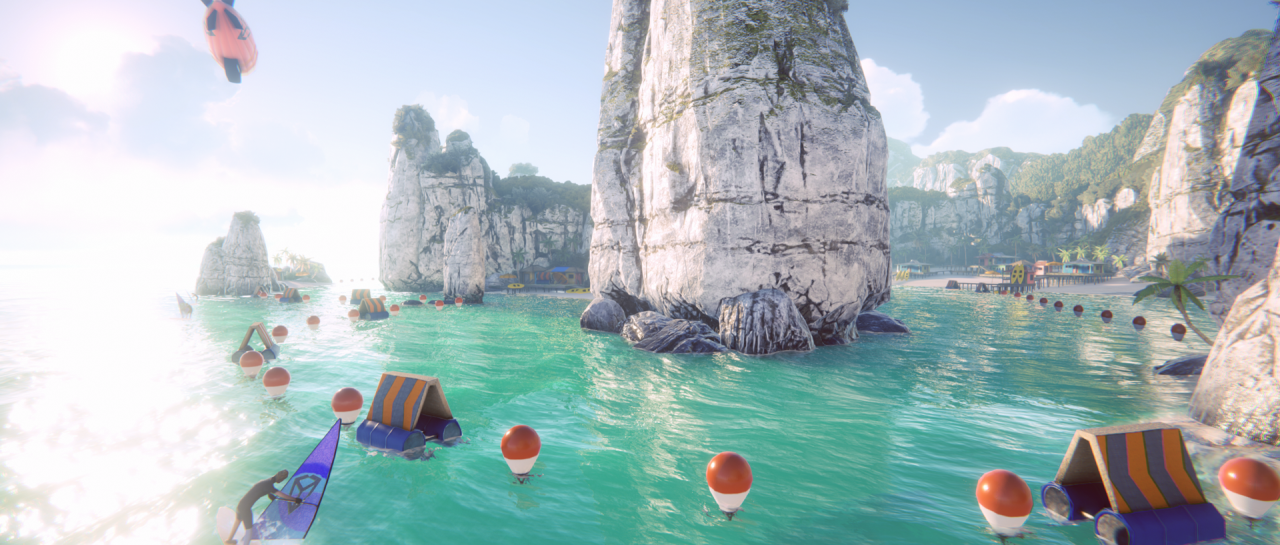
Color adjustments disabled.

Color adjustments enabled.
Depth of Field
Blur objects that are not in focus. If you override Focus Distance, you will be able to set Auto Focus Character so that the focus distance will automatically follow the character.
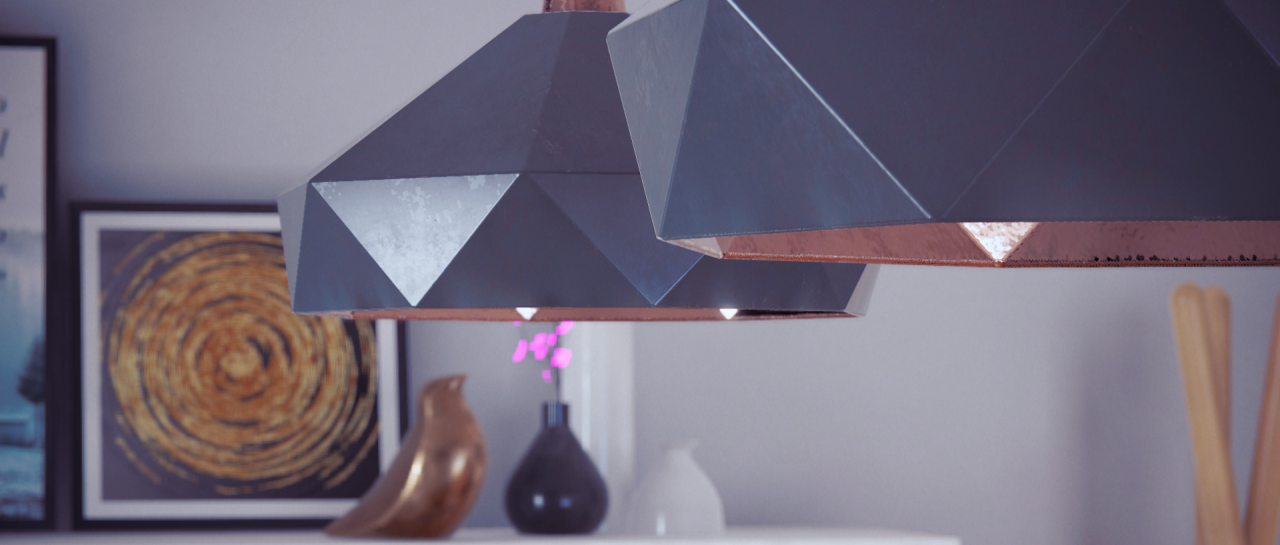
Depth of field with Gaussian mode.
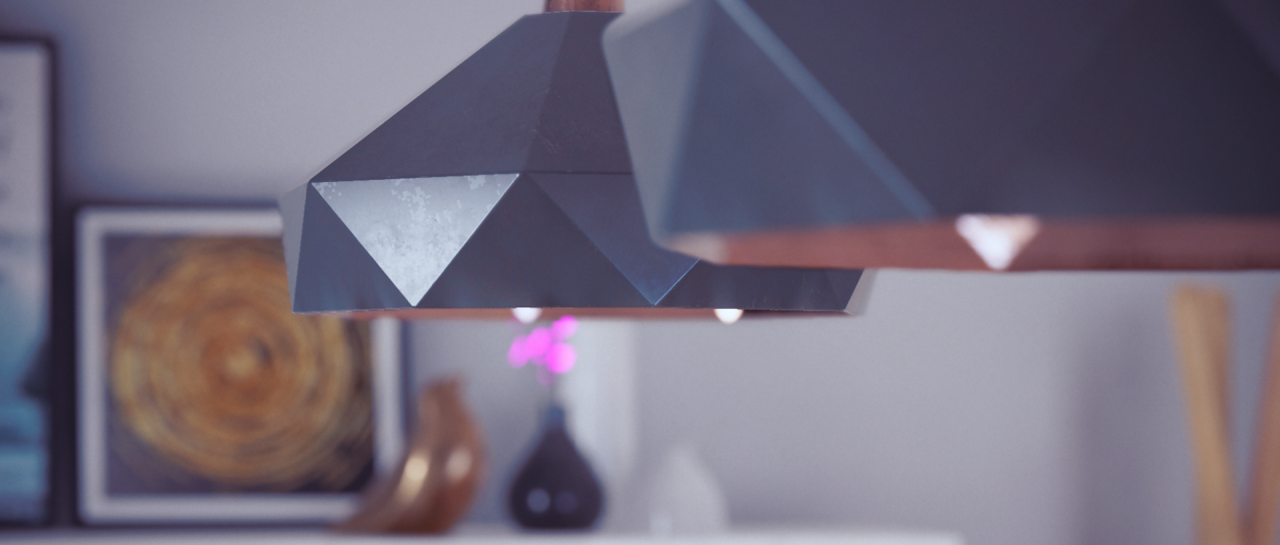
Depth of field with Bokeh mode.
Film Grain
Simulates the random optical texture of photographic film, usually caused by small particles being present on the physical film.
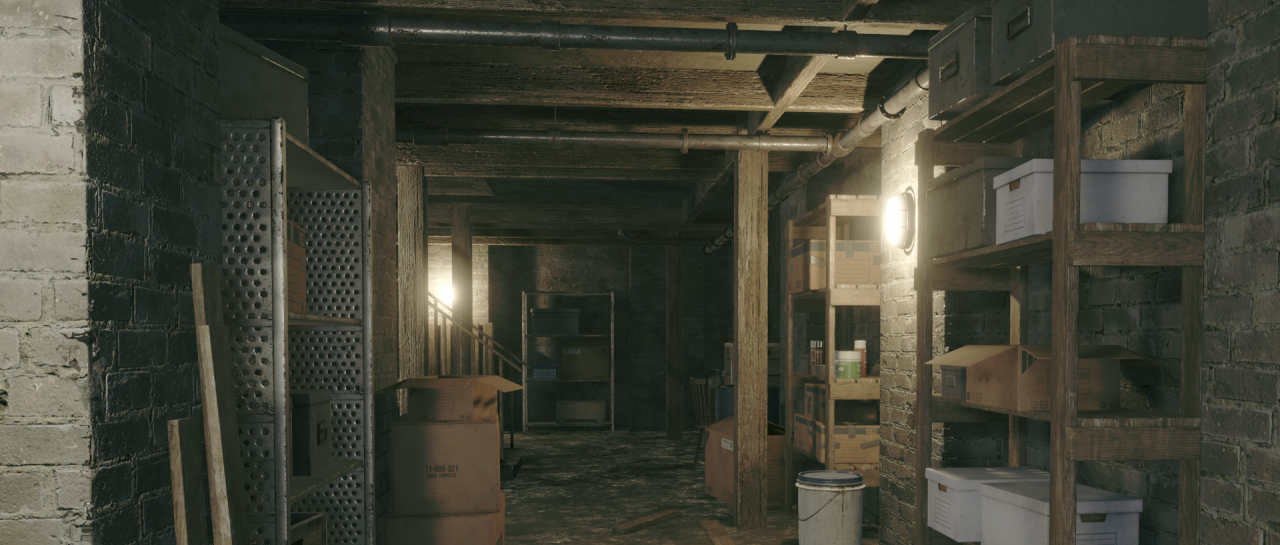
Film grain disabled.

Film grain enabled.
Lens Distortion
Distorts the final rendered picture to simulate the shape of a real-world camera lens.
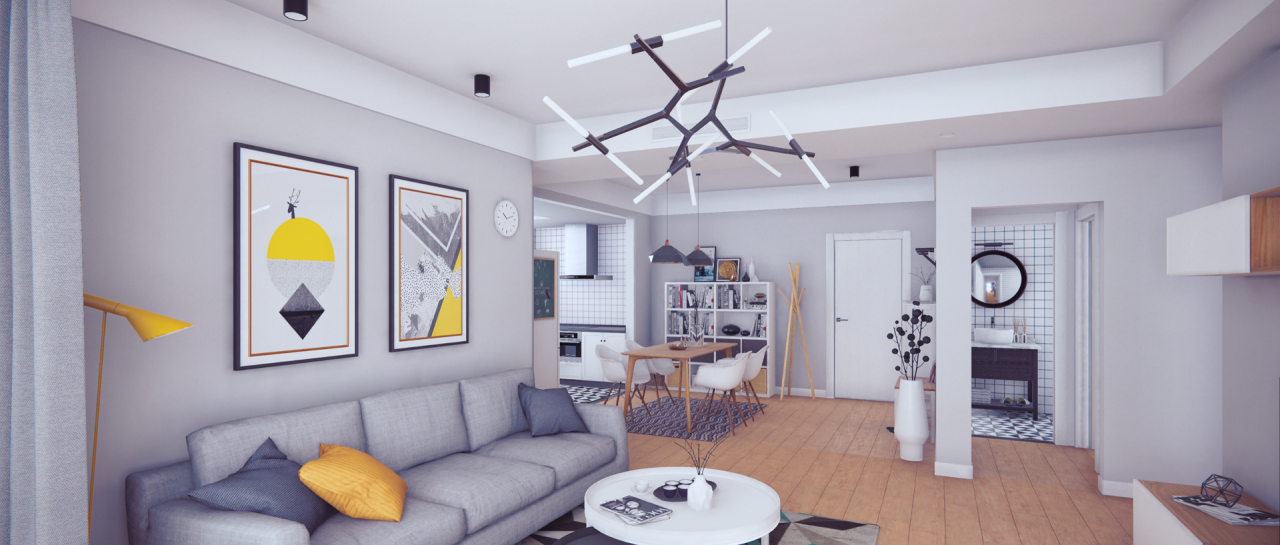
Lens distortion disabled.

Lens distortion enabled.
Lift Gamma Gain
Perform three-way color grading.
Motion Blur
Simulates the blur that occurs in an image when a real-world camera films objects moving faster than the camera’s exposure time.
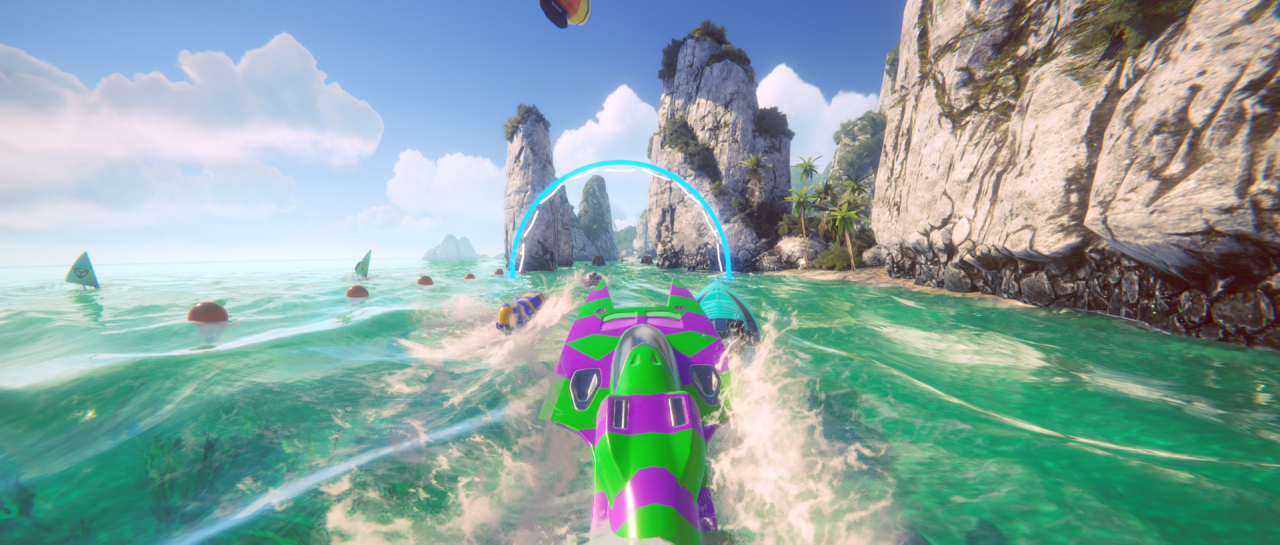
Motion blur disabled.
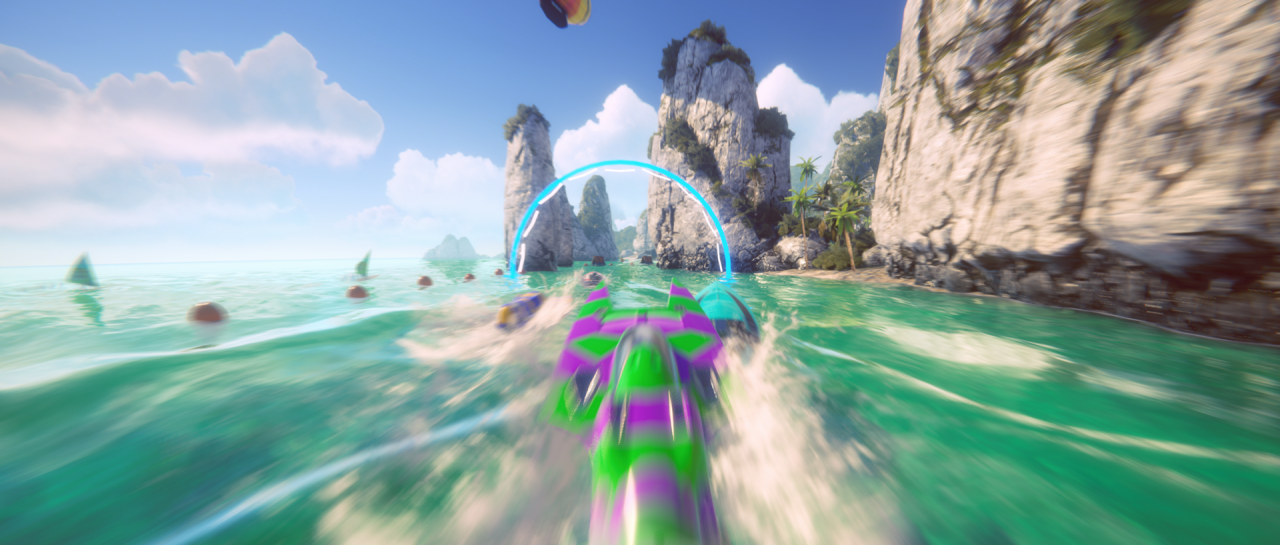
Motion blur enabled.
Panini Projection
Help render perspective views in scenes with a very large field of view.
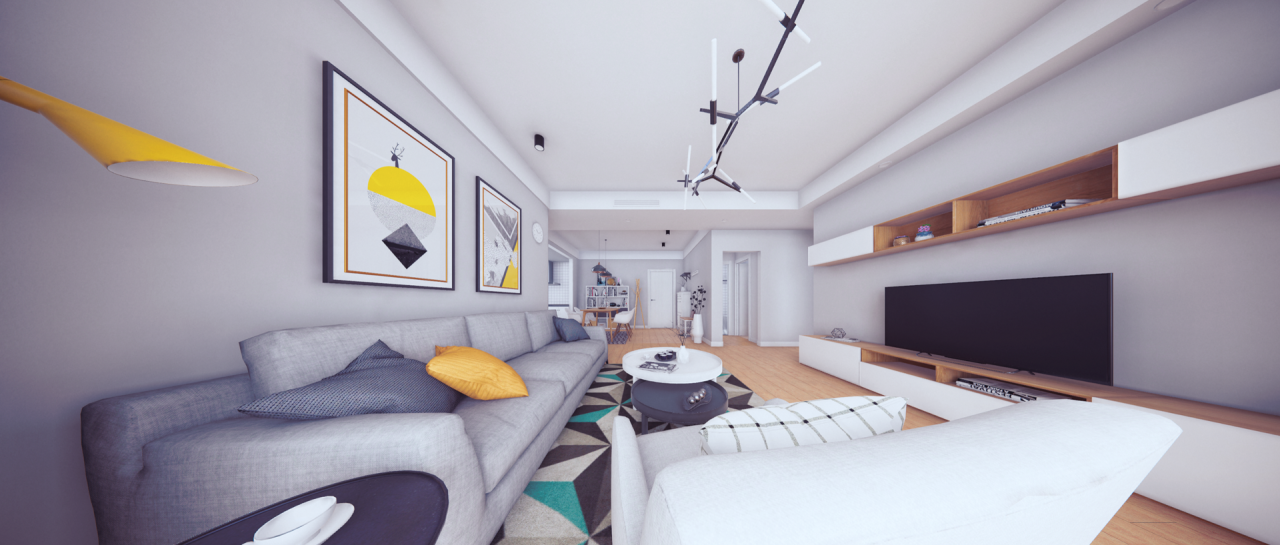
Panini projection disabled.
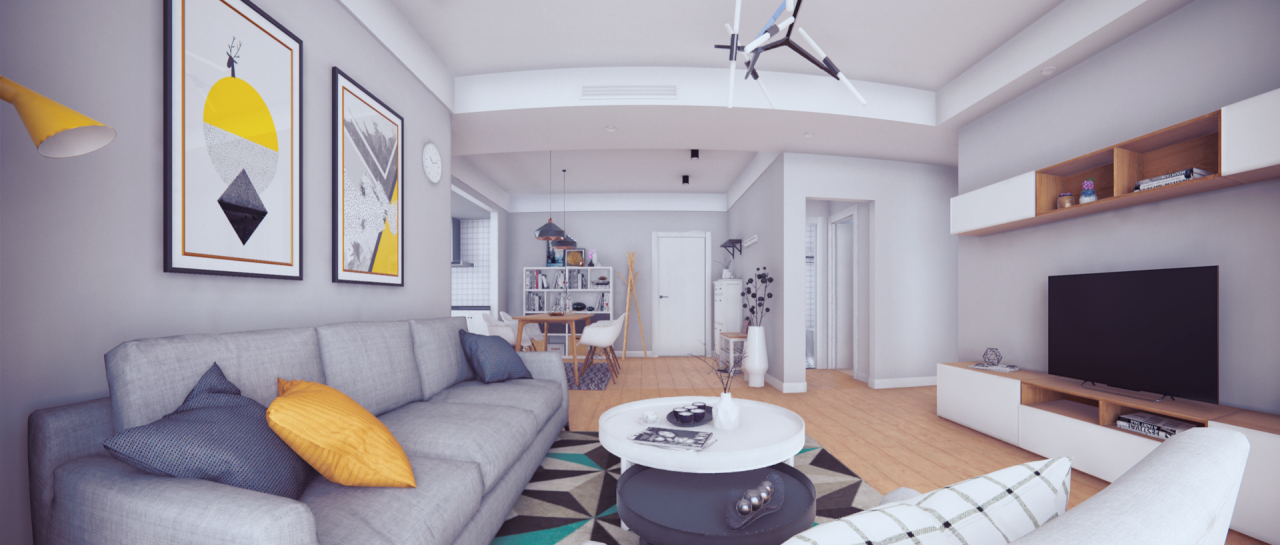
Panini projection enabled.
Shadows Midtones Highlights
Separately controls the shadows, midtones, and highlights of the render.
Split Toning
Tints different areas of the image based on luminance values, to help you achieve a more distinctive look. You can use this to add different color tones to the shadows and highlights in your scene.
Tonemapping
Tonemapping is the process of remapping the HDR values of an image to a new range of values. Its most common purpose is to make an image with a low dynamic range appear to have a higher range.
The ACES tonemapping mode is recommended to achieve a more cinematic look for most environments.
Vignette
Darkening and/or desaturating towards the edges of an image compared to the center, to draw attention to the center of the image.
White Balance
Applies a white balance effect that removes unrealistic color casts, so that items that would appear white in real life render as white in your final image. You can also use white balance to create an overall colder or warmer feel in the final render.